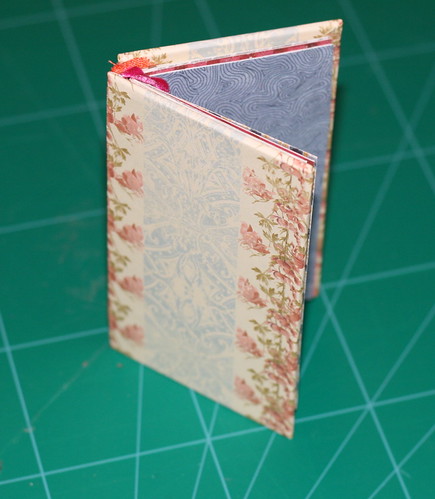
For this weeks creativity prompt I have got a cute project with a unique “measurement method“. If you want to learn how to create this whimsical & colorful mini-book – read on:
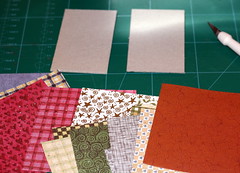
Supply –
- Patterned paper
- 2 chipboard scraps. [use the chipboard that comes with your craft supply or with your writing pads or even cut 2 pieces from a cardboard box]
- Ribbon (optional)
- A scrap of fabric for the spine (optional).
- Glue stick
- Double sided tape
- Tape runner
Tools –
- Paper trimmer
- Bone folder
- Ruler
- Craft knife + Self healing mat
- Regular office stapler
Step By Step Instructions –
- To determine the size of the pages – measure the width of your stapler’s “arm”. [I did promise a unique measurement technique…]
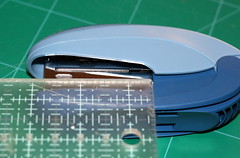
- Next, determine the desired height of your mini-book [everything goes] and cut an even number of patterned papers at your desired height and double the width of your stapler’s “arm”.
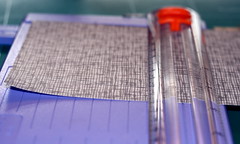
My stapler’s “arm” width was 2¼” and I wanted the height of the mini-book to be 5″, so I cut my patterned papers at 5″ by 4½” - Adhere every two pieces of patterned paper together – back to back – to create your inserts. [or use double sided cardstock…]

- Score each insert at the midpoint, lengthwise. [It should measure the same as your stapler’s “arm”. Mine is 2¼”.]

- Stack all your inserts together and staple them twice in the middle crease to create your signature. This is when all your measurements are going to make sense…
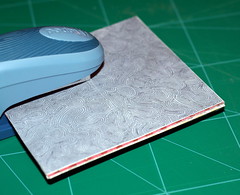
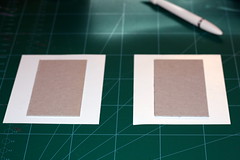
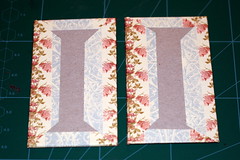
- Next cut your chipboard scraps ¼” taller and wider then each page of your signature. [mine are: 5¼” by 2½”.]
- Now you need to cover your chipboard pieces:
First cut 2 pieces of patterned paper (or fabric) which are at least 1″ taller and wider than your chipboard pieces. Then, using a glue stick, adhere the chipboard pieces in the middle of the patterned paper pieces.
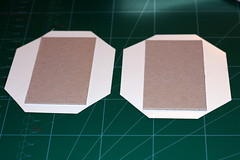
Next, cut all the corners of your patterned paper and create a triangle whose base is about an 1/8″ away from the chipboard’s corners.
First adhere two flaps which are opposite to each other.
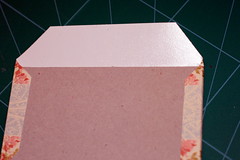
Next, tuck the corners of the remaining flaps with the tip of your bone folder. This is going to give your cover a more professional look.
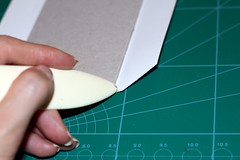
Adhere the remaining flaps to the chipboard, and your covers are ready.
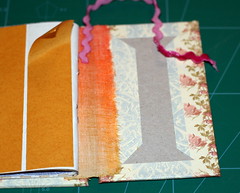
- Adhere a scrap of fabric [the same height as your book – mine is 2″ by 5″] to the inner side of your covers with a strong double sided tape. This is going to become the spine of your mini-book. This step is optional.
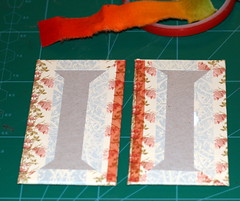
- Adhere the ribbon to the spine – the thinner the ribbon is, the better. This step is also optional and is going to provide your mini book a built-in bookmark.
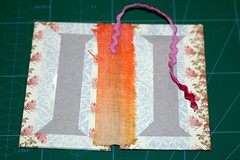
- Finally, attach the signatures to the cover with a strong double-sided tape and enjoy your colorful mini-book.
Enjoy!!!
If you have any question, suggestion or remark – don’t hesitate to contact me – either leave a comment, use the contact form or start a new thread on the Creativity Prompt Flickr Group!!!
I would also be very happy to see your own mini-book creations, so don’t be shy and share 🙂
Tags: creativity prompt, journal tutorial, mini-book, Tutorial


