The variety of premade mini albums is overwhelming. Almost every scrapbooking company has its own range and there are new releases all the time. However, I prefer to prepare my own mini-albums. It is cheaper to make your own ones (if precious time is not being taken into account), but it is not the reason I do that.
The main reason of making my own mini-albums is that it has become an integral part of the creative process and it makes me more attached to the end result – imperfections and all.
From time to time, I will post a tutorial on a different mini album. However, the whole point of making your own mini album is the flexibility of it. You can make your own in any possible shape and size, using a wide range of products, so feel free to stray from my tutorials and adapt them to your own taste and needs. It is easy.
This week’s creative prompt is a 4†by 6†mini chipboard album tutorial.
I love this design because it is very simple and its prep-time is very short. Additionally, this particular size comes in very handy when adding your photos inside, as no cropping is needed. You can either attach the photo directly to the chipboard page or make “photo pages†by adhering 2 photos – back to back – and using the chipboard page as a template for punching the holes.
Supply –
- Ruler & craft knife
- Chipboard (I use the ones that are added to packages of scrapbook supply for protection).
- Patterned paper
- Tab-punch
- Single hole punch (I use the Crop-A-Dile which cuts through chipboard like butter)
- 3 Metal rings
Directions –
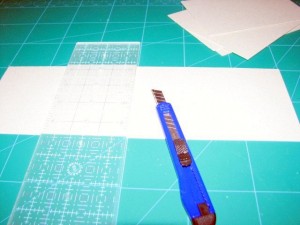
Cut 7 pieces of the chipboard, measured 4â€X6â€.
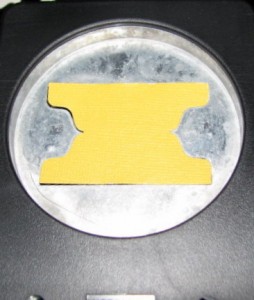
Punch 5 tabs out of card stock in your preferred colors.
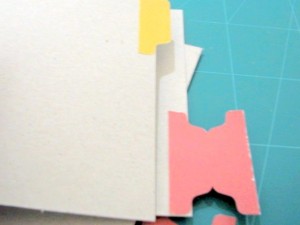
Adhere the tabs to the inner chipboard pages in a way that in one page the tab would adhere to the top and on the next page to the bottom.
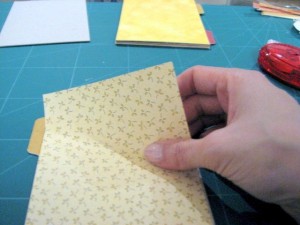
Cover the chipboard pages with patterned paper, cut to size at 4″X6″ (you can file the edges with a nail file).
Punch 2 holes, each 3/4†from the side and 1†from the top/bottom of the page.
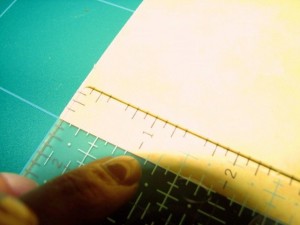
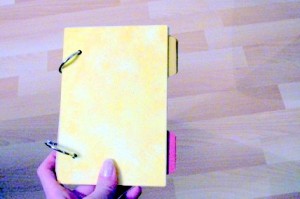
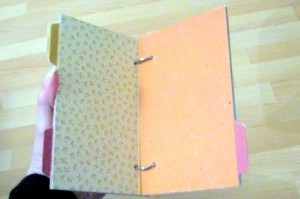
Attach all the pages with the metal rings and – Voilà !!
Tags: creativity prompt


