Introduction
I hope each one of you had the best Holiday ever! I’m Bonnie Rose Kempenich of A Life Unrehearsed. I am an artist, passionate blogger, writer, amateur photographer, and card designer – living my best life right now in Fargo, ND. I am growing as an artist, experimenting with new mediums and playing with bright and bold color. Bright colors just make me happy! I am a big believer in sending real mail, the warm fuzzies kind of mail. My goal for this New Year is to grow more as an artist, and to inspire you with my art and my writings. I have so much in store for you!
You can read more about my life and art on my blog. I am a prolific blogger – meaning there is always something new and wonderful to share every day. Please come visit my Etsy shop for unique artist supplies, original art, and graphically designed greeting cards. A portfolio of my creations can be found on my Flickr page here. You can find me on Facebook here. Custom art and card design orders are always welcome! Wishing you all a fabulous New Year filled with dreams come true!
The Story of Our Lives
I love the fact how cameras have gotten so much better over the last few years. They are smaller, take better pictures, and are so much more affordable for everyone. I personally use a small Kodak Easyshare point and shoot camera. It’s my go-to camera, for everything. It’s what I use to take photos of my life.
The people.
The places.
The things.
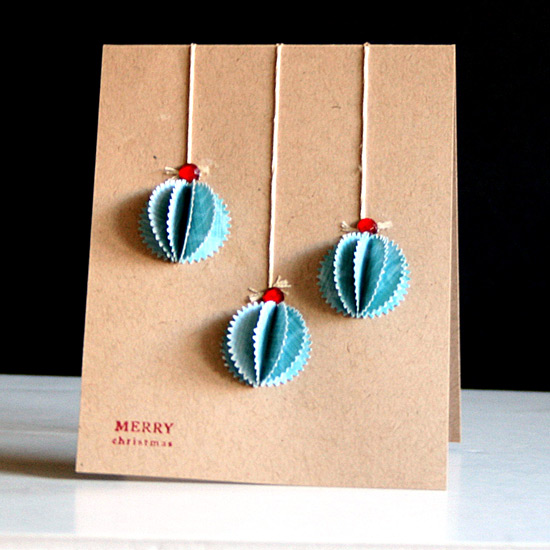
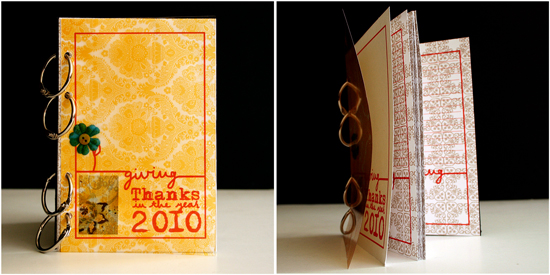
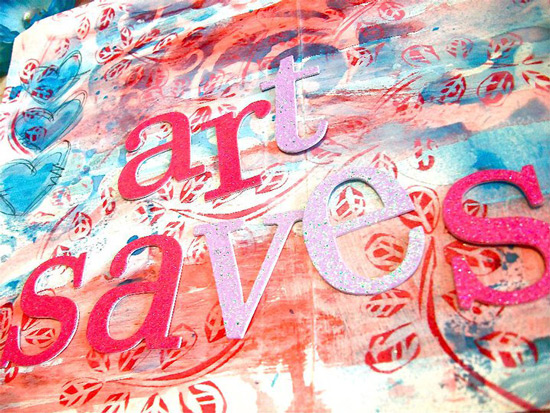
The art I create.
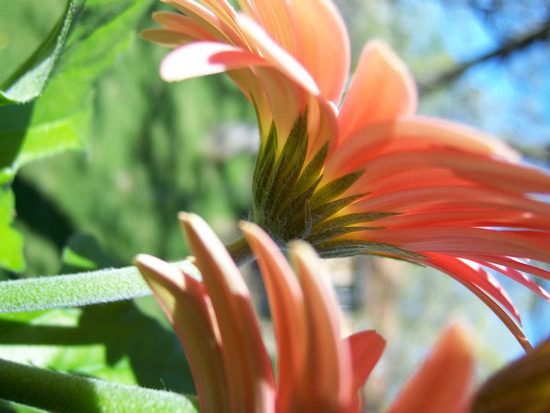
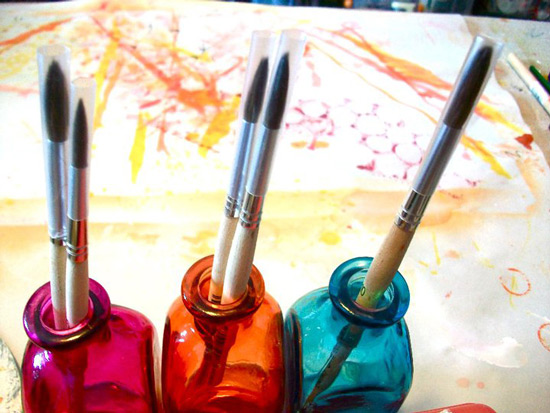
One thing I love love to do is take photographs of still life.
Sedentary things.
Things that aren’t moving.
Objects.
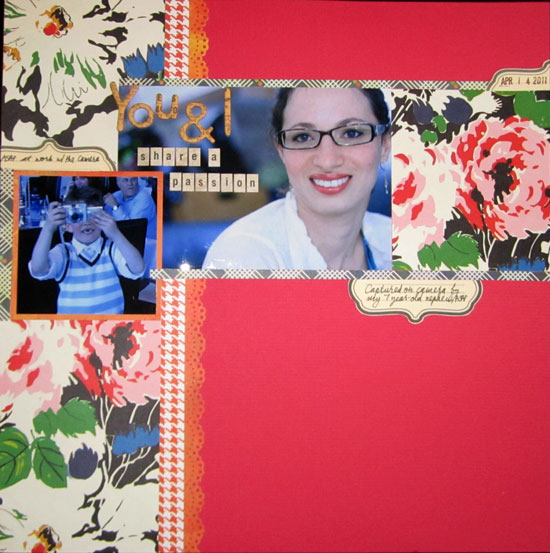
These tell the story of my life.
Creativity Prompt
I strongly encourage you to write this up in your journal. Think about this. Ask yourself these questions, then take your camera and start taking some amazing photographs. They are there, just waiting –
- Look around your home, your room, your life.
- What is there you can capture?
- Take a close look.
- Now take a closer look.
- Point.
- Shoot.
Share
Post to your online gallery, your blog, or email a friend a few of your images of your world. What do they say about you? Your life at the moment?
Your life is right now. It’s here. Start living.
Start noticing all the little things.
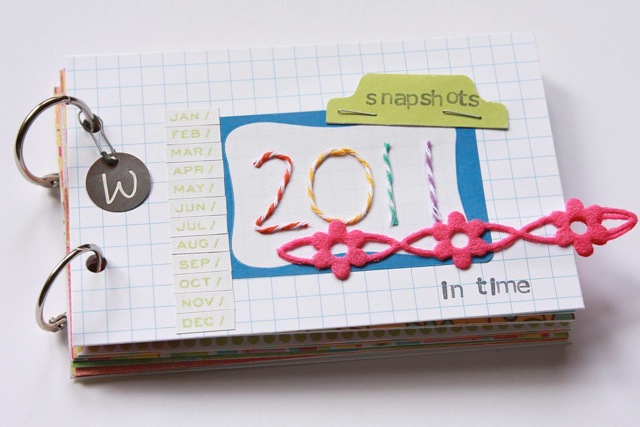
Every image is a snapshot of our lives.
Look around.
And sit in wonder.
And appreciate all that is your life.
Right now.
Bonnie Rose Kempenich