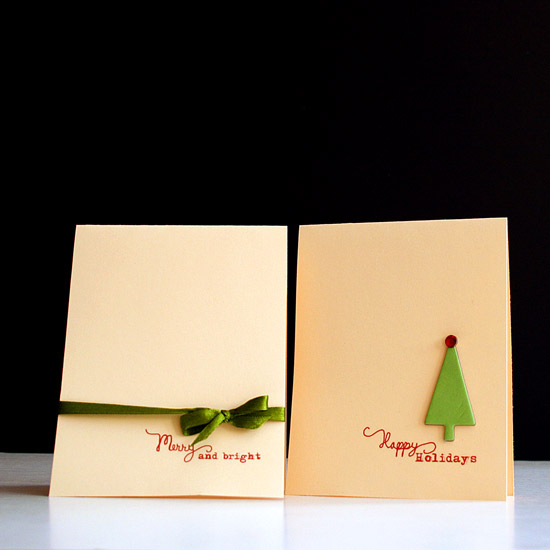
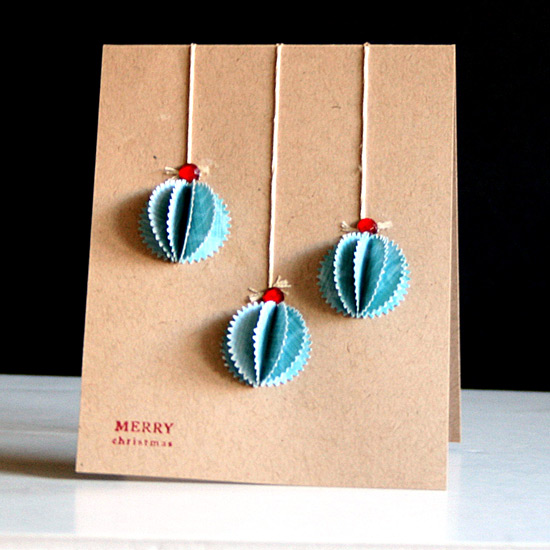
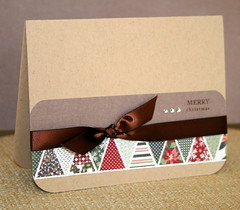
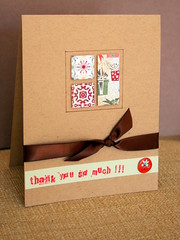
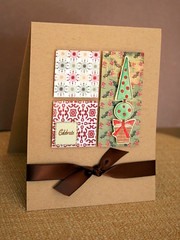
This week I have a special treat for you guys, a set of a couple printable holiday cards (for personal use only).
To download it simply click on the image (or the link) and if it doesn’t work try to right-click on it and opt for the “save target as…†option (it may be phrased a bit differently on different operating systems – but do NOT opt for the “save image as†option, as you will get the low resolution tiny preview image).
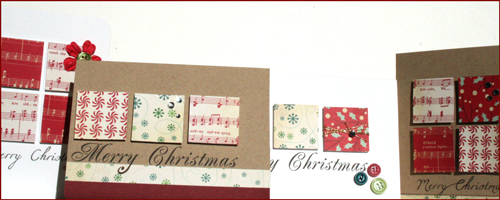
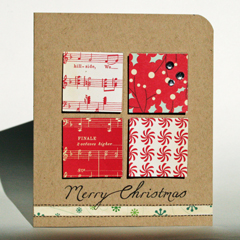
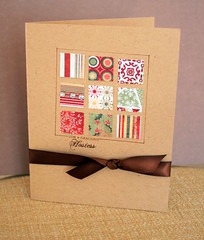
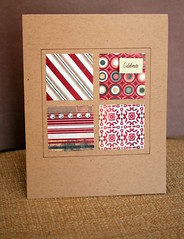
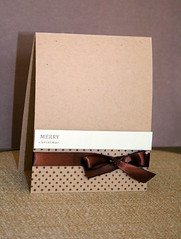
To use them, simply print the PDF file on a letter sized cardstock, cut them, lengthwise, at 4¼” and fold each piece in half, inward. That’s it.
You can then add a ribbon, a chipboard element or leave it clean and simple, as is. No more than a minute per card.
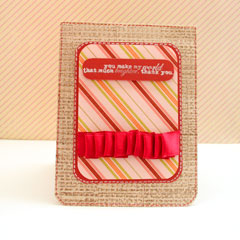
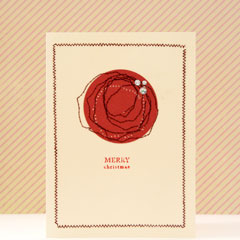
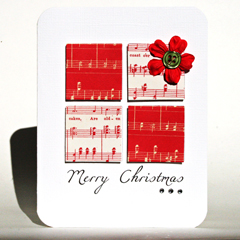
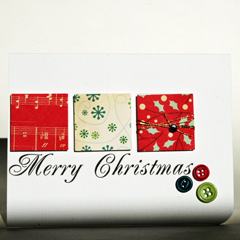
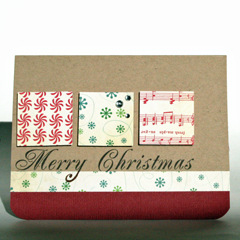
Now, as much as I appreciate Jennifer Mc’Guire‘s beautiful, artistic cards that every single time make my eyes pop or Lisa Spangler‘s adorable and beautifully made cards and as much as I love Kristina Werner‘s graphic style and creative use of products as well as many other über talented and creative card-artists out there – when the time comes to send dozens, if not hundreds, of holiday cards – I don’t think it is practical to engage in such intricate card making [not to mention one must also be as talented as they are to achieve all of that].
Therefore I always keep it quick and simple and there’s NOTHING SIMPLER than printing, cutting and folding in half…
I hope my mischievous methods will also be helpful to you in this holiday season.
You can always make a few special, more time consuming cards to your close family and best friends…
Make sure you didn’t miss the rest of the free printables on Creativity Prompt.
Share
How are you handling the card giving season, excuse me, the holiday season…? Please leave a comment and share 🙂
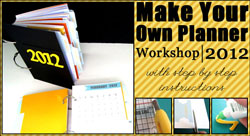
Check out Creativity Prompt’s new and unique self paced workshop: “Make Your Own Planner”.
This workshop will show you how to make a beautiful handmade planner for the year 2012. Not only are you going to get the entire meticulously designed planner kit for instant download, but you will also get a high resolution video tutorial as well as step-by-step instructions to guide you on each step of the way. Either treat yourself with a fresh and creative start for the coming new year, or get it to create wonderful gifts for your family and friends.
Join now


![Reblog this post [with Zemanta]](http://img.zemanta.com/reblog_b.png?x-id=ba015f8c-b31f-458d-950b-fbb8ff87fa4c)


