One way to get out of a creative rut is to use our stash – not as intended…
Use a “girly” collection for a boy’s layout or vice versa [as I did below].
Use a Christmas collection for a 4th of July layout.
Use a travel collection for a wedding.
Use patterned paper as a background and plain cardstock as an accent.
Use paper flowers as journaling blocks.
Use a winter themed paper for a summary layout.
Just ignore what the “box” says and create.
Free your mind.
In this layout I used Karla Dudley’s new kit KD Fly Girl for a manly layout of my husband shooting hoops at the beach:
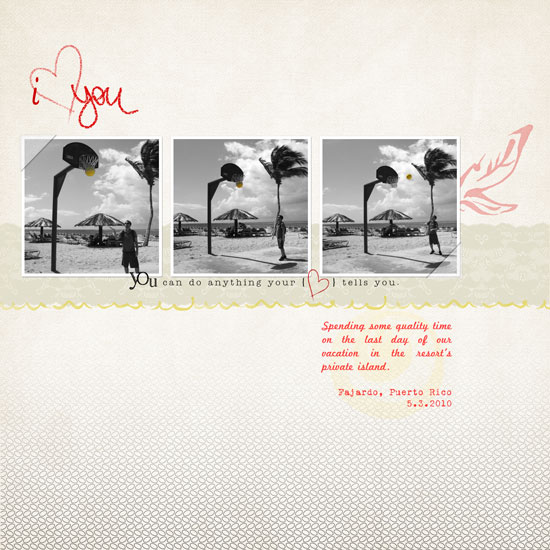
[Fonts: Marketing Script, VTPortableRemington; Digital Kits: KD Fly Girl by Karla Dudley.]
And in this layout I used Karla’s KD Fly Boy kit to create a girlie-girl layout featuring my princess niece:
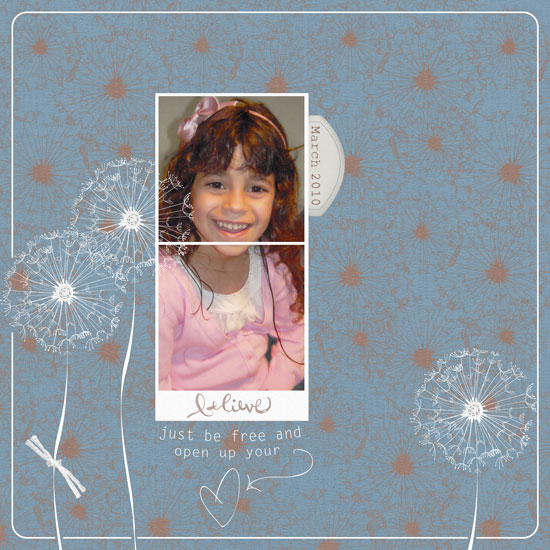
[Font: Rough Typewriter; Digital Kits: KD Fly Boy by Karla Dudley.]
Photoshop Elements Tip – Selective Coloring
On my “I heart You” layout I turned my photos to black and white (by de-saturating them) and kept just the vibrant yellow color of the ball.
The azure sky and turquoise ocean are beautiful, but they are distracting from the story I want to tell.
By removing the color of everything but the ball – I am drawing attention to it and hinting that the focus of my story is there.
There are 3 ways to get that look – choose the one most comfortable to you:
Method 1
- Duplicate the photo’s layer (press CTRL+J on a PC or CMD+J on a MAC).
- Make sure your upper layer is highlighted and de-saturate the colors all the way to the left (press CTRL+U on a PC or CMD+U on a MAC).
- Make sure your upper layer is highlighted and choose the eraser tool (work with the default circular brush). Lightly erase just the object whose color you’d like to retain.
- Merge both layers when you’re done.
[P.S. This is also how I “colored” the heart red on the kit’s PNG file.]
Method 2
- Duplicate the photo’s layer (press CTRL+J on a PC or CMD+J on a MAC).
- Make sure your upper layer is highlighted and de-saturate the colors all the way to the left (press CTRL+U on a PC or CMD+U on a MAC).
- Make sure your upper layer is highlighted and choose the Quick Selection Tool. Click on the object whose color you wish to retain until it is highlighted completely by the marching ants. If you “slip” just unselect by pressing ALT on a PC or OPT on a MAC while simultaneously clicking on the part you don’t want selected.
- Press delete.
- Merge both layers together.
Method 3
- Choose the Quick Selection Tool. Click on the object whose color you wish to retain until it is highlighted completely by the marching ants. If you “slip” just unselect by pressing ALT on a PC or OPT on a MAC while simultaneously clicking on the part you don’t want selected and duplicate your selection (press CTRL+J on a PC or CMD+J on a MAC).
- Deselect (press CTRL+D on a PC or CMD+D on a MAC)
- Make sure your lower layer is highlighted and de-saturate the colors all the way to the left (press CTRL+U on a PC or CMD+U on a MAC).
- Merge both layers together.
Share
Are you using your stash in an untraditional way? Please share your ideas/ projects with us.