I was so honored to find out on the 2Ps Digi Designers blog last week that Shannon, the digital pea of the week, had picked one of my layouts as a favorite. That’s why I took it as a personal challenge to create a digital layout using an extraction, which has been Shannon’s challenge for this week.
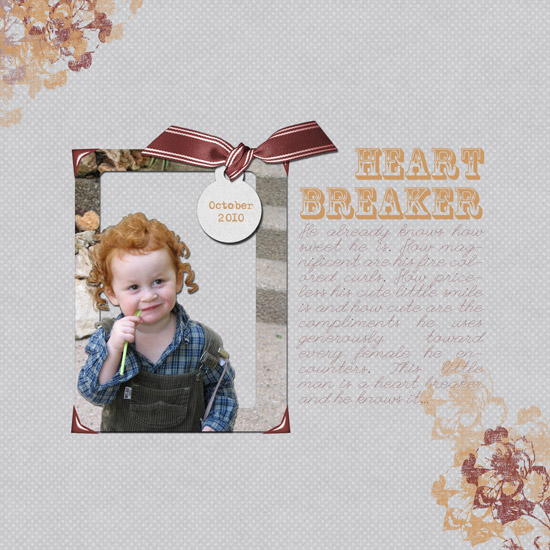
I picked a picture of my youngest nephew (for the time being…), Ori for two reasons.
First, he’s so darn cute.
Second, because his beautiful, dare I say PERFECT, curls will be beautifully accentuated by extracting them from the background.
Let me take you through the process of extraction…
How To in Photoshop Elements
- Pick the Quick Selection Tool and choose a brush size you feel comfortable with. I always start with a bigger brush and go smaller as I move into the smaller areas of the photo. To easily change the size of your brush use the bracket keys (‘[‘, ‘]’).
- To select an area you need to click on it and the quick selection tool will do its magic by figuring out the changes in colors and tones. You can adjust its sensitivity if you wish to do so, by clicking the drop menu that comes out of the brush indicator on the top of the window (above the rulers). The more pronounce the object is compared to its background, the smoother the selection will be.
- After the image you want to extract is selected press ctrl+J with a PC and cmd+J with a MAC to create another layer with the extracted image. It will not be perceivable until you conceal the layer with the original photo. You can do that by clicking the eye icon next to the layer on the layers’ bar.
- Now that the extracted image is clearly visible, you may clean up random pixels by erasing them. Make sure your extraction layer is highlighted, so you won’t accidentally erase something else on your page.
- Now you can do anything to the original photo layer, as long as the extracted image stays on top. Note, that if you keep both layers, I advise you to link them together.
- You can delete the photo all together and work just with the extraction.
- You can blur it, to make the extracted image pop up – make sure the photo’s layer is highlighted. Go to ‘filter’ – ‘blur’ – ‘Gaussian blur’ and play around.
- You can delete just part of the layer, like I did. Draw a shape on the photo – make sure the shape’s layer is between the photo’s and the extracted image’s layer. Select the area around the shape by pressing ctrl or cmd while you click on its icon. Then conceal or erase the shape’s layer and while the area is still selected and the photo’s layer is highlighted – press delete.
That’s it. super easy, right?
Journaling Reads:
He already knows how sweet he is. How magnificent are his fire colored curls. How priceless his cute little smile is and how cute are the compliments he uses generously toward every female he encounters. This little man is a heart breaker and he knows it…
Share
Do you use extractions on your layouts?
In traditional scrapbooking it means cutting around the image you wish to extract… I used to do that all the time.
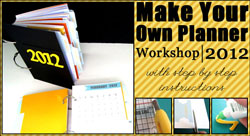
Check out Creativity Prompt’s new and unique self paced workshop: “Make Your Own Planner”.
This workshop will show you how to make a beautiful handmade planner for the year 2012. Not only are you going to get the entire meticulously designed planner kit for instant download, but you will also get a high resolution video tutorial as well as step-by-step instructions to guide you on each step of the way. Either treat yourself with a fresh and creative start for the coming new year, or get it to create wonderful gifts for your family and friends.
Join now


