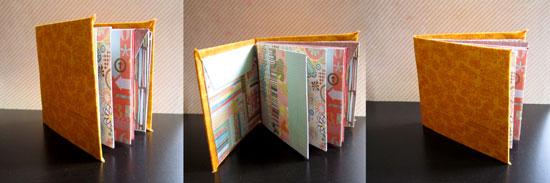
My husband thinks it’s silly but I think it’s super-duper cute, you’ll be the final judges…
Supply
- 5 business envelopes
- Fabric (a 12″ by 6″ scrap will do)
- Chipboard
- Dry adhesive
- Strong liquid glue – I used Mod Podge dimensional magic, but you can also use Glossy Accents or Diamond Glaze.
- Patterned papers – I used Basic Grey’s Hopscotch 6 by 6 pad exclusively.
- Scissors
Step by Step Instructions
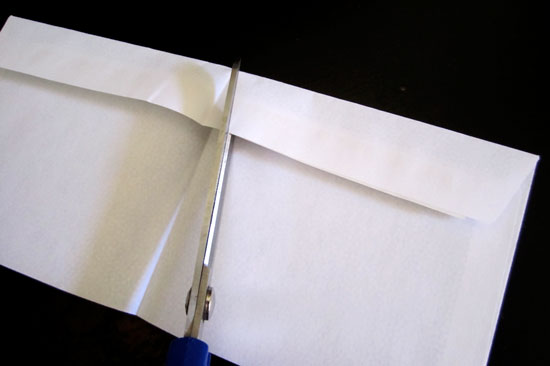
Start by folding each envelope in half and then cutting the edge of the envelope’s flap, in an angle, at the half point.
This is how your envelope will look like after its flap was cut.
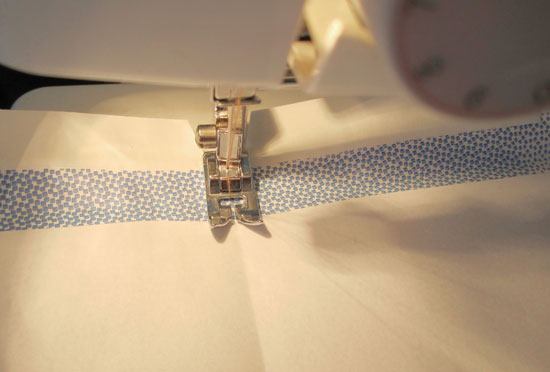
Next, channel your inner seamstress, stack all the envelopes together and sew the spine at the crease line. You can also pierce 2 holes in the spine and tie it by hand with an embroidery floss, or fasten it with a staple. Sewing is the fastest way to assemble the signature, even for me (you will understand that remark shortly).
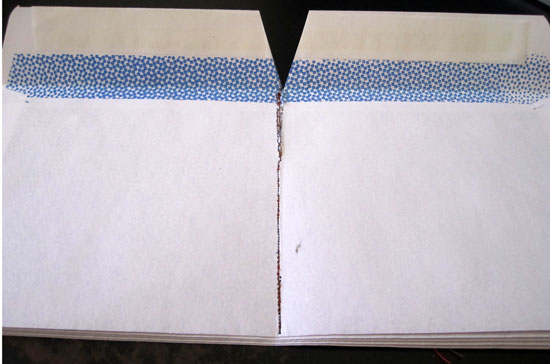
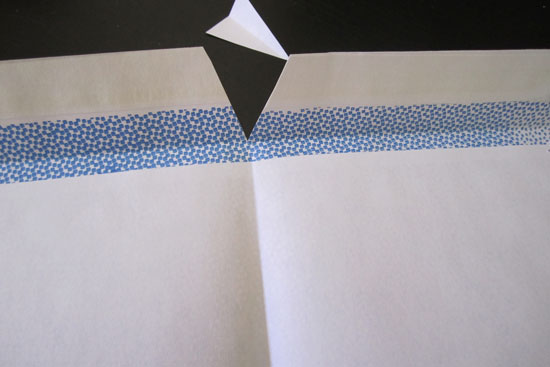
This is how your envelope stack will look like, if you are a terrible seamstress. Just like me. Who had to put it through the machine several times… I assume you may only be better than I am at that, because I am the worst, ever.
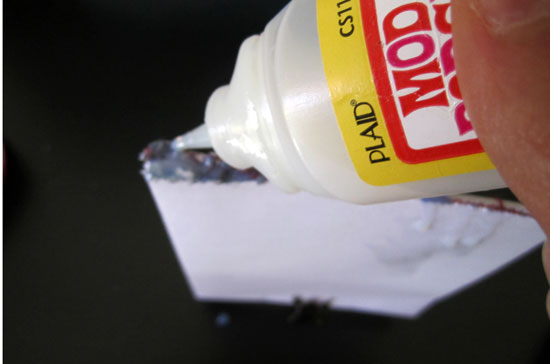
If you have sewing accidents… fix the spine with a layer of strong liquid glue.
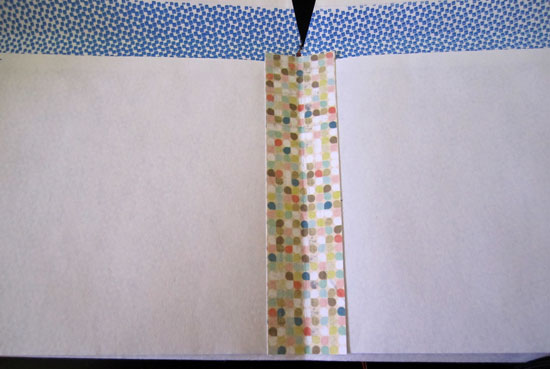
Or just secure the pages with a folded piece of patterned paper that you adhere to both pages’ edges.
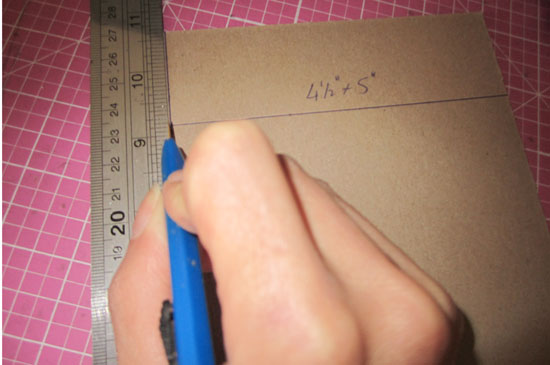
Now let’s move on to the cover, shall we? Given that you use business envelopes, cut 2 pieces of chipboard at 4½” by 5″ each. If you use any other envelope, just cut the cover a bit larger than the size of half an envelope (because they will be folded in half).
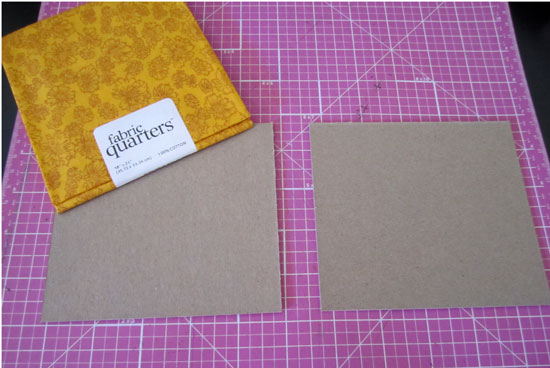
Then Choose your cover fabric. I had this fat quarter collecting dust and just waiting for this project. So I used it. Use any scrap that covers both pieces of chipboard, a spine and then some.
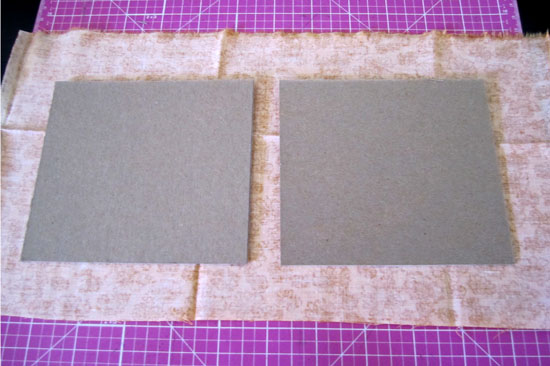
This is the ratio of fabric/ cover. Just so you will get the hang of it. Cut each edge at a triangle and adhere the flaps to the inner part of the cover with strong liquid glue. You can be messy, it will all be concealed momentarily.
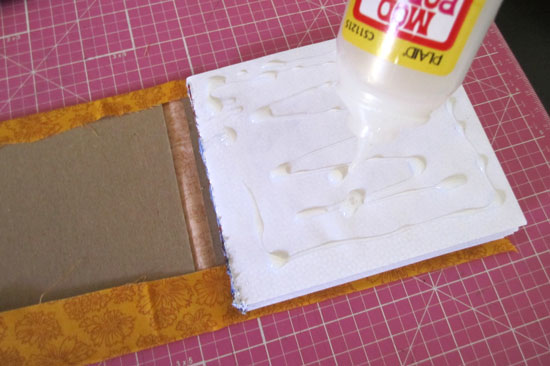
Now, attach your sewed signature by applying a generous amount of liquid glue and adhering to the inner part of the cover. Do it one side at a time and be careful of unwanted spills that may ruin your envelope pockets. Because we use envelopes to embrace and utilize their pockets, right? right.
Embellish and place top secrets and cherished memories in the pockets.
Done.
[Are you still with me or were you lost due to the length of this unearthly post? Please comment and tell.]

Check out Creativity Prompt’s self paced workshop: “Capture Your Dream”. In this workshop you will capture, follow and make your dream come true as well as document your journey in a fabulous mixed media mini album.

Check out Creativity Prompt’s new and unique self paced workshop: “Welcome Little One”. This workshop will provide you with everything you need, and then some, to make a fabulous handmade mini album to record the first moments of a new born baby.
Tags: journal tutorial, mini-album, mini-book, Tutorial


Oh, that is so cute! (Avital was right; hubby wrong, lol). I have missed your tutorials!
lol. I’ll tell him! Thanks for your kind words.
Super dupper!
TFS~
Thanks! TFL~
Great tutorial and I think hubs was wrong and I also think that the strip of paper over the sewing added an extra bit of creative cuteness!
Thanks! Though I would prefer to control my sewing machine better. The first 3 times I tried to put it through it, the thread came out and it “shot blanks”. This is why it became so badly perforated.
Yay! This is super awesome. Going to share. 😀
Thanks so much!
I think this is a very good tutorial. love the album. This is the first of your tutorials I have seen. Will look for more.
Thanks!