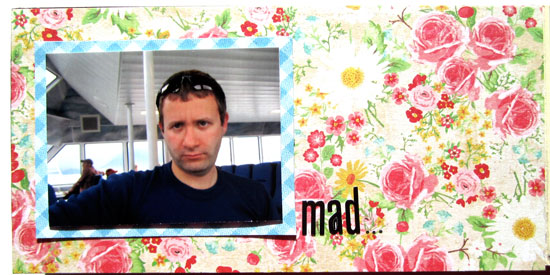
Ever since I saw the sneak peek of this stamp set from Papertrey Ink‘s last release (‘The Sweet Life’) I wanted to have them.
Luckily my parents had bought me that stamp set (along with a few other things). Thanks so much!
It took forever (well, a week and a half) to get them and in the meantime I saw this gorgeous card by Alexandra, made with that exact same stamp set. What a tease…
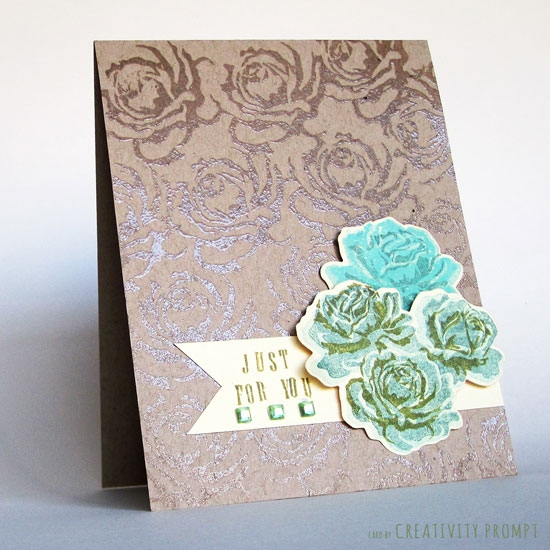
I finally received my Papertrey Ink order yesterday, and this is the first card I made with the stamps.
I used Papertrey Ink’s ink and I must say it isn’t my favorite. I find it a bit splotchy, even with a fresh new ink pad. What do you think about their ink?
Other Supply
- Kraft cardstock by Bazzill.
- Ivory cardstock (110 lb) by Wausau.
- Versamark Ink.
- Clear embossing powder.
- Heat tool.
- Pop Dots.
- Permanent tape adhesive.
- Temporary tape adhesive.
- Generic tiny letter stamps.
- Hero Arts gems (old).
How-To
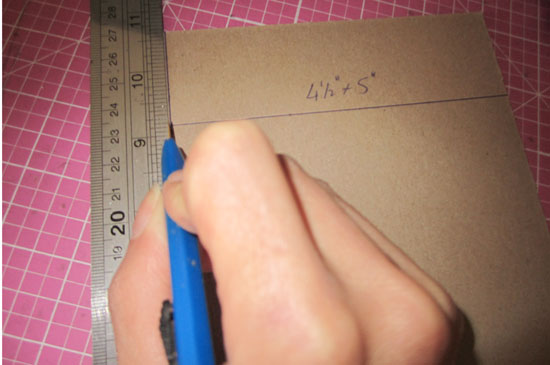
- To create the portrait card base I cut the kraft cardstock, widthwise, at 4¼” and folded at 5½”. I used Martha Stewart’s scoring board with a stylus but it isn’t necessary, just helpful.
- Next I took the large detail rose stamp from Papertrey Ink’s set and repeatedly stamped it with the versamark ink, starting from the bottom left and making my way up.
- Then I covered the stamped images with clear embossing powder and set it with a heat tool.
- To create the accent flowers I used the three-steps stamps from the set and the matching dies (they went like butter through my ancient Cuttlebug machine). As the dies aren’t see-through I first cut the ivory cardstock and then temporarily adhered the ‘naked’ die-cuts to a scrap paper and stamped, starting from the least detailed stamp with the lightest ink color and moving on to the most detailed stamp with the darkest color.
- Then I cut a 1″ strip of the Ivory cardstock and shaped its end into a banner shape, by cutting a slit in the middle and matching up the ends from each edge of the cardstock strip. I adhered it to the card with permanent tape adhesive and stamped the greeting with individual letter stamps (I actually did the stamping after adhering the accents, but this is not recommended…).
- Next I adhered the flowers die cuts. I attached the bottoms with regular tape adhesive and the tops with pop dots to add interest.
- To finish off the card I added some bling… How can I not, right!?
If you like it – 

Back when we were kids creativity came naturally to us. Everything was possible and our prolific imagination was the only limit we knew.
Through the years we have grown apart from our inner creative child and along with that – have lost our pristine and utter joy of creation.
In this e-book I will pave your way back to your inner creative child, brick by brick.
“Unleashing The Creative Child Within You” will explain why you became distant from your core creativity and will reveal the secret to getting it back.
With exercises designed specifically to help you find the inner child within you, regain its confidence and unleash it – you are bound to get your mojo back faster than you think.
Get “Unleashing The Creative Child Within You” for your Kindle
for only $4.99.
You can read the Kindle book on Kindle devices, on your smart phones or on your PC or MAC.