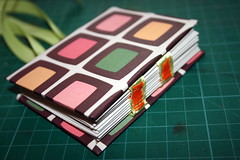
This is what I call a ‘just because’ mini album.
I didn’t make it for a special occasion.
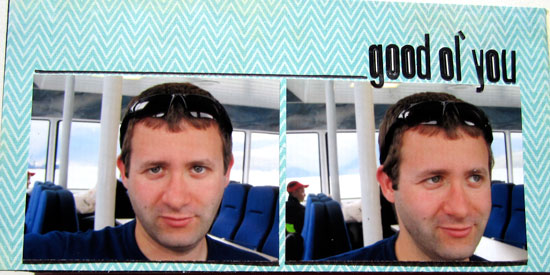
I didn’t make it to document a specific event or trip or day [although the pictures were all taken at the same time, on a ferry in Alaska].
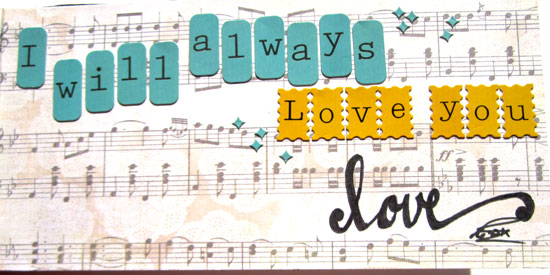
I just had a crafty date and we decided to make mini albums with mini photos and I happen to really like this goofy set of photos of my husband making faces to protest against me taking pictures of him… The idea for the mini album just presented itself – no matter how my husband is at a certain moment – I always and will always love him.
Individual Layouts & Supply
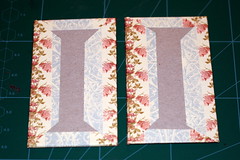
This is a very minimalistic mini album. The reason is threefold: 1. Because I love minimalism. 2. I didn’t want to use anything chunky on the pages themselves, other than on the cover. 3. We wanted to complete the project in one crafty-date, after a full day of work.
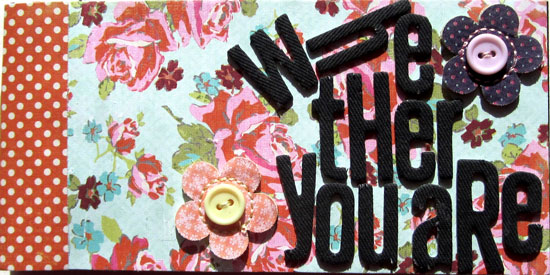
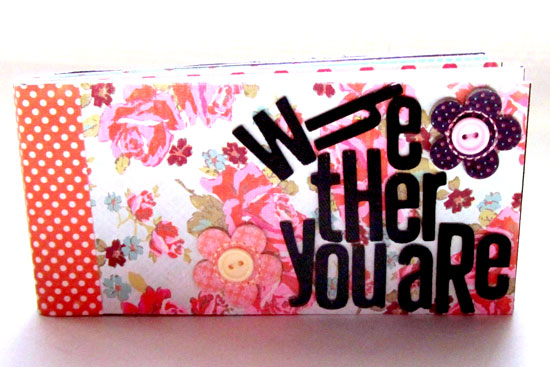
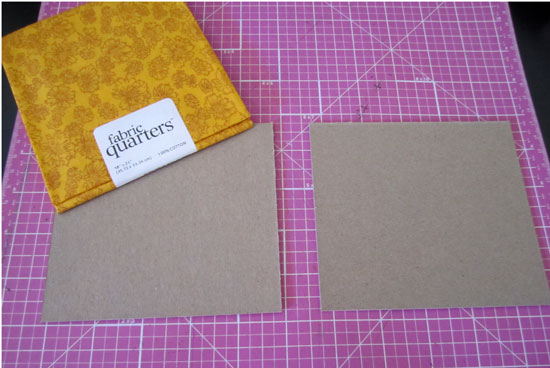
This is the cover page. I used a couple of dimensional flowers by Basic Grey from the Sweet Threads collection. The paper is by Lily Bee Design from the Head Over Heels collection (how suitable…). The fabric letter stickers are Thickers by American Crafts.
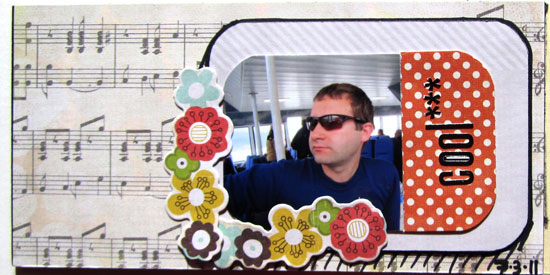
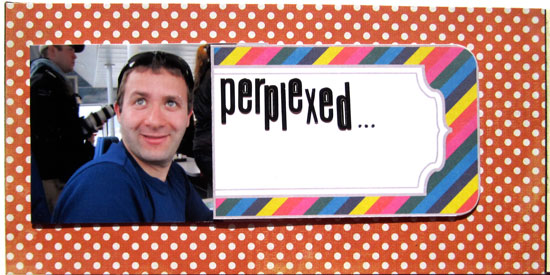
The paper is by Lily Bee Design from the Head Over Heels collection and the photo ‘mat’ is one of my free printables… The black letter stickers (on all the pages) are from various Lily Bee letter stickers sheets. The cool flower stickers are actually a border sticker by Crate Paper [from their Portrait Collection], cut into 2 pieces…
Here I also used the same Lily Bee papers and stickers as well as a paper by My Mind’s Eye from the Everyday Flair collection.
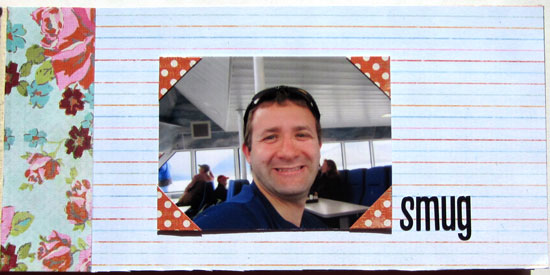
Super simple page… I simply used my free printables and the same Lily Bee’s paper and stickers.

Same here…
More of that Lily Bee paper as well as a few stickers from Basic Grey’s Sweet Threads collection. Plus a couple of my free printables to add visual interest.
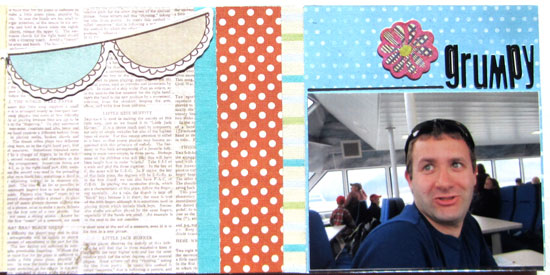
Same. Same, with some old and thin strips of fabric tape and additional paper from Lily Bee’s Memorandum and My Mind’s Eye Everyday Flair collections.
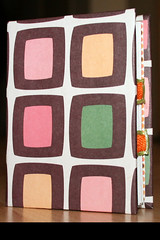
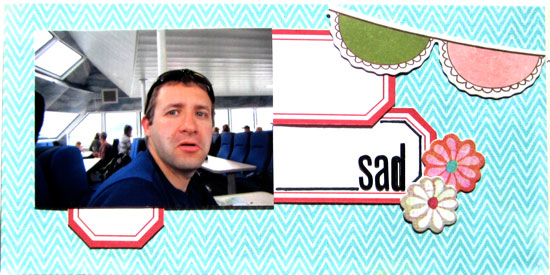
Here I used Crate Paper’s Emma’s Shoppe paper as well as a small mat from My Mind’s Eye Everyday Flair and the same Lily Bee’s letter stickers.
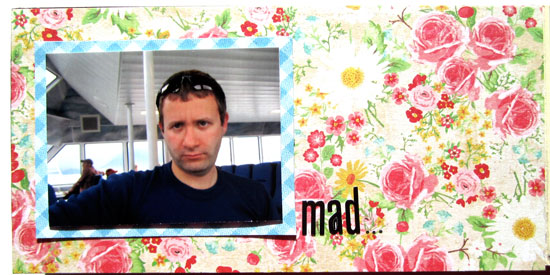
Some more paper from Lily Bee’s ‘Head Over Heels’, a strip of an old Anna Griffin paper tape and letter stickers by Prima.
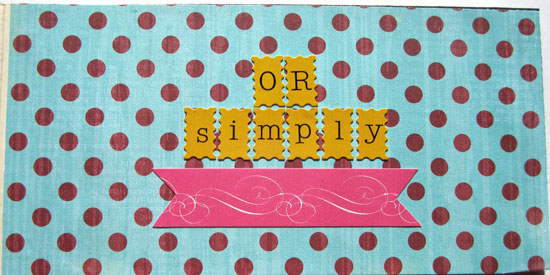
Same good ol’ Lily Bee’s ‘Head Over Heels’ paper and same good ol’ Lily bee’s letter stickers. Can you see the
To spice it up I used Lily Bee’s ‘Head Over Heels’ paper and Prima letter stickers. Just to make it a bit different…
Just kidding.
It’s always quick and easy to use the same collection for a project, that way everything is tied together.
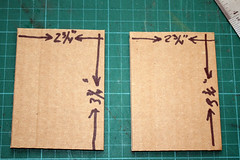
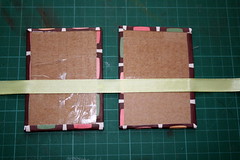
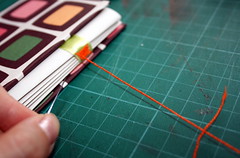
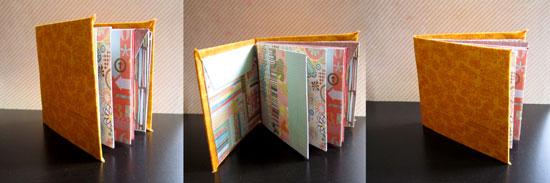
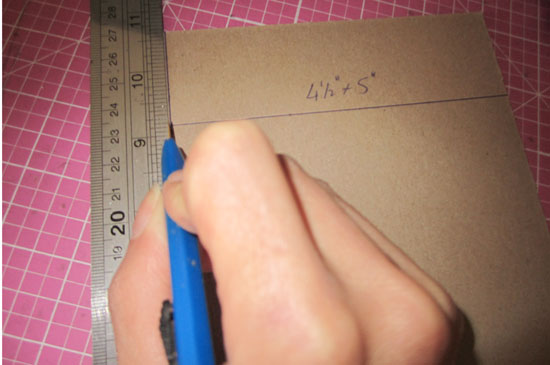
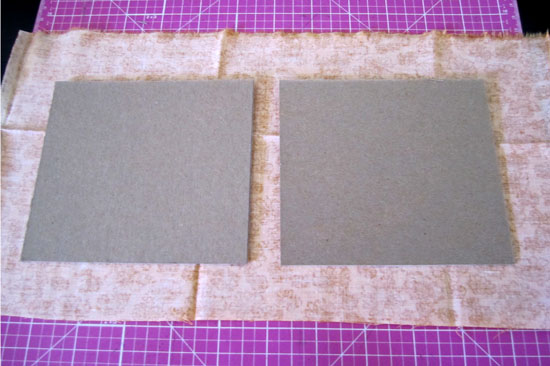
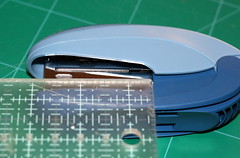
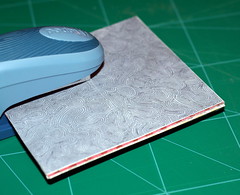
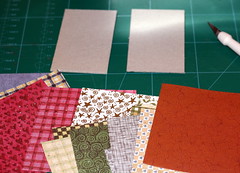
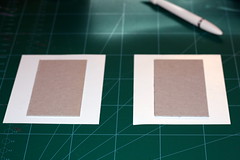
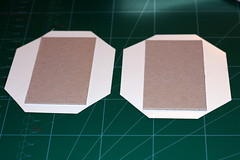
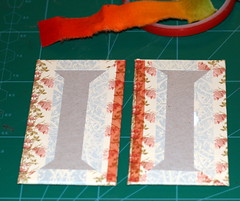
The chipboard I used to make the actual album is by Grafix and the size is just perfect. I cut each sheet in two and it corresponds to a half sheet of patterned paper from a 6″ by 6″ pad or an 1/8th of a 12″ by 12″ sheet of patterned paper. It doesn’t get easier than that…
How To Make The Body of the Album
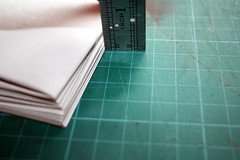
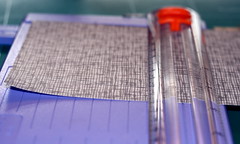
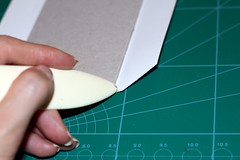
- Cut a sheet of cardstock to a 3″ wide strip.
- Score the strip, lengthwise, every ½”. I am using Martha Stewart’s scoring board – it makes scoring at specific increments really easy.
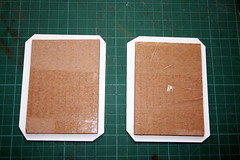
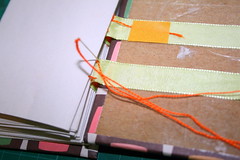
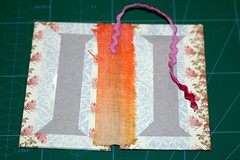
- Fold the scored strip in an accordion fold (peaks and valleys) and attach each chipboard page to the edge of each fold.
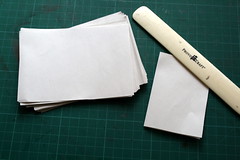
- Cut the extra folded cardstock when you have enough pages for your album (I needed 12 pages for mine).
- To make the spine sturdier, adhere the back side of the folds together.
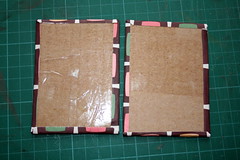
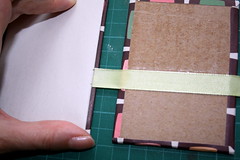
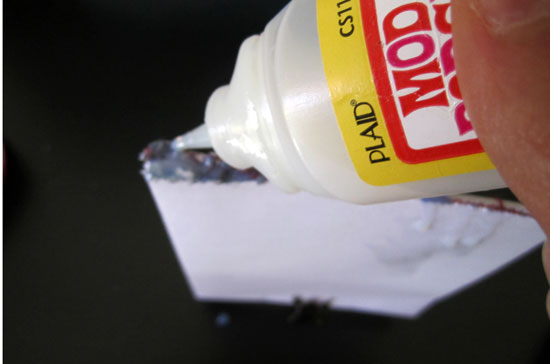
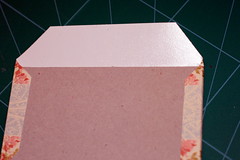
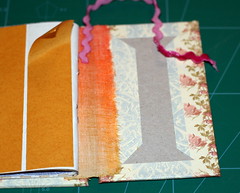
- Adhere patterned paper to each page.
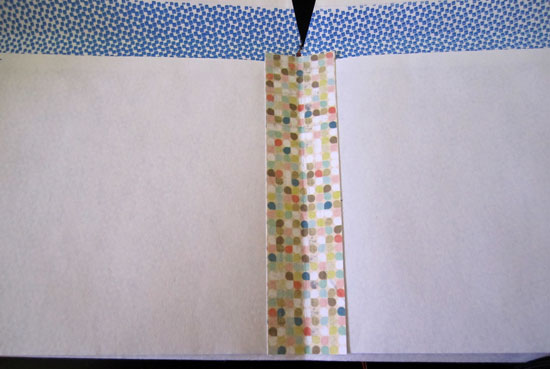
- Adhere a piece of 3″ by 3″ pattern paper at the spine and over the edges of the cover pages – apply adhesive only on the edges, and not where the spine is.
Easy Peasy.


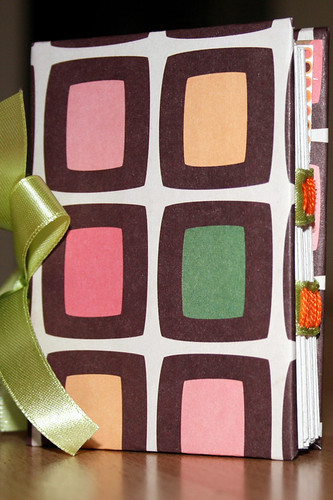 Next time you receive a package, don’t throw the box and the padding material away. Instead, turn them into a gorgeous hardbound journal, you can carry in your pocket.