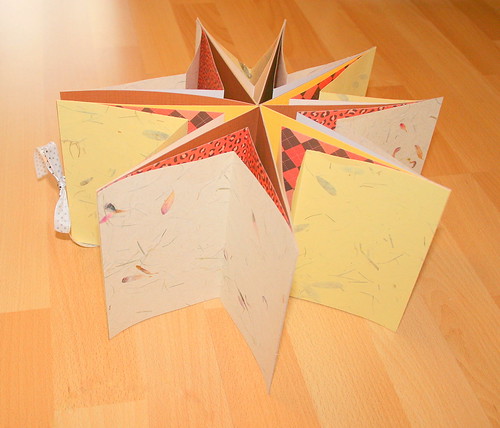
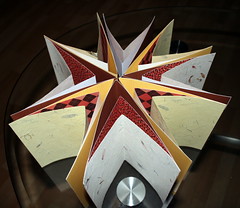
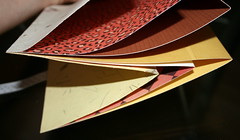
The star album has a strong “WOW” factor as it opens, but it is actually very simple to make one. The secret is in the graduating width of the partitions. For a step by step instructions on how to make this album, keep on reading:
Supply –
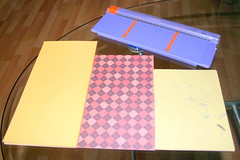
- 4 sheets of 12″ by 12″ cardstock.
- 8 sheets of 12″ by 12″ patterned paper (or 16 sheets of 8½” by 11″ pp).
- Tape runner.
- Double sided tape.
- 2 pieces of ribbon, 12″ each.
Tools –
- Paper trimmer.
- Bone folder.
Step by Step Instructions –
- Cut the star’s partitions, as follows:
- 8 pieces of 6″ by 12″ cardstock (just cut your cardstock in half).
- 8 pieces of 6″ by 10″ patterned paper.
- 8 pieces of 6″ by 8″ patterned paper.
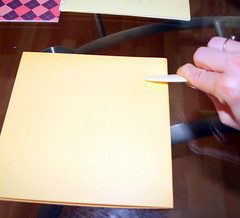
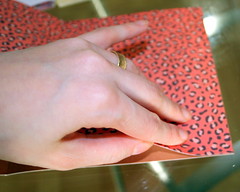
- Fold each piece in half, along its long edge, and burnish well with a bone folder.
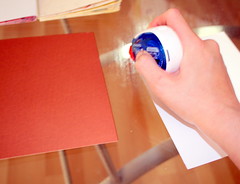
- Apply adhesive to the 6″ edges of the patterned papers.
Then attach the partitions together –
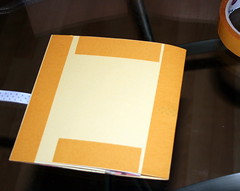
First, attach the 6″ by 10″ patterned paper to the 6″ by 12″ cardstock.
Then attach the 6″ by 8″ patterned paper to the 6″ by 10″ one.
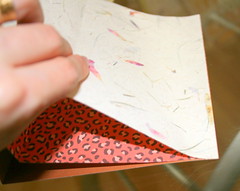
You should end up with this shape –
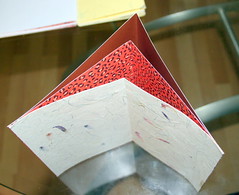
Now repeat, until you’ve got 8 “legs” for building the star. - After you finish adhering the star’s “legs” – assemble it on your desktop, to make sure everything works well together and to guide you through the next stages.
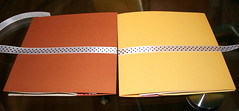
- Pick 2 adjacent “legs” randomly (they are going to become the cover of your album) and apply a double sided tape strip along their midsection.
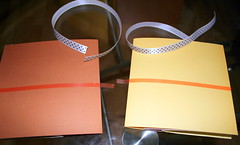
Note that the adhesive’s strip is bulging out of the creased edge – this is done in order to tuck-in the edges of the ribbon for an elegant and more finished looking closure. Just wrap the access adhesive’s strip over the crease and attach the ribbon to it.
- Next, pick one of the outer “legs” and start attaching each 6″ by 6″ partition to the adjacent one.
This is when assembling the star’s shape in advance is going to come in handy. - Repeat the last stage, until you finish attaching all the star’s partitions to each other. Make sure not to attach the partitions with the ribbon to each other…
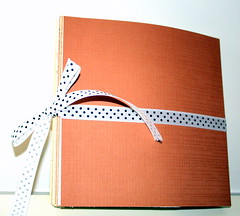
A glimpse at the star album while it’s closed:
Enjoy!!!
If you have any question, suggestion or remark – don’t hesitate to contact me – either leave a comment, use the contact form or start a new thread on the Creativity Prompt Flickr Group!!!
I would also be very happy to see your own star-album creations, so don’t be shy and share 🙂
Tags: album, creativity, creativity prompt, mini-album, scrapbooking


Another cool idea. 🙂 I like it a lot!
Wow, that is cool! I love things that look super impressive but are easy to make. I’ll be linking.
This is an awesome idea. Thank you so much for sharing. I think with these instruction I could even figure it out. 🙂