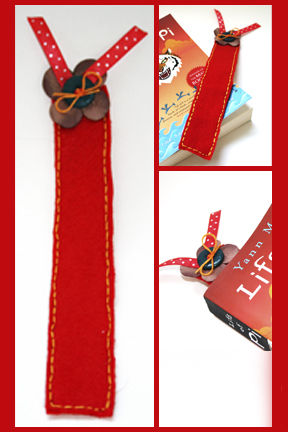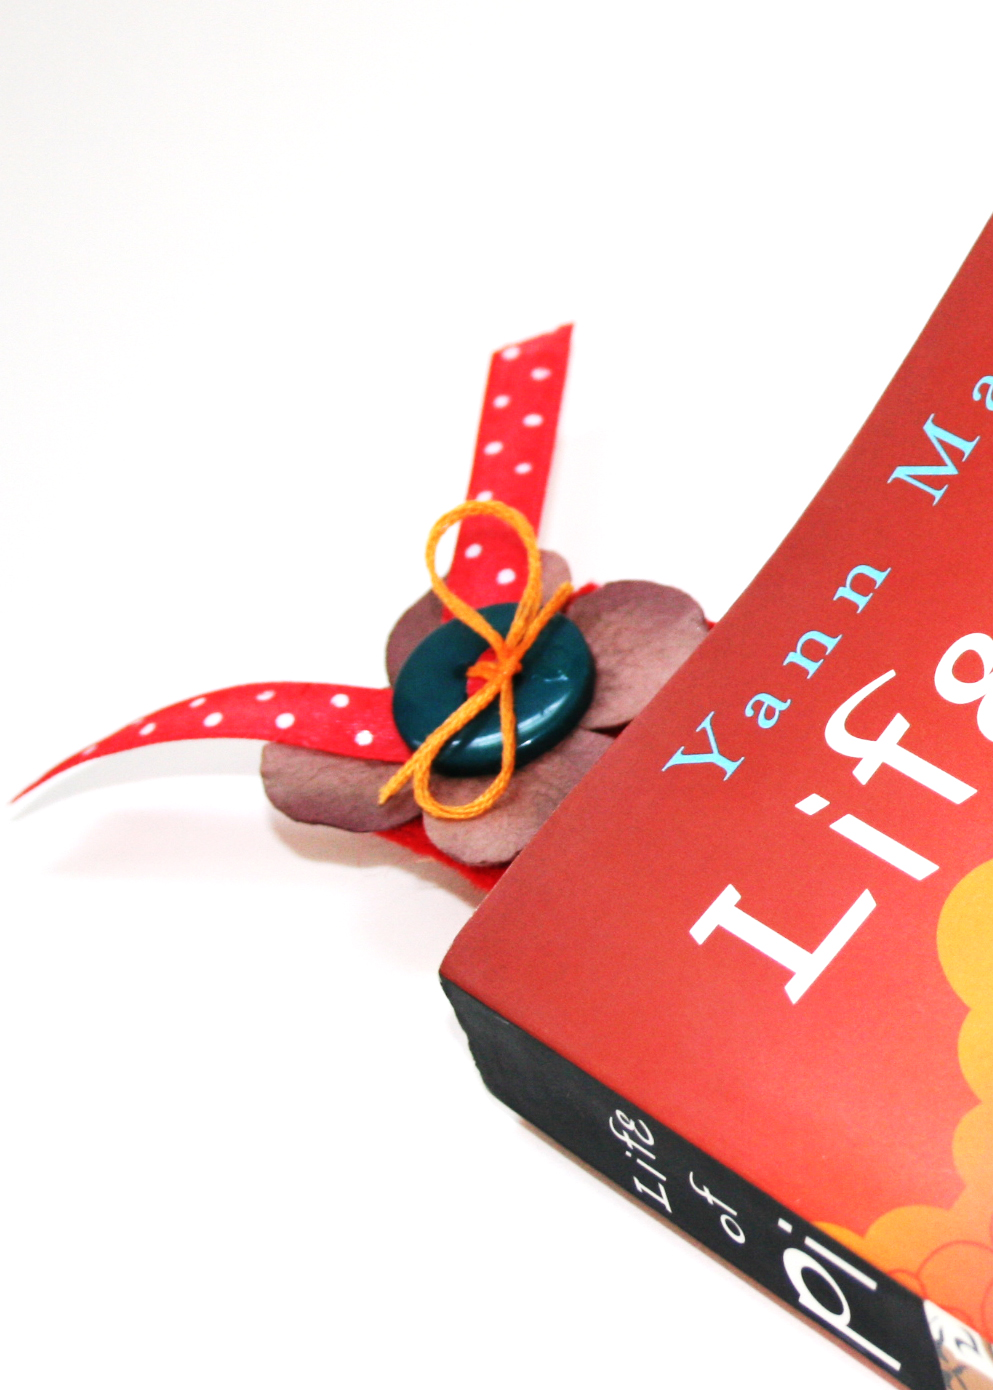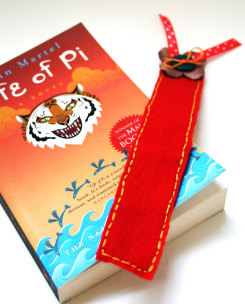
I am equally [i.e. very] passionate about two things: making stuff and reading… Therefore, it is only natural that sooner or later I came up with a way to combine both by making bookmarks – so cute I sometimes stare at them for a while before I start reading (another oddity you’ve learned about me).
A few years back, when I had no time for arts and crafts – working looooong hours at the office – I purchased a laminating machine, making bookmarks for my self and for my parents and for my sisters and… Well, you got the picture. Sadly the laminating machine passed away after we had moved to Ireland. It never made it to California. Technically speaking it didn’t even make it to Ireland…
Well, when laminating is out of the question, lets pull out our felt stash and make the cutest bookmark e-v-e-r! Are you with me on that?
Tools & Supply
- Felt scraps (2 strips at your desired bookmark’s size)
- Cardstock (scraps would work, you need only 1 strip)
- Button (Choose a large button with 4 holes)
- Ribbon (6″ will do)
- Paper flower
- Embroidery floss + Needle
- Tape runner
- Grid ruler
- Scissors
- Fine tip marker
- Diamond Glaze
How To
[Music by the talented Josh Woodward from his album: “The Simple Life”]
Step by Step Instructions
- Cut two pieces of felt to your desired bookmark’s size (mine were 9¼” by 1½”).
- Trace one of your felt strips on a piece of plain cardstock.
- Align the edge of your traced rectangular with the ¼” mark of your ruler and draw a line – both lengthwise and widthwise, then cut the smaller rectangle with sharp scissors.
- Make s felt “sandwich”, by placing the cardstock strip between the 2 felt strips. temporarily adhere the cardstock to the felt with a [permanent] tape runner.
- Take your ruler and place it about an 1/8th of an inch from the edge of your felt sandwich and mark at each ¼” as a sewing guide for later on. Keep on marking all around the rectangle’s edges – you can also make smaller marks, depending on your desired stitch’s size.
- To allow your ribbon to easily go through the button’s holes, cut both ends to a pointy edge, then thread it through 2 of the button’s holes. Cut the excess ribbon off and protect the edges from fraying by applying a tiny dab of Diamond Glaze.
- We are using the button as a tool to finish off the sewing, as we cannot conceal the knot anywhere else. Therefore thread the embroidery floss through the button and into the flower and then through the felt sandwich. Leave a long tale for your knot at the end.
- Keep on stitching the edges of the felt sandwich with a backstitch.
- Secure your sewing by threading the embroidery floss back through the flower and the button and tying it in a knot with the tail you’ve left before. A dab of diamond glaze will keep the knot secured.


Share
If you have any question, suggestion or remark – don’t hesitate to contact me – either leave a comment here, use the contact form or start a new thread on the Creativity Prompt Flickr Group!!!
I would also be very happy to see your own creations, so don’t be shy and share 🙂
If you liked this post you may want to subscribe to my feed:
Tags: bookmark, craft, crafts, creativity, creativity prompt, felt, Tutorial, Video Tutorial
 Subscribe in a reader
 Subscribe by Email


This is so pretty, I’ll be linking. I love Life of Pi! I hope I have time to reread it in the future.
Thanks! I am going through it for the first time and loving it so far 🙂
Life of Pi is a super book. I must admit that I believed it was a true story until my book club laughingly corrected me. That, I believe, is the sign of a talented writer (or possibly a stupid reader…)
PS-Love your blog!!
Thanks Dlane. It is a sign of a genius writer. Indeed 🙂
[…] Instructions with a video on making a felt bookmark, at Creativity Prompt – Link […]
I just found this site a while back when a friend of mine recommended it to me. I have been an avid reader ever since.