/** Font types */

Posts Tagged ‘felt’

Creativity Prompt – How To Make a Felt Bookmark

Friday, June 5th, 2009

How To Make a Felt Bookmark
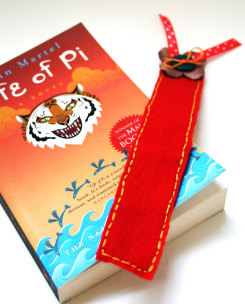
I am equally [i.e. very] passionate about two things: making stuff and reading… Therefore, it is only natural that sooner or later I came up with a way to combine both by making bookmarks – so cute I sometimes stare at them for a while before I start reading (another oddity you’ve learned about me).

A few years back, when I had no time for arts and crafts – working looooong hours at the office – I purchased a laminating machine, making bookmarks for my self and for my parents and for my sisters and… Well, you got the picture. Sadly the laminating machine passed away after we had moved to Ireland. It never made it to California. Technically speaking it didn’t even make it to Ireland…

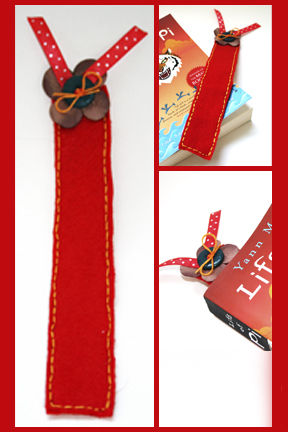
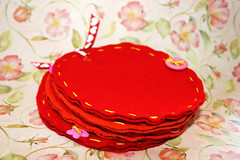
Well, when laminating is out of the question, lets pull out our felt stash and make the cutest bookmark e-v-e-r! Are you with me on that?

Tools & Supply

How To


[Music by the talented Josh Woodward from his album: “The Simple Life”]

Step by Step Instructions

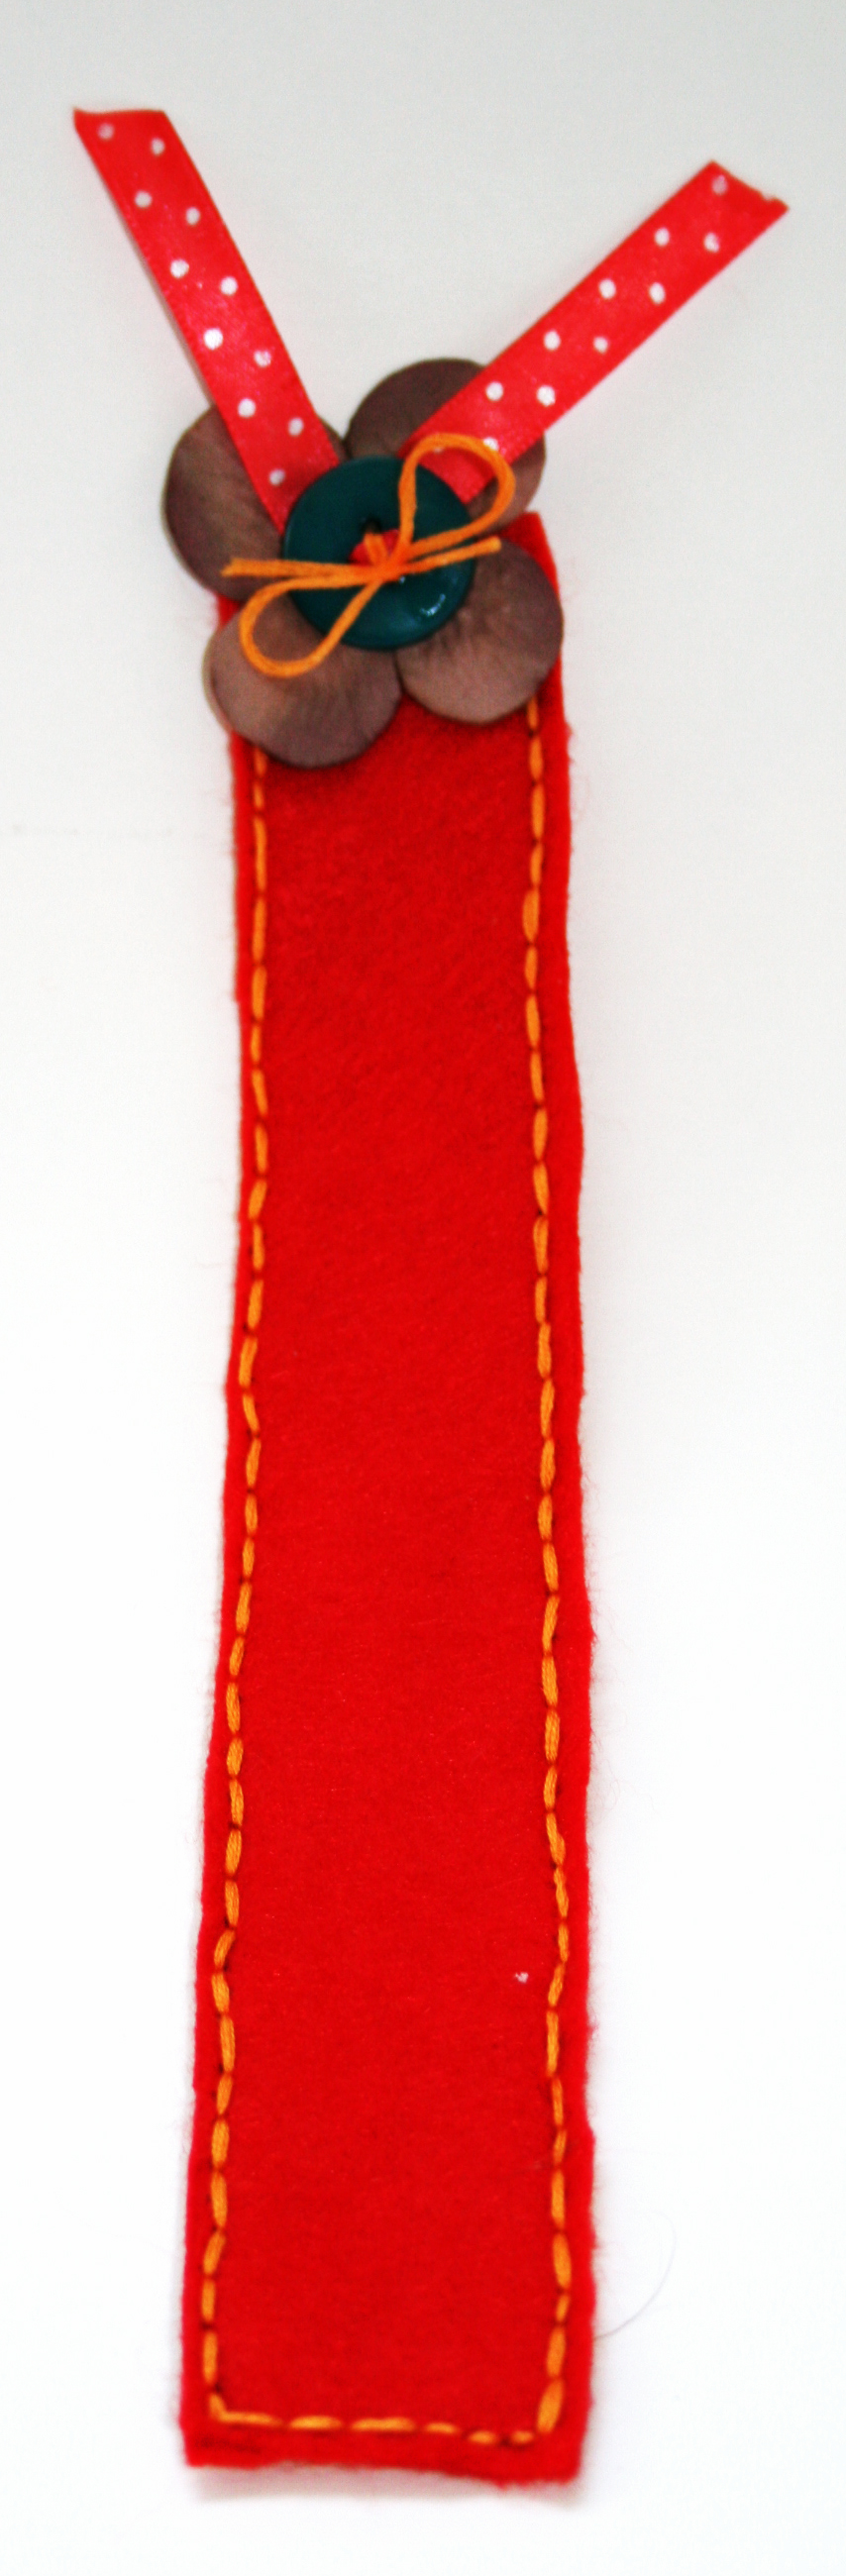
  1. Cut two pieces of felt to your desired bookmark’s size (mine were 9¼” by 1½”).
  2. Trace one of your felt strips on a piece of plain cardstock.
  3. Align the edge of your traced rectangular with the ¼” mark of your ruler and draw a line – both lengthwise and widthwise, then cut the smaller rectangle with sharp scissors.
  4. Make s felt “sandwich”, by placing the cardstock strip between the 2 felt strips. temporarily adhere the cardstock to the felt with a [permanent] tape runner.
  5. Take your ruler and place it about an 1/8th of an inch from the edge of your felt sandwich and mark at each ¼” as a sewing guide for later on. Keep on marking all around the rectangle’s edges – you can also make smaller marks, depending on your desired stitch’s size.
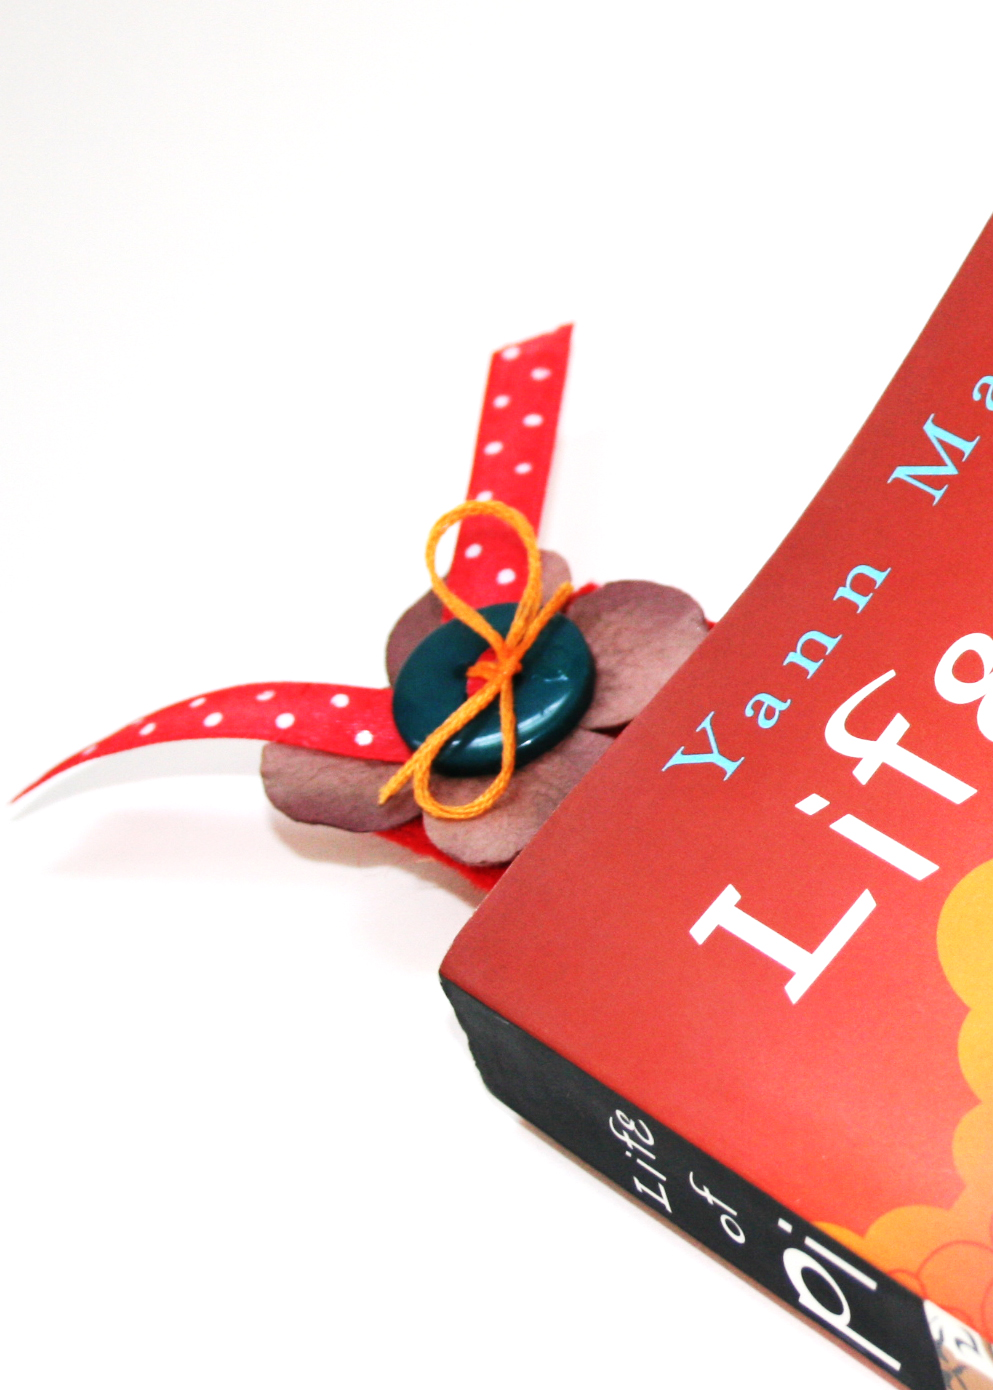
  6. To allow your ribbon to easily go through the button’s holes, cut both ends to a pointy edge, then thread it through 2 of the button’s holes. Cut the excess ribbon off and protect the edges from fraying by applying a tiny dab of Diamond Glaze.
  7. We are using the button as a tool to finish off the sewing, as we cannot conceal the knot anywhere else. Therefore thread the embroidery floss through the button and into the flower and then through the felt sandwich. Leave a long tale for your knot at the end.
  8. Keep on stitching the edges of the felt sandwich with a backstitch.
  9. Secure your sewing by threading the embroidery floss back through the flower and the button and tying it in a knot with the tail you’ve left before. A dab of diamond glaze will keep the knot secured.

Felt bookmarkFelt bookmarkFelt bookmark

Share

If you have any question, suggestion or remark – don’t hesitate to contact me – either leave a comment here, use the contact form or start a new thread on the Creativity Prompt Flickr Group!!!

I would also be very happy to see your own creations, so don’t be shy and share 🙂

If you liked this post you may want to subscribe to my feed:

Creativity Prompt – How To Make An Oval Felt Mini-album

Friday, April 17th, 2009

Felt Mini Album
Surprisingly felt costs less than cardstock. How strange is that? Michael’s offers letter size pieces of felt in many vibrant colors for only 30 cents a piece. Regardless of its price, felt adds so much more to a project than a simple piece of cardstock. It adds softness, texture, cuteness and a dash of “je ne sais quoi” that makes everything better.

For this week’s creativity prompt I teach you how to make this cutest little felt mini album. If you feel like making one, stay tuned and keep on reading.

Tools and Supply

How To


Music by josh Woodward

Step By Step Instructions

  1. Cut from your cardstock 1 big oval and 5 ovals which are ¼” smaller then the first one. The big oval will be used as a template for your felt pages and the smaller ones will be used to support the felt pages and make them more durable.
  2. Take your largest oval and lay it down on your felt. Trace around it with a marker. You will need 10 felt ovals for a 5-pages album.
  3. Cut your felt ovals out.
  4. Note: for the sake of this tutorial, I have skipped this step – which is the main one => Now it’s time for you to create your beautiful felt album pages. Make use of the felt’s special qualities. Embroider on it. Sew your pictures and patterned paper onto it (just pierce them first with an awl). Add buttons, flowers and other pieces of fabric with a needle and a thread. Be creative!!! All the back stitches will be covered in the next step.
  5. “Sandwich” each 2 felt pages with 1 cardstock “core”. Adhere the felt pages temporarily with a tape runner.
  6. Sew all around the edges of the felt “sandwich”. Make sure you don’t sew through the cardstock.
  7. As you will not be able to conceal the edges of your embroidery floss, thread them through a button and tie in a knot. this way you can secure your stitching and add a decorative finishing touch at the same time. (Tip: Add a tiny bead of diamond Glaze to your knot to prevent it from fraying later on.)
  8. Punch a hole at the top of each oval “sandwich” and set an eyelet in it. The crop-a-dile works the best. (as you can see on the video, I was trying to use a Provo Craft’s eyelet setter too and it was too hard to poke through the 3 layers of felt and cardstock).
  9. Thread your ribbon (or book binding ring) through the eyelets (Tip: Cut the ends of the ribbon in a sharp angle to make the threading easier), make a cute knot and enjoy your fuzzy mini-album.

Mini Felt Album Mini Felt Album

Share

If you have any question, suggestion or remark – don’t hesitate to contact me – either leave a comment here, use the contact form or start a new thread on the Creativity Prompt Flickr Group!!!

I would also be very happy to see your own creations, so don’t be shy and share 🙂

You might also like these tutorials:

Cretivity Prompt – Felt Mini Album

Friday, March 20th, 2009

Felt Mini Album One of the hardest things in living far away from your family is being absent from family gatherings during the holidays. Purim is one of those occasions. The kids are wearing their costumes and the general atmosphere is one of joy and festivity. This Purim I wasn’t able to join my family, but I wanted to create a mini album that I can carry around so at least I will be near the photographed memories…

To capture the holiday spirit, I designed a mini album which is covered in felt and has some embroidery details on its cover, as well as a decorative edge to all the signatures inside. This mini album is in fact a dressed up version of the 10 minute mini book tutorial. I guess my minis want to dress up for Purim – who am I to stop them?

The felt cover protects the album, but also provides softness that makes you want to caress it… A feeling which goes hand in hand with the cute pictures of my nephews and niece: Superman, the Bride, Robin Hood and the Knight In Shining Armor…

If you want to make one for yourself or as a gift to a loved one, keep reading…

Tools & Supply –

How To –

Step by Step Instructions –

  1. Cut your cardstock at 9″ by 4″. (If you want to give up the scalloped edge, or to simply round up the corners, you can cut your cardstock at 8″ by 4″ and score at 4″ instead).
  2. Score your cardstock at 4½” and fold in half. Use a bone folder for a crisper crease.
  3. Align the edges of each closed signature with the tick marks of the border punch. Make sure the ends are placed at the same tick mark on both sides. Punch firmly and repeat all across the edge. If you are more cautious about your [EXPENSIVE] punch, or if your signatures are made of heavy-weight cardstock, you can punch each edge individually, as long as your alignment is precise. It will just take longer.
  4. Attach the signatures together with glue stick. Again, take special care at aligning the scallops together. Use a brayer to insure a strong hold.
  5. Let the signatures dry while they are spread wide open to make sure they won’t get stuck together.
  6. Measure and cut a stripe of felt. Use the signatures for measuring. Just pencil in a tick mark a little bit above the height of the signatures and cut along with sharp scissors. (~4¼” by 11½”).
  7. Figure out the placement of your flap using the signatures. Note that the spine adds some dimension. After finding the right placement, pencil in your title and embroider over it using a backstitch.
  8. After finishing your title design, use the remaining embroidery floss to create a loop in the middle of the flap. Thread your embroidery floss horizontally and allow a loop to form, then secure its ends. Don’t worry about the backside of the flap, as it’ll be covered later.
  9. Use the signatures to find the placement of the flap on the felt cover when closed. Allow some room for adding dimensional elements to the album’s pages. Sew a button in correlation to the loop you have just added to the flap.
  10. Measure and cut a piece of patterned paper and glue on the flap to conceal the embroidery’s backside. Use a brayer to insure a strong hold. (~4″ by 2″.)
  11. Attach the signatures to the felt with glue stick, let dry and start playing with the inside pages 🙂

Here is a glimpse to all the inside pages of my mini album:
[Click on the photo for a closer view]

The Inside Pages Of The Mini Album

Share –

If you have any question, suggestion or remark – don’t hesitate to contact me – either leave a comment here, use the contact form or start a new thread on the Creativity Prompt Flickr Group!!!

I would also be very happy to see your own creations, so don’t be shy and share 🙂