I am always looking for new ways to expand my creativity and try out different things, which is why I have recently purchased a simple sewing machine.
I never intended to use the sewing machine to make or amend clothes, nor did I intend to sew hand made dolls, home decor or bags (though I definitely do not rule out any of these).
My first intention for this sewing machine was to stitch papers with it.
I love the sewn look. It makes everything look better, well designed and finished.
So there is no surprise in me spending a whole weekend just fiddling with my new sewing machine, trying out different things and making about a gazillion cards, these are their stories…:
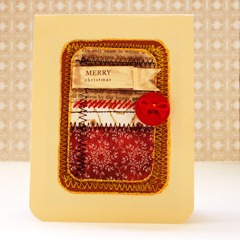
 Cast of Characters – American Crafts cardstock in “Earth Tones”; Cardboard; American Crafts white glitter button; Red embroidery floss; Patterned paper by Cosmo Crickt – “Jolly by Golly”; Handmade Mulberry paper; Papertrey Ink stamp “Messages”; Palette hybrid ink in “Dark Chocolate” .
Techniques – This one is pretty straightforward. I just ripped off a piece of cardboard and exposed the corrugated layer, then sewed it to the card over a couple of other patterned paper pieces, also sewn to the card base. Later I attached the button with a glue dot and stamped the greeting.
 Cast of Characters – Wausau heavy-weight cardstock; Patterned paper by Basic Grey from last year’s “Wassail” collection; Fiskars “Apron Lace” border punch.
Techniques – First I sewed the patterned paper strips to the card base and then cut the gift images from the paper with precision scissors and adhered them with pop-dots.
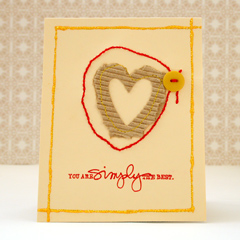 Cast of Characters – Wausau heavy-weight cardstock; Ali Edwards stamp “Simply You” by Technique Tuesday; Palette Hybrid ink in “Poppy Red”; Red embroidery floss; Yellow button; Thin corrugated cardboard; Cuttlebug heart shaped die; Rangers yellow Stickles.
Techniques – I used the negative of the die-cut corrugated cardboard and teared it around the shape, then sewed around it. After that I sewed around the shape with no thread and hand-stitched it with embroidery floss, using the holes the machine poked in the card base. I added a button with a glue dot and added a sewn frame that holds an inner lining paper which conceals the hand-sewn stitches inside. For a touch of glitter, I went over the sewn frame with yellow glitter glue.
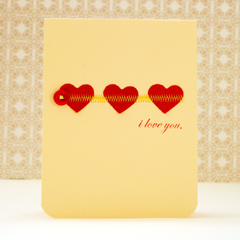 Cast of Characters – Wausau heavy-weight cardstock; Mulberry paper heart die cuts; Papertrey Ink vintage button in “Poppy Red”; Palette Hybrid ink in “Poppy Red”; Ali Edwards stamp “Simply You” by Technique Tuesday; Yellow embroidery floss; We Are Memory Keepers “Corner Chomper”.
Techniques – This is probably the simplest card, but the one I love the most… All I did was to temporarily adhere the heart die-cuts to the card base and go over them with a couple different stitches Then I attached the button with a glue dot, stamped the greeting (I cut the clear stamp because I didn’t want to use the first part of the greeting) and voilà …
 Cast of Characters – Wausau heavy-weight cardstock; American Crafts cardstock in “Earth Tones”; Rangers yellow Stickles; Papertrey Ink vintage button in “Poppy Red”; Palette Hybrid ink in “Dark Chocolate”; Papertrey Ink stamp “Messages”; Red embroidery floss; Small square punch; We Are Memory Keepers “Corner Chomper”; Patterned paper by Basic Grey from last year’s “Wassail” collection; Handmade paper; vintage textbook paper.
Techniques –In this card I made a collage of different paper strips, sewn both horizontally and vertically with different types of stitches as well as hand-sewn with red embroidery floss. Then I adhered the paper collage with pop dots on another piece of cardstock, also sewn to the card base. After that I added the finishing touches – a button adhered with a glue dot, glitter frames and distressing the text paper with a baby wipe dabbed in the “Dark Chocolate” ink.
The greeting banner: I stamped the greeting on cardstock and cut it into a small rectangle. Then I fed the end of the rectangle through the edge of the square punch and created the slotted end. The I curled it with the blade of my scissors, pleated it in one end, distressed it with the baby wipe stained with the ink and adhered it by applying glue-dots only to its ends.
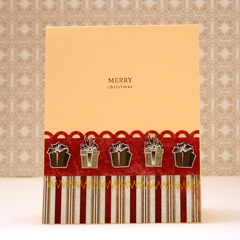
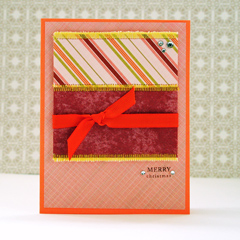 Cast of Characters – Bazzill textured cardstock in “Butterfly” ; Papertrey Ink stamp “Messages”; Palette Hybrid ink in “Dark Chocolate”; Orange grosgrain ribbon; Striped patterned Paper by chatterbox; Rhinestones; Patterned paper by Basic Grey from last year’s “Wassail” collection.
Techniques – Simple. Simple. Simple. I temporarily adhered the paper strips to a piece of cardstock and sewed them to it. The stitch is very dense, so it was easy to tear up the cardstock excess. After finishing the sewing part I tied a ribbon around the cardstock, then I attached it to the patterned paper with some pop-dots. I added the rhinestones and the stamped greeting and that’s it. Simple…
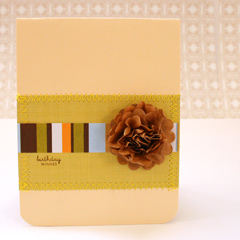 Cast of Characters – Wausau heavy-weight cardstock; We Are Memory Keepers “Corner Chomper”; Brown paper – recycled from a package filler; Striped patterned paper by Black River Designs (awesome papers, great quality, by the way…); Green patterned paper by Chatterbox; Papertrey Ink stamp “Messages”; Palette Hybrid ink in “Dark Chocolate”.
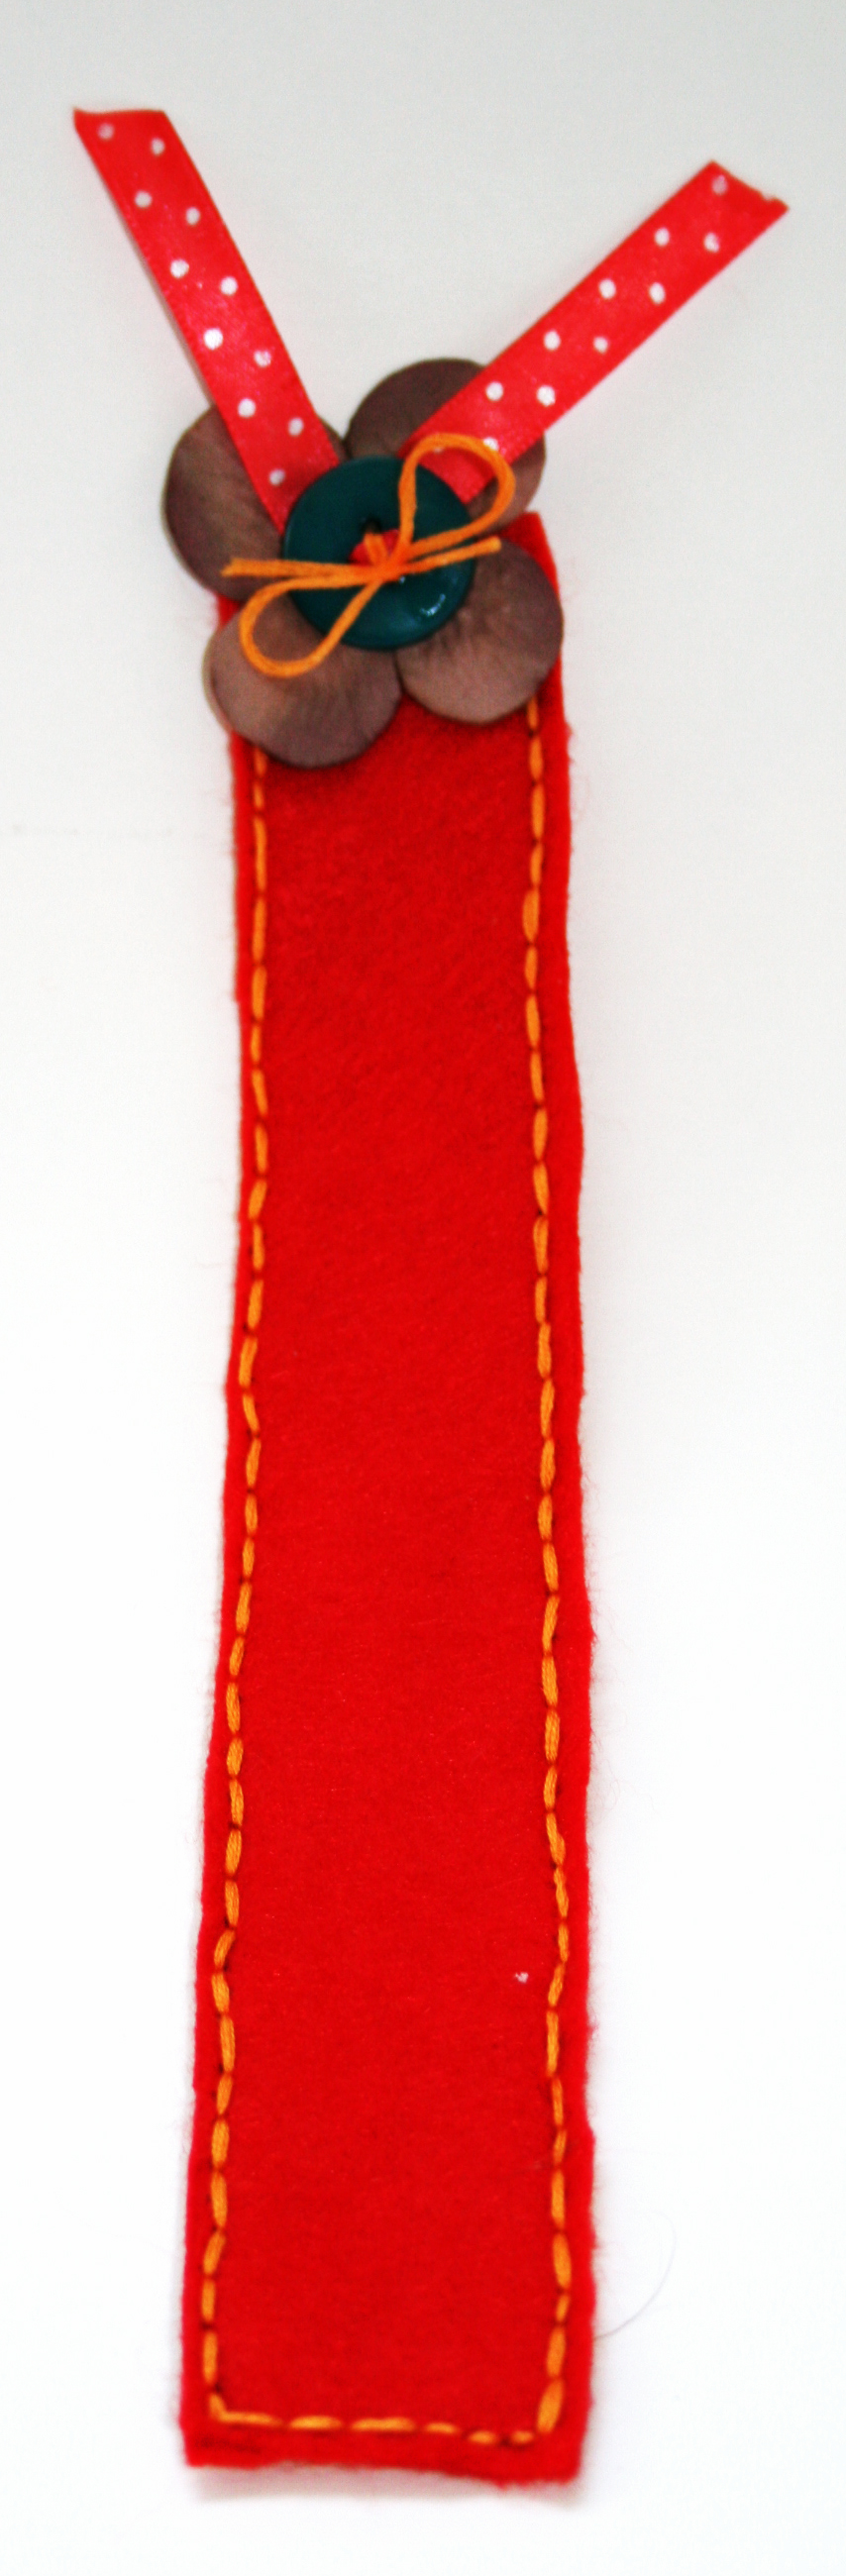
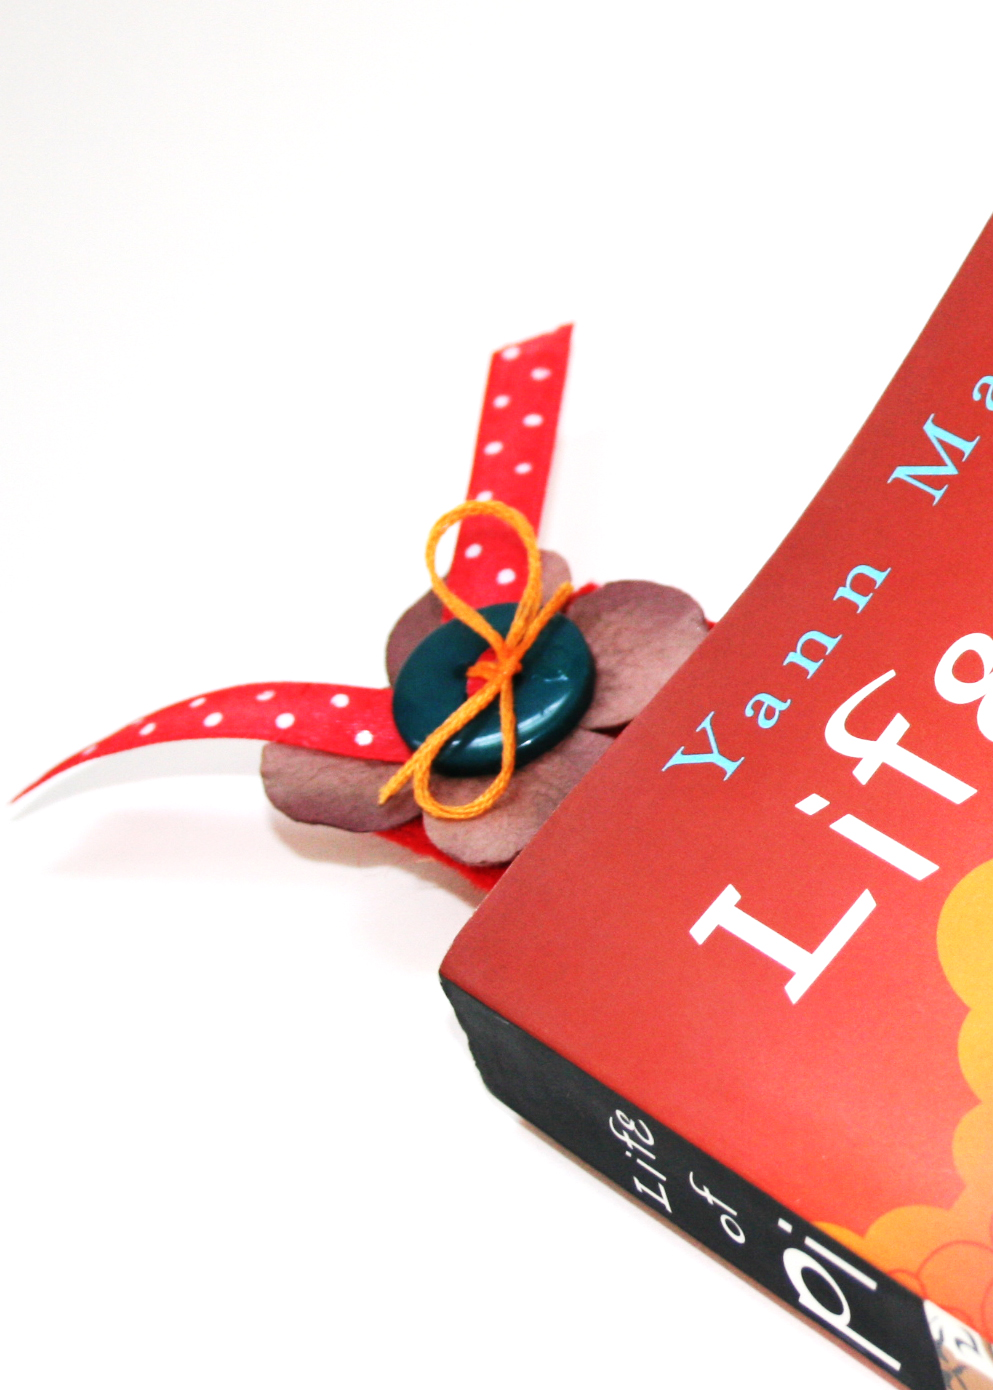
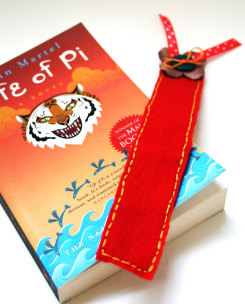
Techniques – I started by sewing the green paper to the card base with a zig-zag stitch. The I adhered the striped piece of patterned paper and attached the handmade flower with a few glue-dots.
The handmade flower: I punched 10 pieces of brown paper with a scallop circle punch by EK Success. Then I sewed all the pieces together in the center and crumpled all the layers, one after the other – starting with the top layer – until I achieved the look I was looking for.
Share
Do you own a sewing machine? Have you used a sewing machine for paper crafts? Share by leaving a comment on this post.

Check out “Make Your Own Planner” workshop for a fun, quick and affordable holiday gift – either for you or for a loved one.

“Capture Your Dream” workshop is relaunching as a self-paced workshop. Isn’t this the perfect time for you to capture your dream and make it happen?
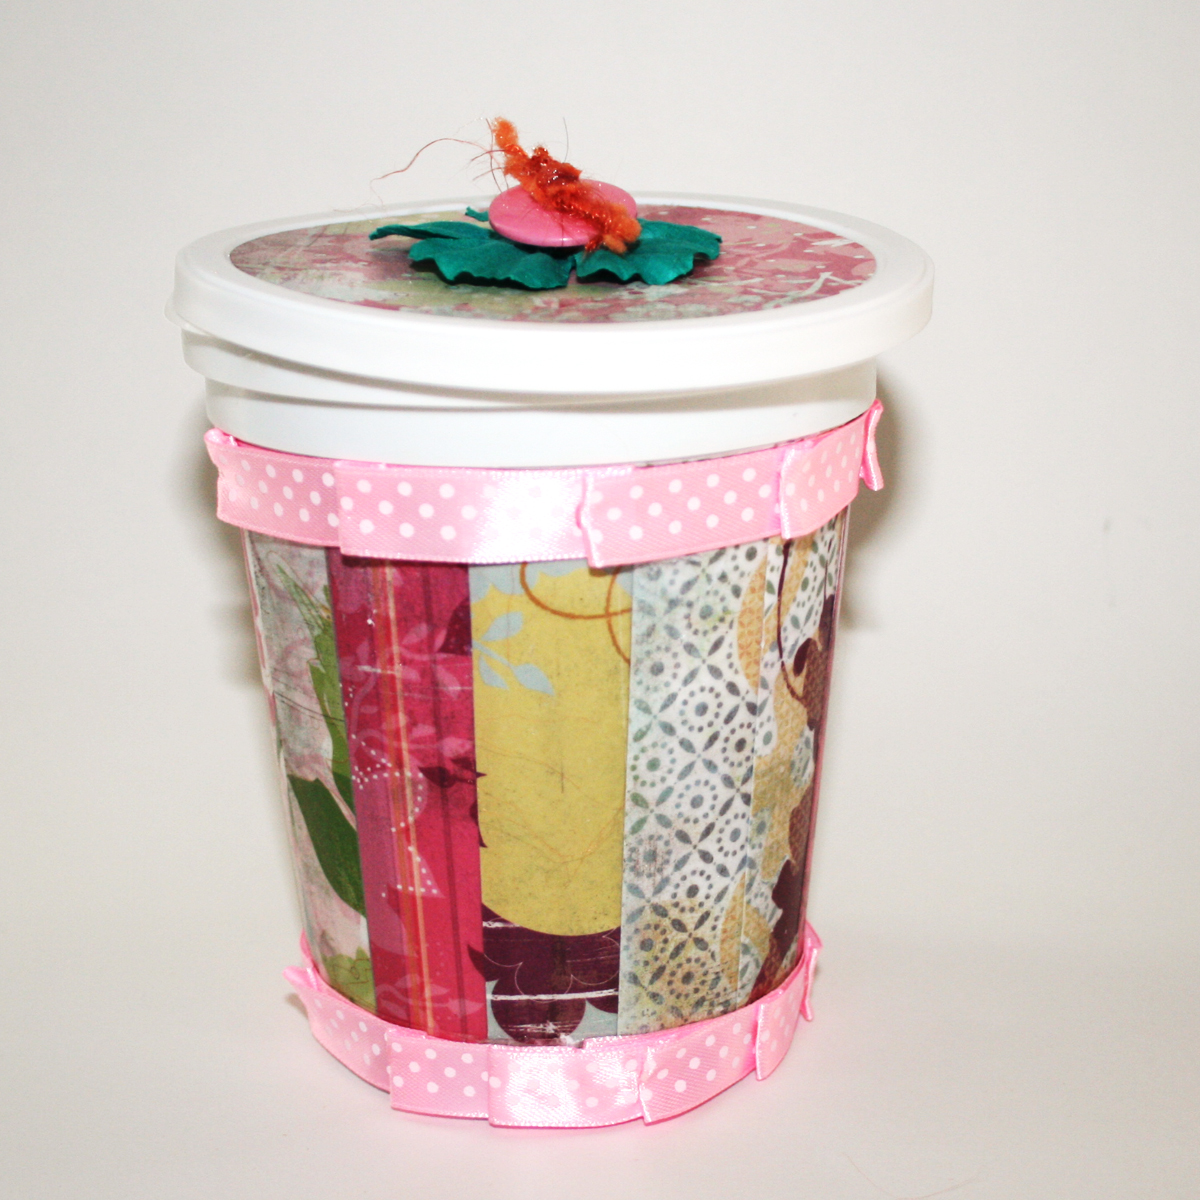
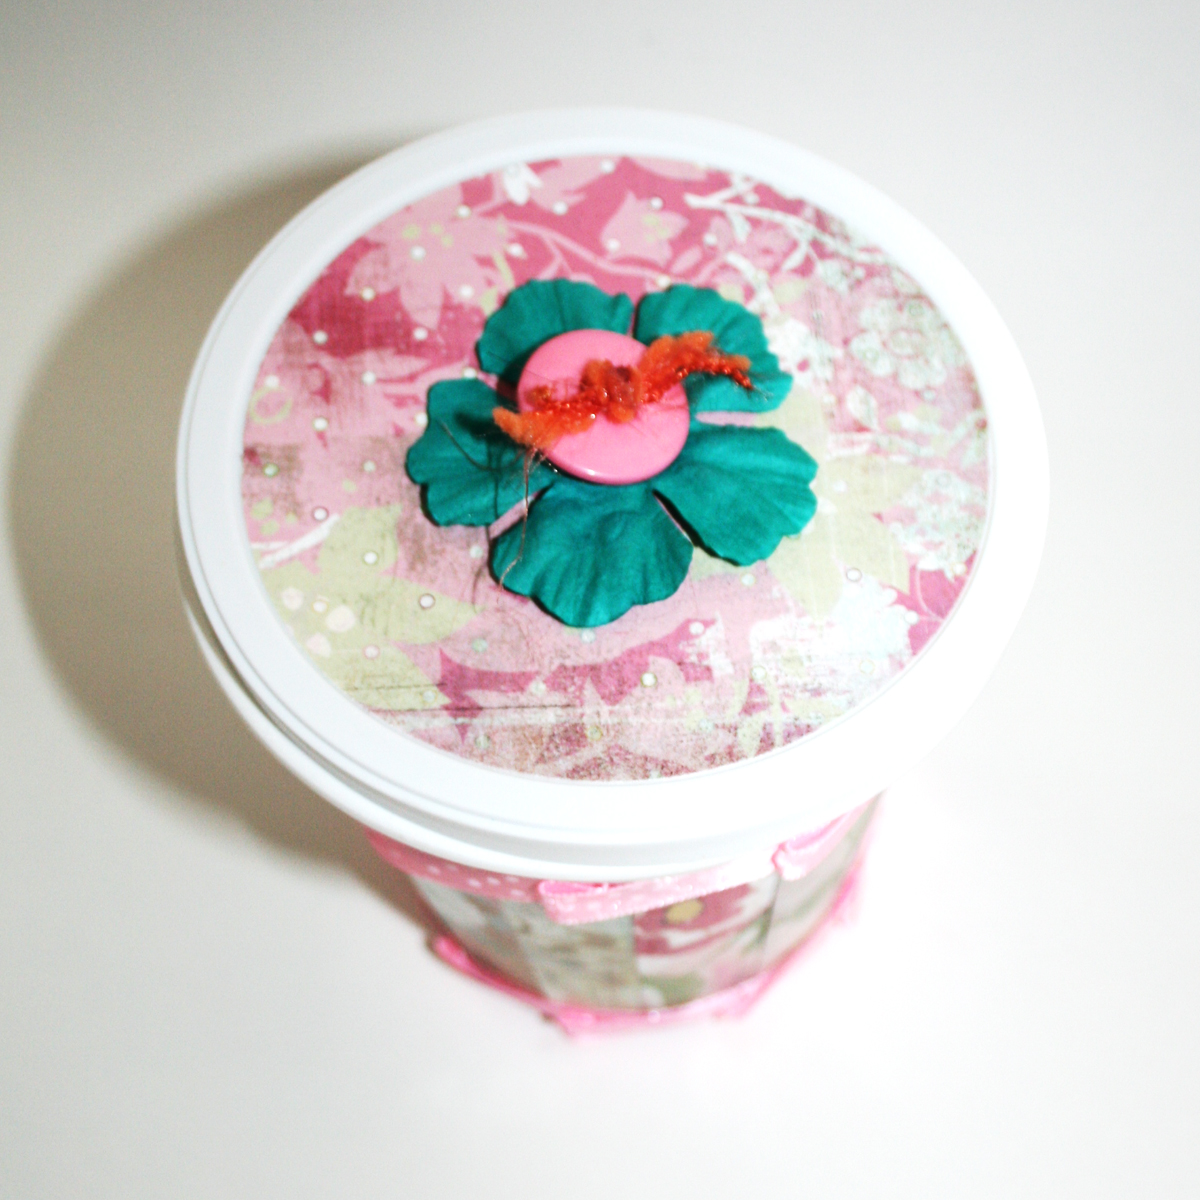
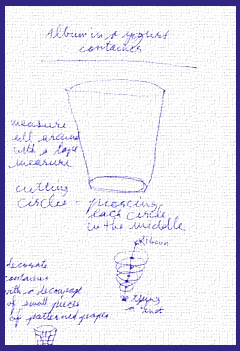
 Being environmentally friendly is important to me. It is actually very selfish of me, as I want my posterity to enjoy mother earth as long as possible. Therefore on one of my very first creativity prompts I have shown you how to
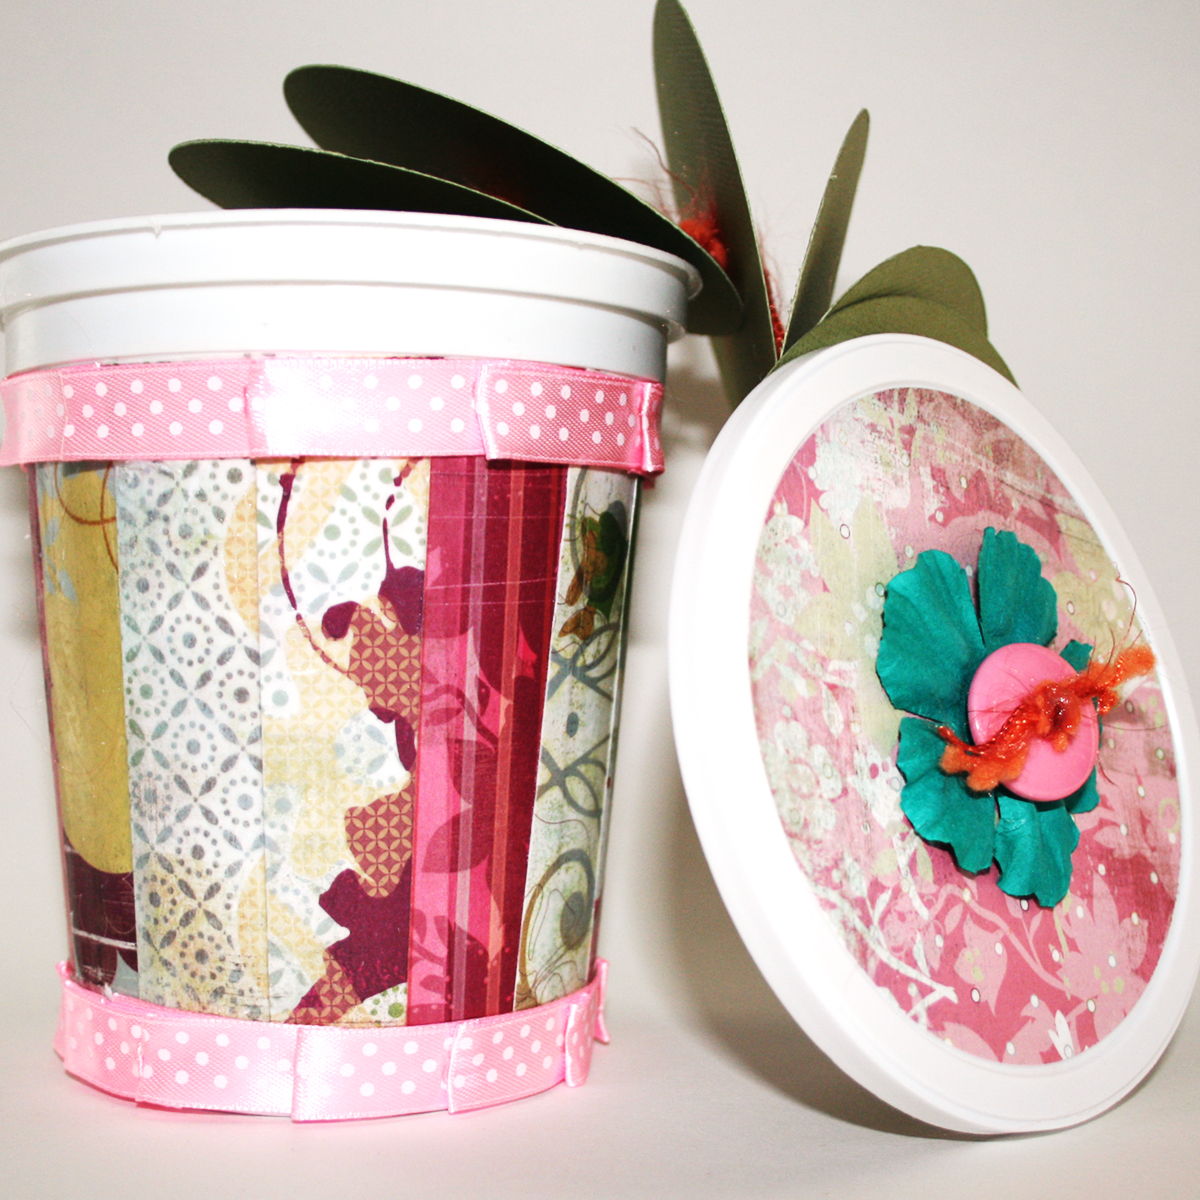
 Subscribe in a reader
 Subscribe by Email
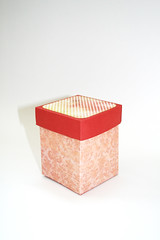
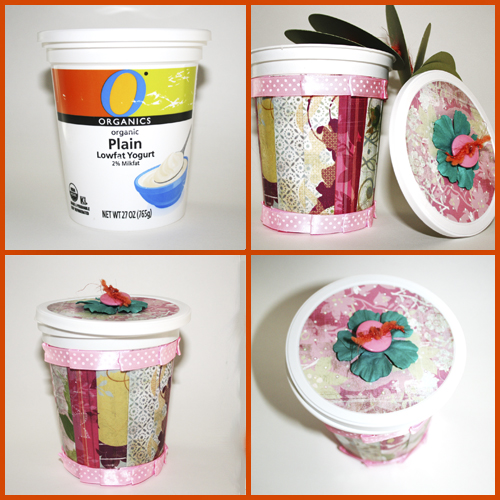
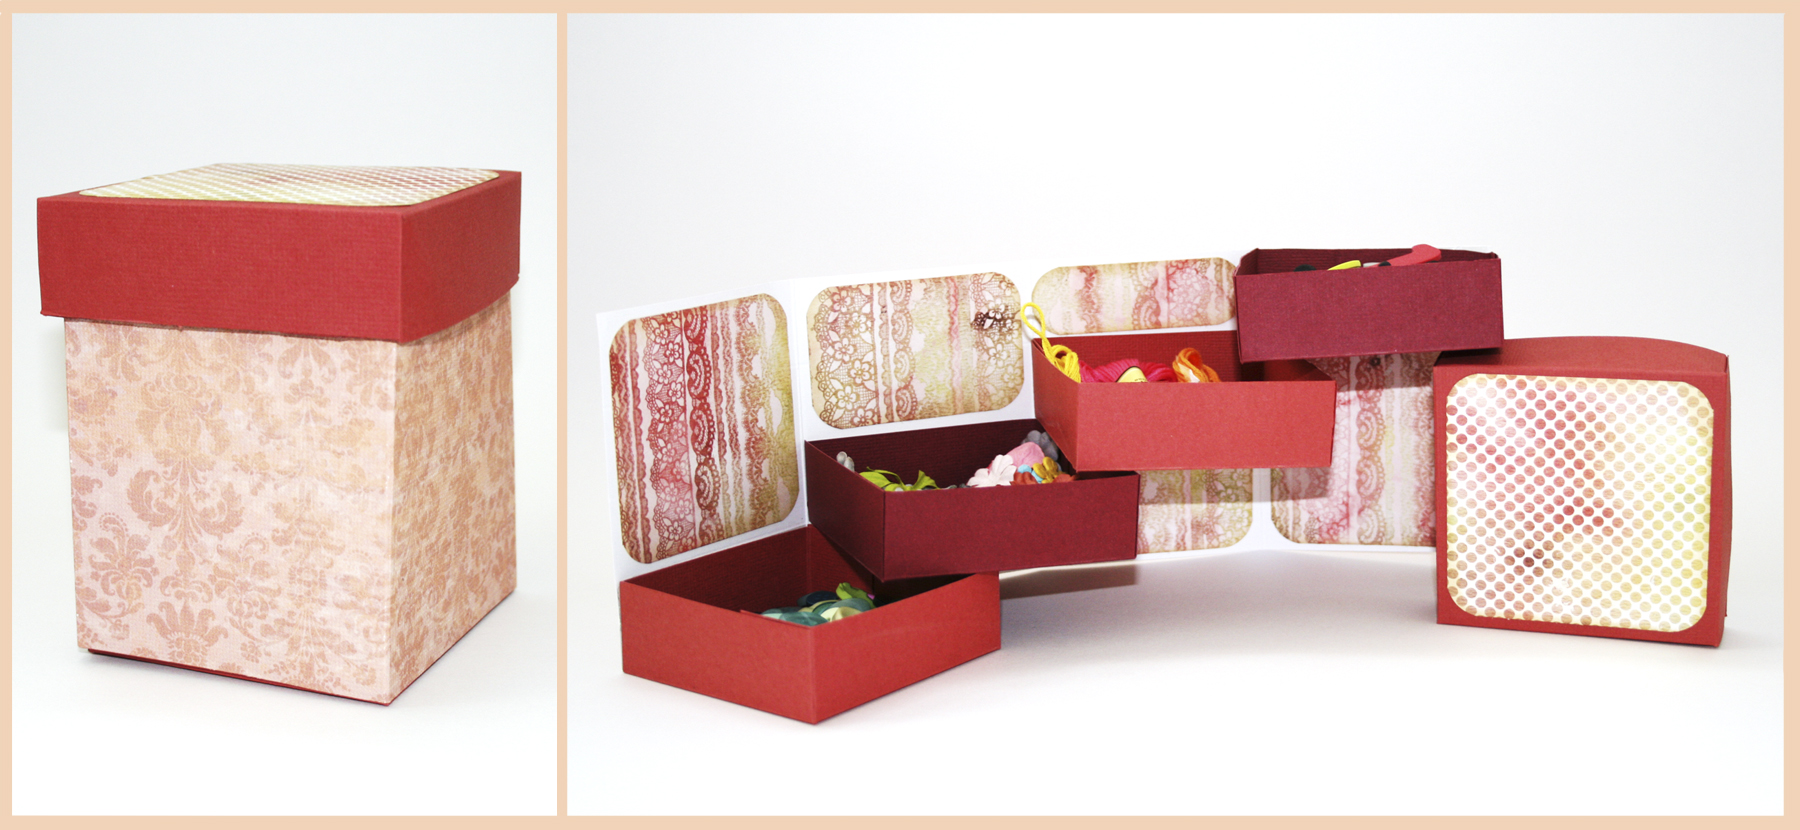 OK. I’ll admit it. I am addicted. Addicted to boxes… Luckily I have been moving a lot in the past years, so I got to buy boxes and treys over and over again. I just LOVE that everything has its place. Be it the tiniest of places, but a dedicated one.