Hi everyone!
I just wanted to drop by and wish you all a very happy new year!
I am still here. Still learning how to be a mom.
As soon as I’ll get the hang of it I’ll work on being a mom and a working woman at the same time.
So far it isn’t working for me 🙂
Not that I am complaining.
I cherish each second I spend with my Maya.
Meanwhile, I treated myself to this baby:
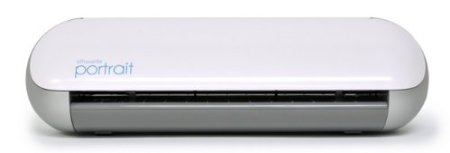
As soon as I heard that there is a mini version of the silhouette I had to get it. Its big brother has been on my wish for ages but I just didn’t have room for it. Neither in my office nor in my budget…
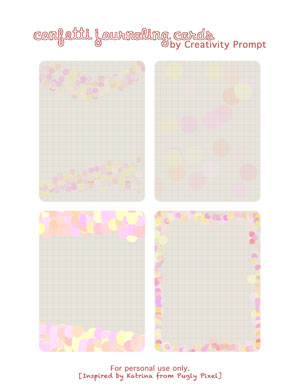
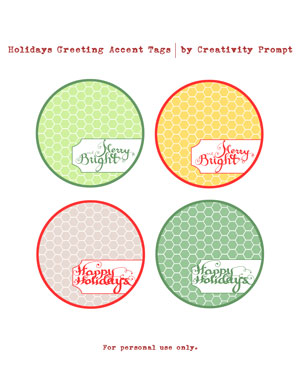
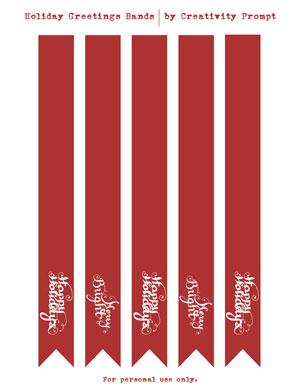
The Silhouette Portrait is the perfect size for card making or for die cutting accents and journaling cards… It also takes less room than the full-size machine and costs much less.
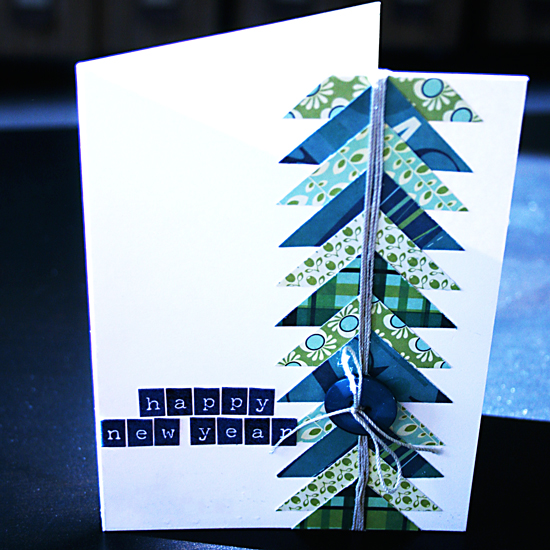
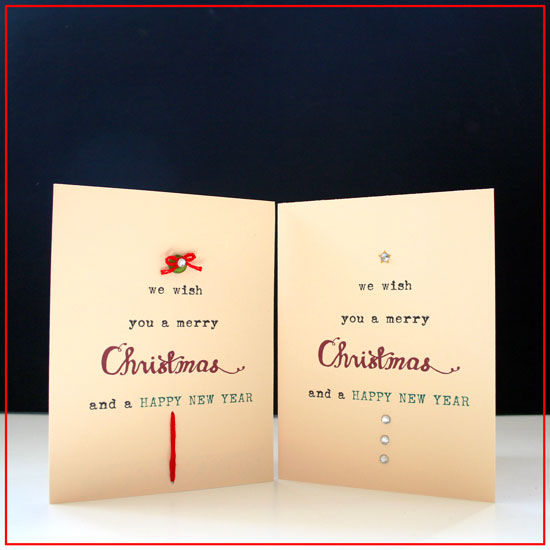
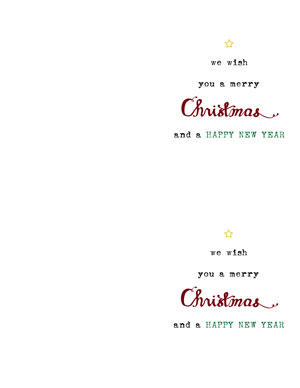
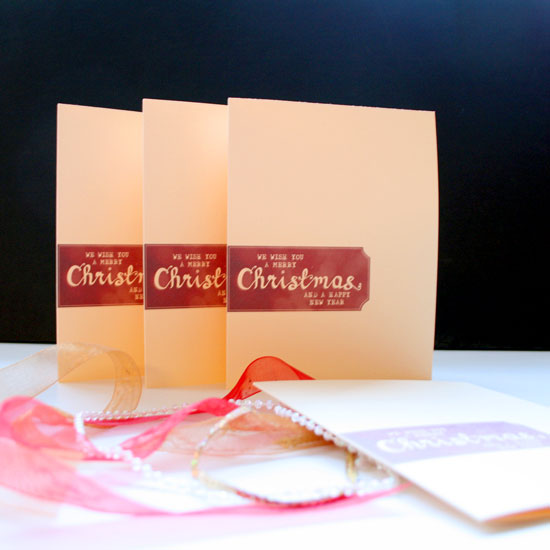
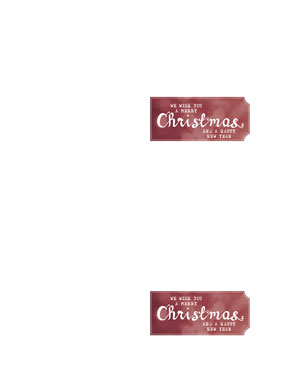
So far I only made some Christmas cards with it:


Embarrassingly, I got it, as I thought I could finally fit this awesome machine into my very limited work place.
Guess what? I don’t have room.
Even for the cute 8″ by 8″ version…
As I installed it and made a test run I had only a mere 6″ by 6″ piece of work space left.
I am not kidding.
Luckily, I am now moving to a new place and I am going to have a dedicated craft-room/office.
I’m so excited!!!
Clearly, moving means even less time for the near future.
However, the potential… Oh, the potential…
One can only dream.
But what are first days in the new year for if not for dreaming. Right!?
HAPPY NEW YEAR!
I’LL BE BACK IN NO TIME!
P.S.: I have a new stamps set that has been waiting to be debuted since October… Stay tuned.