I am excited to announce my latest self-paced workshop. In this workshop you will make your own planner for 2010.
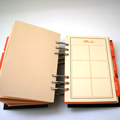
The workshop will provide you step-by-step instructions to complete the beautiful planner you see above – all at the comfort of your own home. You will also get a full planner kit I designed, in both JPG and PDF files for instant download. I will walk you through the process of putting the planner together, however you will have to handle all the “wow!” you’ll hear yourself.
The planner’s pages are elegant and appeal to any taste. The page templates include:
- Monthly and weekly planner pages.
- Shopping list.
- To do list.
- A page for information you wish to remember.
- A page designed especially for sketching creative ideas you come up with throughout the day.


For only $10.95, less than a price of one designer planner, you will get a beautiful, meticulously designed planner kit. Not only that, but you may also use the kit to create planners for your friends, family and colleagues – a great handmade and affordable present for the coming holidays. You may also alter the JPG files, change their color, add or subtract elements and personalize it with a photo editing program.
What Else Will You Get?
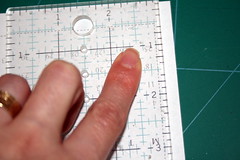
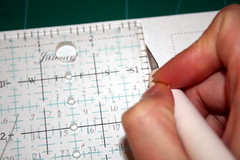
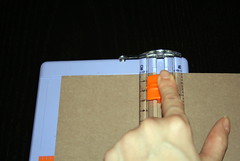
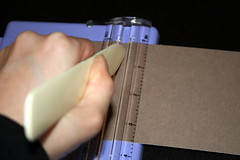
The segments of the workshop are jam packed with tips and suggestions on how to harness your creativity for customizing the planner and make it uniquely yours. You will also find clear and concise step-by-step instructions, paired with large colorful pictures of each and every step – leaving all the guesswork out of the equation.
Immediately after registering to the workshop, you will gain access to the entire kit for instant download. You will also receive the first segment with an introduction and a complete tools and supply list. Note: all the tools and supplies are pretty basic and can be found at your local craft and office supply store. For your convenience, the list contains links to recommended online stores that sell these products.
The following three segments will be delivered to your inbox every day. Just enough time to allow you to complete the former segment without overwhelming you with all the information at once.
In a span of 4 days, you will get all the workshop material and complete your planner (depending on your preferred way to print out the planner kit).
As always I offer each member full support and encouragement.
I am so confident you will absolutely love the planner you’ll make, that I am offering a full money back guarantee. If you are not fully satisfied with the workshop, just send me an e-mail and I will refund 100% of your purchase – no questions asked.
The Details
- Price: only USD 10.95.
- Duration: Self paced.
Instant download of kit and complete delivery of workshop segments in a span of 4 days. - Contents:
- 17 JPG files
- 10 PDF printable documents
- 4 workshop segments in PDF file format
- Special features:
- Members only forum.
- Step-by-step photos and written instructions.
- Unlimited personal use of the planner kit: make as many planners as you’d like.