It’s been a while since I last posted a creative project.
As I have told you before, my right hand has been on the mend.
I wanted to get back on track as soon as possible and finish what I had started before said procedure was done.
A couple days after my sutures were removed seemed like a good time to get back on track.
Oh no. That was not a good idea.
By the time I finished with this album I was literally bleeding…
You can’t blame me for lack of determination, right?
Anyhow I wanted to spotlight a few of the different ways I used my Journaling Mates ןn this album.
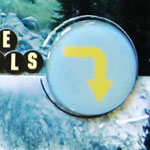 Direction. One of the most obvious ways to use the Journaling Mates is to employ the images to direct the eye. Here I used an obvious arrow [JM-R2] to lead the eye in the direction I want it to go, but you may use any lines in the graphics to do the same thing for you – the airplane’s head [JM-R2], the index finger in the vintage hand image [JM-R2]“, etc.
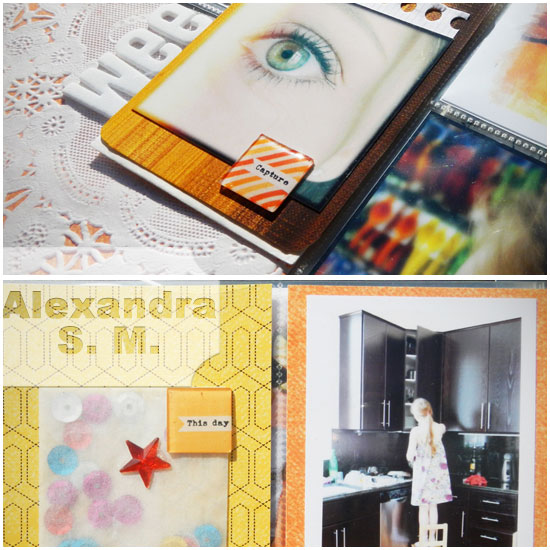
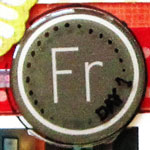 Indicate time. Another obvious use of the calendar Journaling Mates [JM-R1] is for indicating the time. It comes especially handy in travle albums where you wish to convey the passage of time and remember what happened on each day. You can either use the sticker as is or you can add more details to it with a permanent marker or doodle around it. Like I did on this example. These stickers may be useful in projects such as “Project Life“, “Week In The Life” and “December Daily” where the passage of time is a main theme.
 Texture. One of my favorite things to do with these stickers is to use them to add texture to an otherwise flat page. The epoxy stickers are slightly raised and are shiny which is a perfect combination to add to a page filled with only two-dimensional pieces such as photos, patterned paper and flat letter stickers.
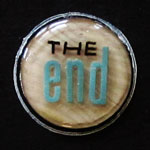 Combine Products. Now that I’ve showed you how I use the stickers to add texture to two-dimensional stickers I will show you how I use these alphabet stickers to add interest to the Journaling Mate sticker itself. Here I used a woodgrain background sticker [JM-R2] and wrote ‘the end’ on it using a permanent pen and the same Lily Bee alphabet stickers. As I adhered this specific sticker on the back cover I also added a layer of Glossy Accents to it. To make sure your ink won’t bleed, once in contact with the Glossy Accents, first make sure it is completely dry and also give it a test-drive on a random piece of plastic packaging before using it on the sticker itself.
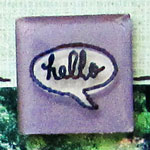 Outline and/or write on it. There is another cool way to alter your stickers and add interest as well as adding context and personalizing it is by using a permanent pen to outline the images on the sticker – giving it a doodled, handmade look and also writing messages or greeting on it, just like I did on this speech bubble sticker [JM-S2]. What’s nice about this technique is that the three-dimensionality of the sticker adds movement and the outline seem a bit offset without the need to painstakingly draw an offset line. This technique would also make a very cute specialized card!
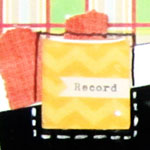
 Layering. Working with layers of embellishments is very trendy right now and the Journaling Mates are perfect as either a base layer, like here, or a top layer. Their dimensionality comes in lieu of the trusty old 3D foam adhesive. By layering cute stickers on top of the sticker I created the same dimensionality without using additional products to raise the stickers.
 Grouping. There is no rule against using more than one sticker per page… I love to group similar embellishments together to create a focal point and the Journaling Mates are no exception. Here I used both calendar [JM-R1] and general travel stickers [JM-R2] together to finish off the album.
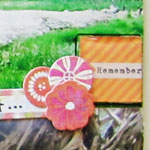
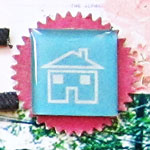 Matting. One of the easiest ways to add visual interest and to emphasize the sticker is by sticking it on a mat of a contrasting colored paper. Here I used a pinking circle punch to create the fun mat but you can use any shape and any tool to create your mat.
 Doodling. Last but not least is a fun idea you can use on any embellishment or element you have on your page. Doodling adds lightness and a ton of personality to a page. You do not have to start drawing intricate patterns. Just go with simple lines (or dashed lines) alternating between pen tips and colors. Again, the three-dimensionality of the Journaling Mates comes in handy as tracing it is totally fool-proof, just nest the tip of the pen on the foot of the sticker and trace. It cannot get any easier than that. Me thinks.
If you like it – 
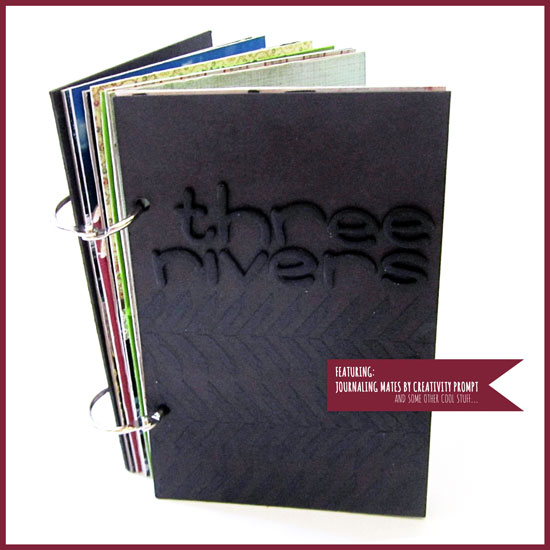
The Complete Album