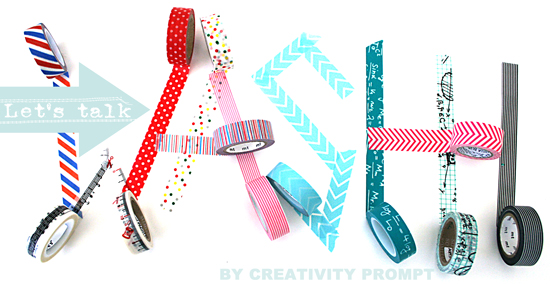

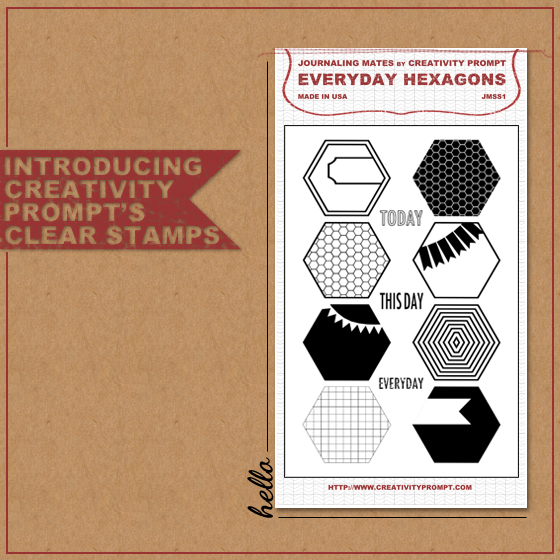
I love washi tapes.
What’s not to love?
They are bright and colorful. They are semi-transparent. They are sturdy, yet easily repositionable.
They’re awesome!
There are so many uses for washi tapes:
- Attaching photos and ephemera.
- Adding pages to mini albums.
- Sealing page protectors and envelopes.
- Color coding.
- Adding a color or pattern accent.
- Sealing envelopes (my favorite things to do).
- Making quick backgrounds.
- Binding small booklets.
- Wrapping gifts and fun packages.
- Labeling odd items.
- Keeping dies, templates and masks in place.
- Creating journaling spots.
to name a few…
Having said that, not all washi tapes are created equal…
I do not have all washi tapes of all brands but I’ve amassed quite a few. and I keep collecting more. It’s an ongoing process – all new Washi family members are welcome!
Here is what I think of the different tape brands I own, starting with my most favorite downwards.
[click on each brand name title to find online]
This brand provides the best quality tapes. Great graphic designs that can go with many themes and designs. Sturdy – when you stick them – they tend to stay put. Easy to remove without leaving any residue or peeling off the paper. Luf. Luf. Luf them!
P.S. This brand also carries fabric tape and lace tapes. I’ve only tried the fabric tape and it’s awesome – but bear in mind that these are opaque, stronger and will not peel off easily after they’ve been laid down.
These tapes are called ‘Trendy Tapes’ and they are very reasonably priced. They are just as good as other washi tapes but cost a smidgen less. As for designs – I love some and don’t care much for others – but that’s a matter of personal taste. As for quality – they are very good and have all the properties I love in ‘Love My Tapes’ but sometimes, not always, when removed – the paper underneath will peel off a little bit – which is why they are placed second and not first. [Note that Prima’s tapes cost less, but the rolls are much smaller].
These are lovely tapes. I love so many of their designs and so I have more of them on my wish list. They are on the sheer side and they stick pretty well, but sometimes the ends will peel off if they don’t have a steady grip on the paper. They may also pick up some of the paper underneath when removed. However, in general they are very good quality tapes. I only wish I could buy them individually and not in packs of 3’s, although I really like all the tapes here and here and in that pack…
It was very hard to ‘rank’ this brand. The thing is that the quality varies. Some are more opaque, some are more sheer. Some are sturdier and some peel off easily. Some can be removed without leaving any residue and some cannot. This brand has a quality control issue… Having said that, I must add that this brand also has the best and cutest designs. If you are looking for something a bit more interesting than stripes and dots, than this is the brand to look for. Still, even the sub par tapes are better than some of the other tape manufacturers out there – just not as good as the ones at the top of my list.
These tapes are quite nice. They costs the least per roll, but the rolls are about ½ the size of standard washi tape rolls (~5 yards compared to ~10 yards). If you want to collect a few different styles and do not use it as much, than it’s a good choice. They are more opaque than regular washi tapes (especially the black tape). They adhere pretty well, but not the best of the best out there and when removed they may take a souvenir along with them…
These tapes are down here only because they are not really washi tapes, they are paper tapes… They are much stronger and completely opaque. You will not be able to remove them from your project after adhering them, but that also means that they have the best grip of all tapes. They are great for journaling – and you have got to check out the sale that’s going on right now – the whole package costs less than $5 on Two Peas. Maybe I should stock up on some more. Hmm….
These are down here for 2 reasons: [1] They aren’t really washi tapes… Nor they purport to be. They are made from a different material – although they have similar properties such as sheerness and ease of tearing. [2] They would not stick… Their ends always peel right off the page and you need to apply some kind of sealant on top to secure them (such as liquid glue or gel medium). They do come in great designs, very characteristic of Tim Holtz’s grungy style. So if you care for spending some extra time, they will make great backgrounds and accents.
These tapes come in really cute designs and great colors (and also in many different widths…) but for me, they were some kind of a disappointment. They do not have the same feel of standard washi tapes, they are mosre glossy and plastic-y looking. They do not stay put very well but they also tend to peel off some of the paper underneath when removed. I also had one of the tape tear on me when I tried to peel a piece of it off the roll… Not the best quality tapes out there but really good looking ones.
Summary
In conclusion, all tapes have some similar qualities and some that are different. These are my personal opinions, based on using the tapes which I bought with my own money… Opinions vary. This is what makes the world an interesting place. Which is why I tried to be as specific as possible – so maybe a brand that I ranked lower for my reasons ranks higher on your personal scale. The important thing is to experiment and have fun, right!?
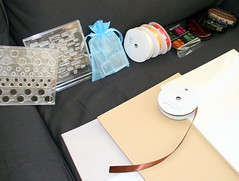
My current stash
==>Which is still available for purchase, as of now…<==

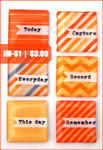 Spice up your everyday memories with handmade epoxy stickers.
Just $3.00 per package.
6 stickers in each package.
Each sticker measures approximately ¾â€ by ¾â€.


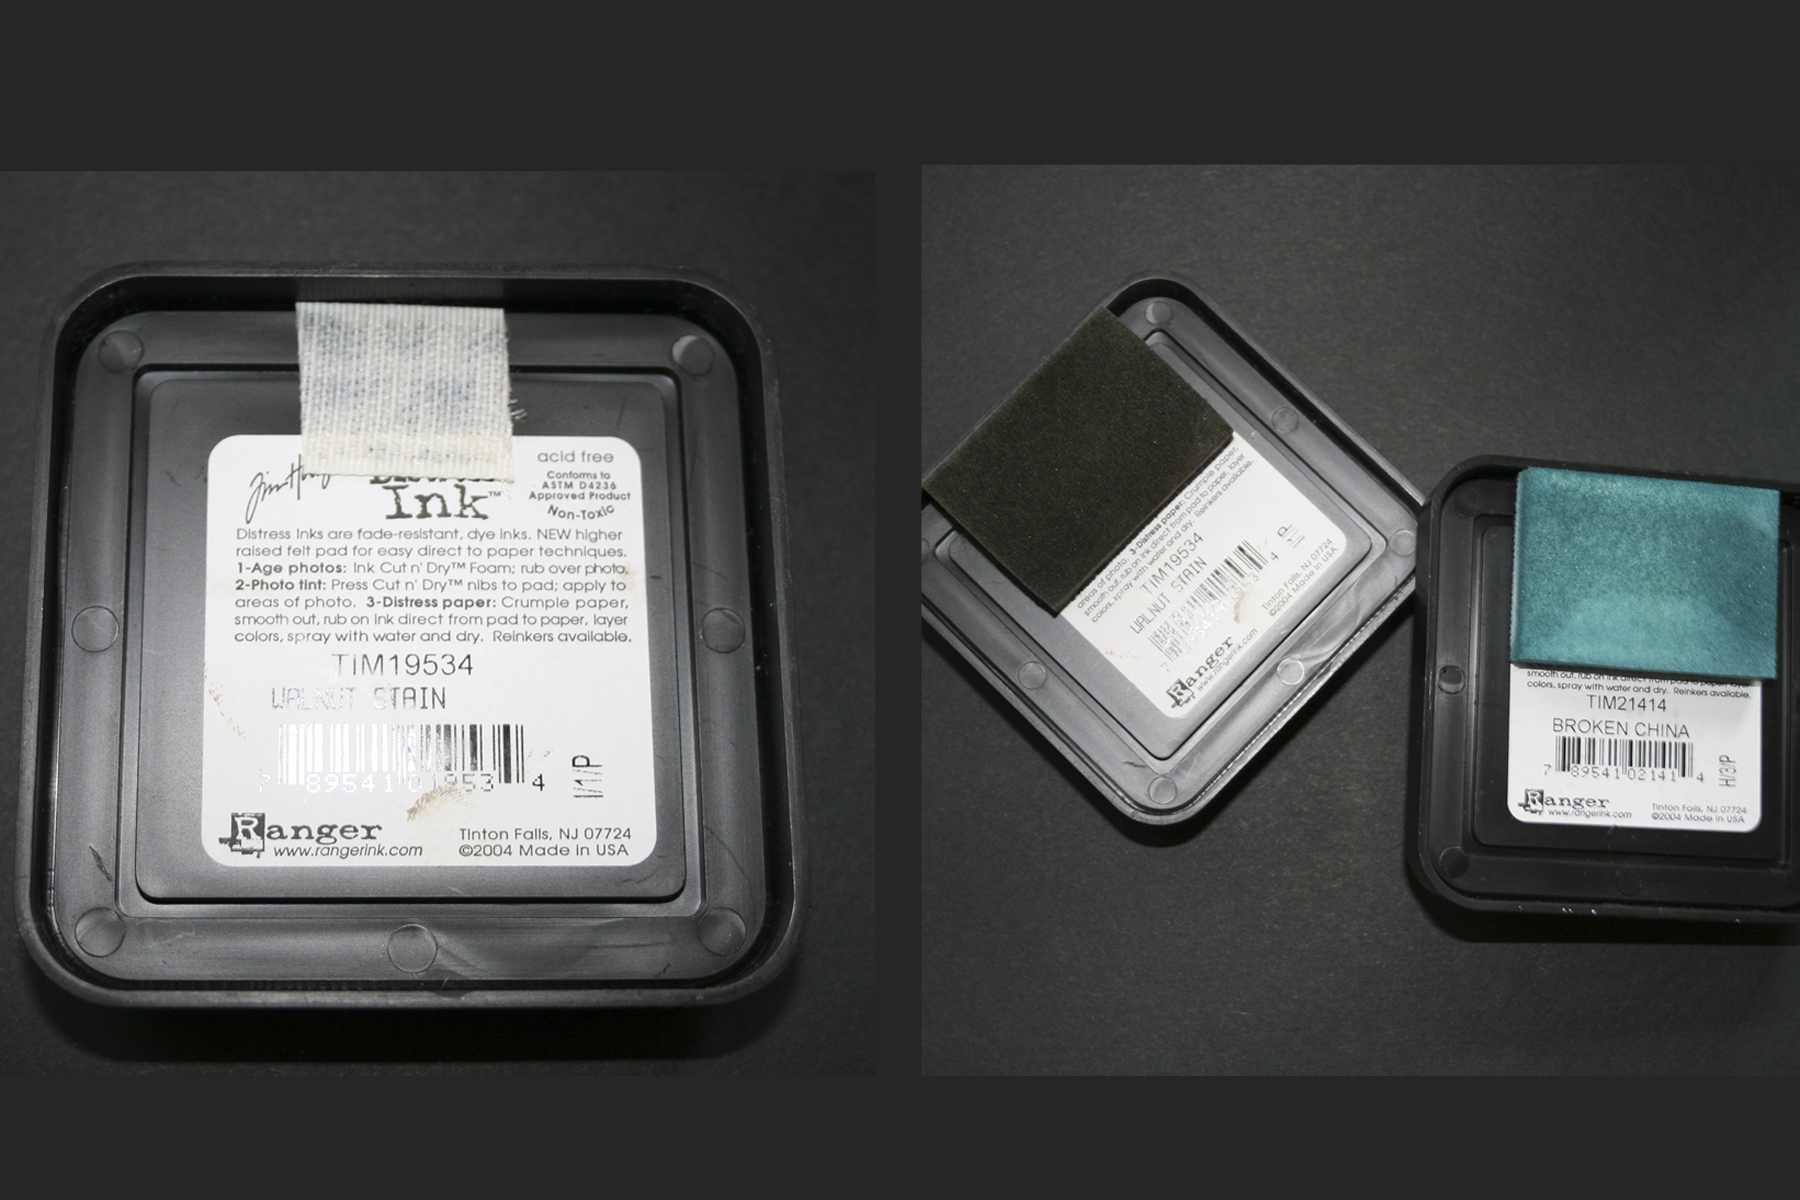
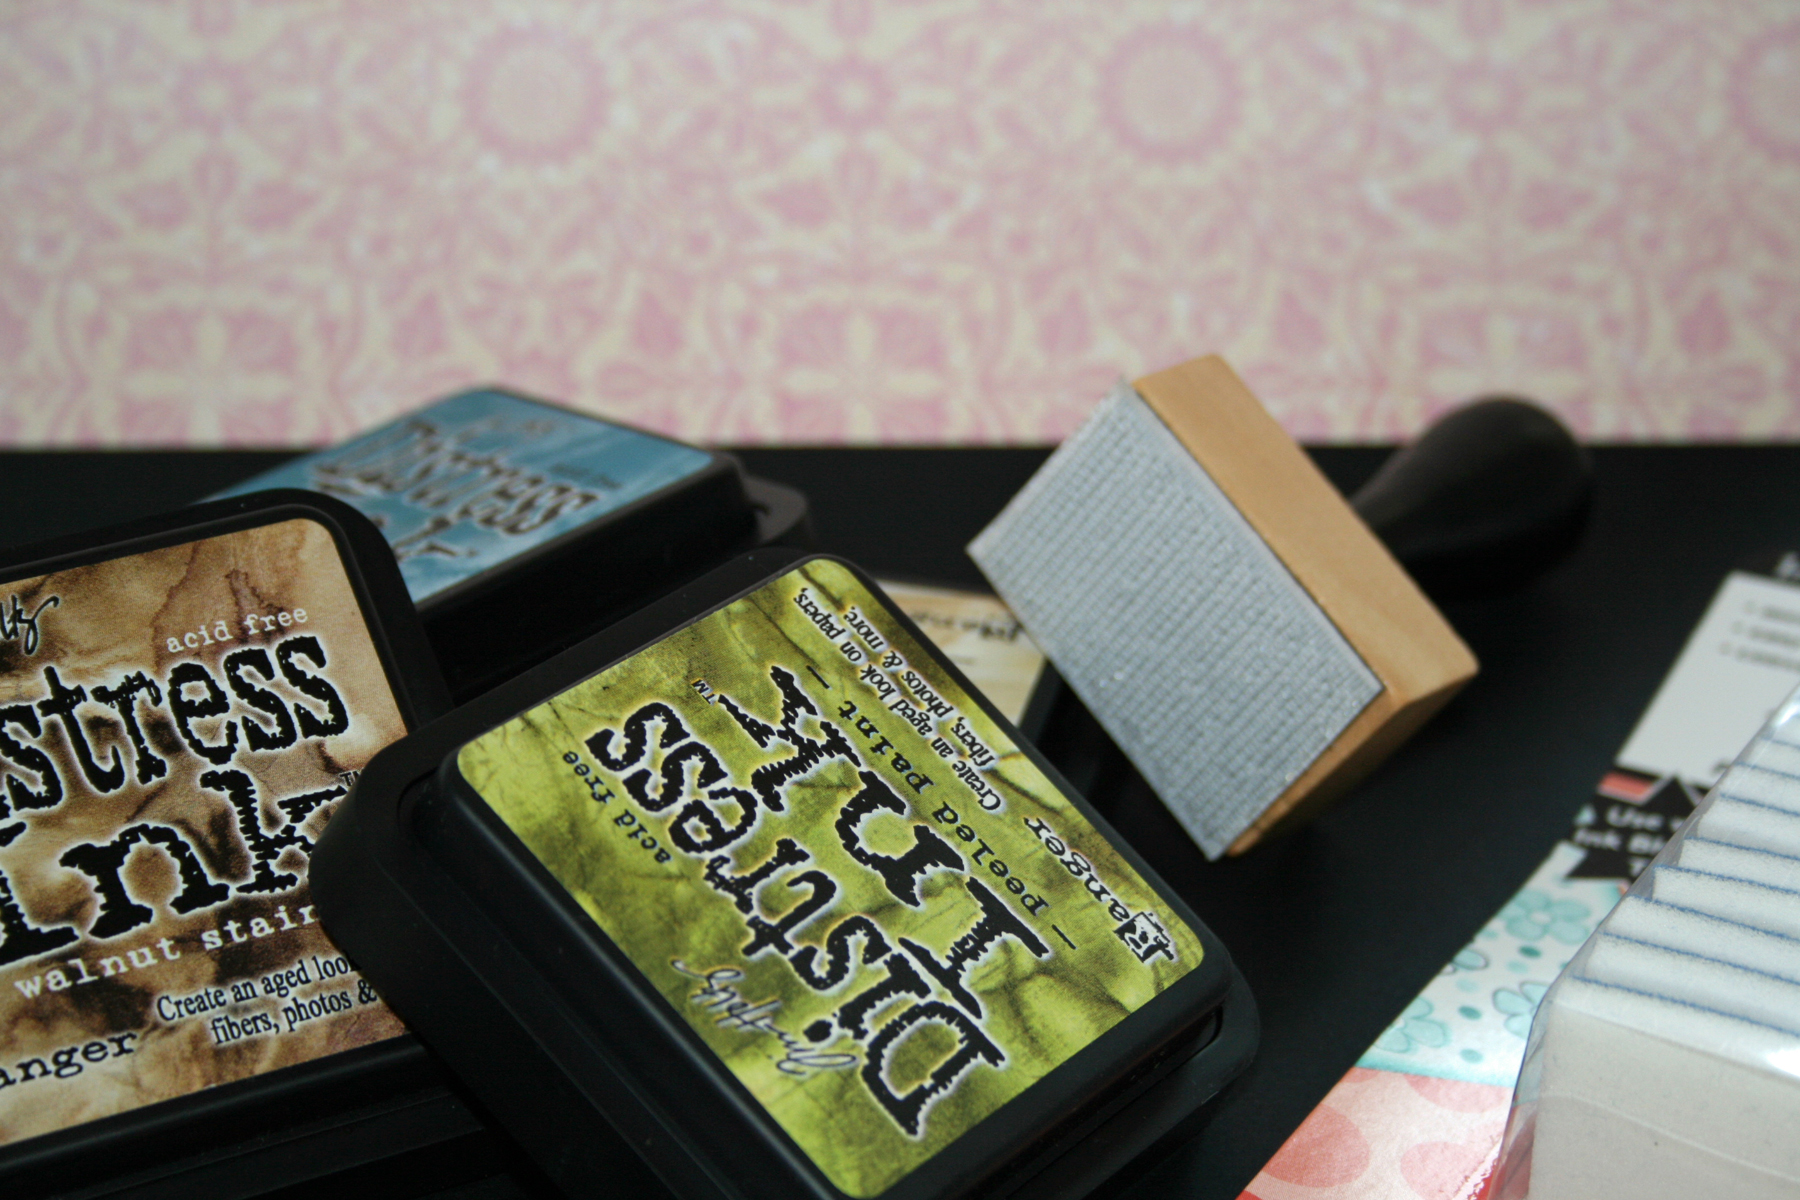 The grunge, vintage and distressed look seem to have always been “in style”. this look adds a fabulous touch to a project and makes it look like an handmade, one-of-a-kind piece of art (which is a great look to have, don’t you think).