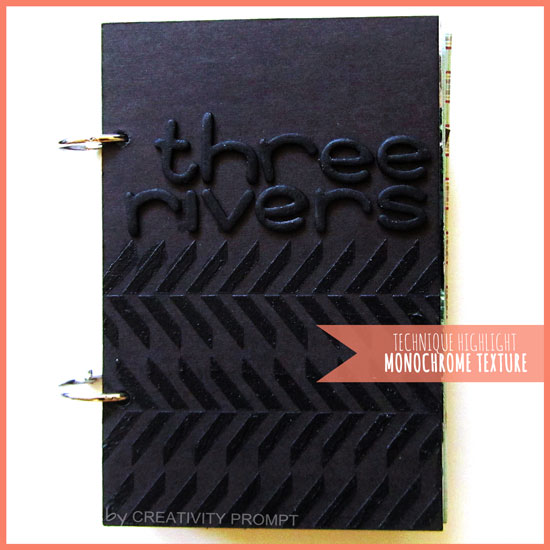
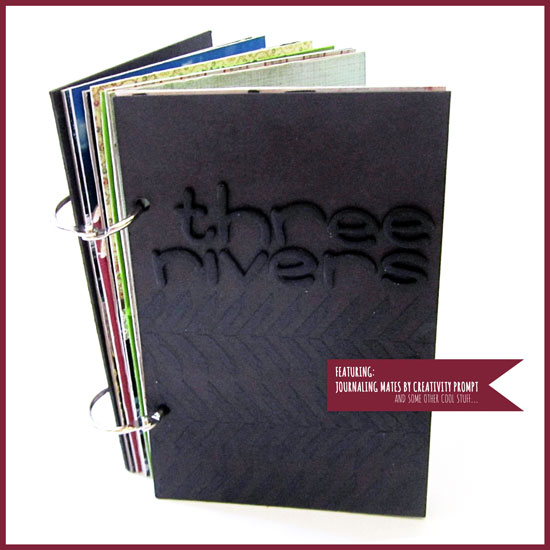
A lot of you commented and liked the monochromatic texture on the cover of my most recent travel mini album.
I am a great believer in giving credit where credit is due and in this case the credit belongs to my talented friend, Alexandra.
I was thinking about using a modeling paste with my stencils for a while but didn’t do anything about it UNTIL I saw this AMAZING page and technique highlight by Alexandra on creating your own background with masks. In this tutorial Alexandra created a gorgeous white on white texture using a modeling paste and one of Studio Calico’s masks.
After seeing how striking the result is I had to give it a go too.
Here is how I did it:
Supply
[Click on the image to find the product at Simon Says Stamp]


How-To
Title
- Paint raw chipboard letters the same color of your background. Use a few thin layers of paint and let dry completely between layers, rather than slather on a thick layer of paint. Make sure to paint the sides of the letters as well to avoid the raw chipboard’s color peeking through.
- Let dry completely. Thin layers get completely dry very quickly.
- Adhere to your cover with a strong liquid adhesive that dries clear. Again, use minimal amount of glue. Just dot it a few times rather than applying thick lines of glue to avoid spilling.
Textured Pattern
- Affix the template to your background with a repositionable tape, such as painter’s tape or a washi tape.
- Mix the modeling paste with acrylic paint to create the same color as your background – skip this step if your are working on a white background.
- Apply a layer of the paste-paint mix with a spatula to make sure it spreads evenly on top of the template. Make sure that you apply pressure only vertically so you won’t accidentally push the paint underneath the template and mess up your pattern. If you don’t have a spatula you can use an old credit card or a plastic ID card. I’ve got a lifetime supply of fake credit cards from all the spam mail we receive in our mail box daily…
- If you want to create an imperfect pattern, mask off some of the template with the same low-tac tape you used to affix the template. Skip this step if you only wish to mimmic the template, as is.
- Remove the template carefully and let it dry completely.
Marvel at your beautiful textured pattern.[Oops. Obviously this step is optional]
Share
Are you going to give this technique a go? Have you ever tried it? I would love to hear about your experience and any suggestion you may have!
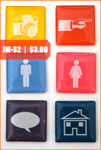
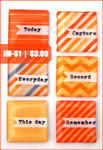
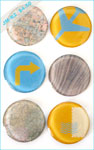
Bring life to your projects with handmade epoxy stickers.
Just $3.00 per package.
6 stickers in each package.
Each sticker measures approximately ¾â€ by ¾â€.
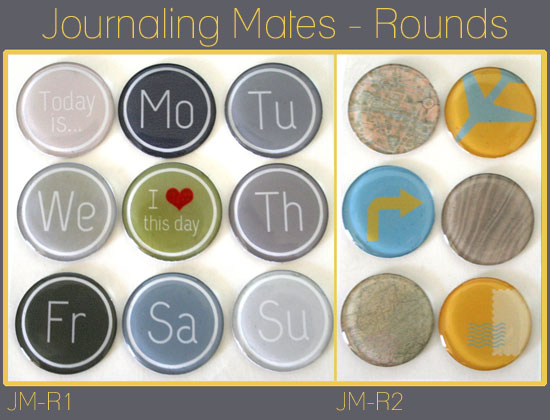
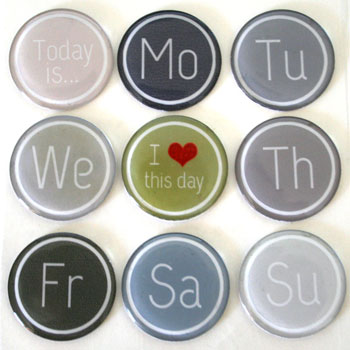
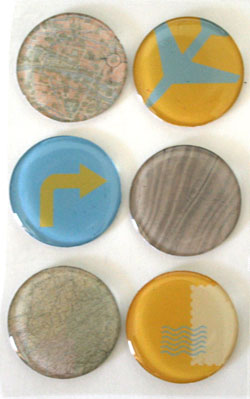
 Direction. One of the most obvious ways to use the Journaling Mates is to employ the images to direct the eye. Here I used an obvious arrow
 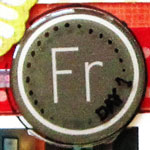 Indicate time. Another obvious use of the calendar Journaling Mates
  Texture. One of my favorite things to do with these stickers is to use them to add texture to an otherwise flat page. The epoxy stickers are slightly raised and are shiny which is a perfect combination to add to a page filled with only two-dimensional pieces such as photos, patterned paper and flat
 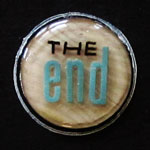 Combine Products. Now that I’ve showed you how I use the stickers to add texture to two-dimensional stickers I will show you how I use these alphabet stickers to add interest to the Journaling Mate sticker itself. Here I used a woodgrain background sticker
 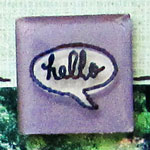 Outline and/or write on it. There is another cool way to alter your stickers and add interest as well as adding context and personalizing it is by using a permanent pen to outline the images on the sticker – giving it a doodled, handmade look and also writing messages or greeting on it, just like I did on this speech bubble sticker
 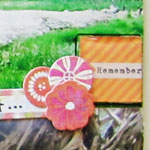 Layering. Working with layers of embellishments is very trendy right now and the Journaling Mates are perfect as either a base layer, like here, or a top layer. Their dimensionality comes in lieu of the trusty old 3D foam adhesive. By layering
  Grouping. There is no rule against using more than one sticker per page… I love to group similar embellishments together to create a focal point and the Journaling Mates are no exception. Here I used both calendar
 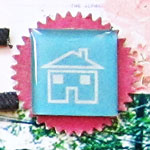 Matting. One of the easiest ways to add visual interest and to emphasize the sticker is by sticking it on a mat of a contrasting colored paper. Here I used a
 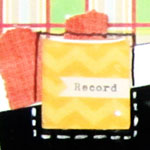 Doodling. Last but not least is a fun idea you can use on any embellishment or element you have on your page. Doodling adds lightness and a ton of personality to a page. You do not have to start drawing intricate patterns. Just go with simple lines (or dashed lines) alternating between pen tips and colors. Again, the three-dimensionality of the Journaling Mates comes in handy as tracing it is totally fool-proof, just nest the tip of the pen on the foot of the sticker and trace. It cannot get any easier than that. Me thinks.