I love recycling. It is no news to you. What can I say, giving something a new lease of life just before it was about to be tossed away is magical to me.
I have already posted a tutorial before on how to make dryer-sheet flowers, and today I want to suggest 2 more options as well as a new idea on how to inject color onto them.
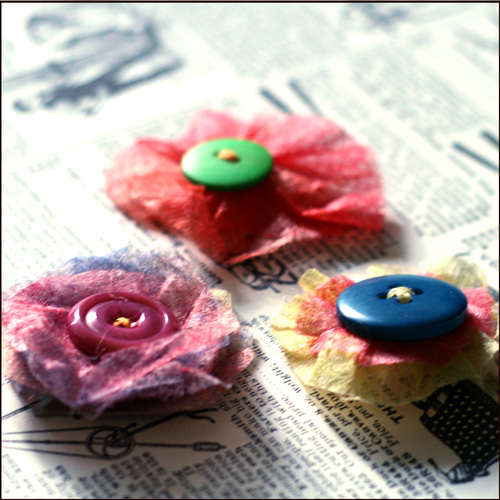
If you are interested in learning how I did the flowers above, than keep on reading!
Tools & Supply
- Recycled dryer sheets (after they have been through the dryer).
- Glimmer mists. (I used Tattered Angles: Scarlet, Lemon Meringue, Sapphire & Walnut Gold)
- Perfect Pearls by Ranger. (2 tiny scoops mixed with tap water in a Mini Mister)
- Scissors.
- Embroidery floss & needle.
- Buttons.
- Paper towels or a heat gun. (I actually prefer the paper towels for this purpose)
How To
[Watch on You Tube & while there, please rate, comment and subscribe]
Step-By-Step Instructions
First Flower Style –
- Cut your sheet into strips of about 1″ wide. It doesn’t have to be precise. The wider the strip, the larger the flower would be. For a Two layered flower, make 1 strip wider than the other.
- Dye your strip with Glimmer Mists and Perfect Pearls mixed with water.
- Dry your dryer sheet completely. You may use a heat gun to dry the strips, but be careful not to get too close and not to concentrate on one zone for too long, or the strip will rip from the heat. You may also use a paper towel to blot the excess liquids.
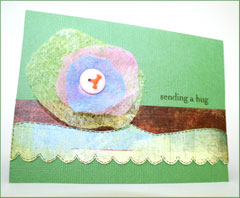
- Pleat the strip around the button and make sure all the ends are tucked underneath the button. Secure all the pleats with a button and embroidery floss.
- Tie both ends of the embroidery floss in a double knot and cut off the excess.
Second Flower Style –
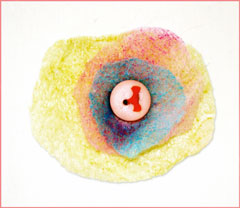
- Take a couple of sheets and lay them together. Fold them into thirds and cut out an imperfect circle to create a stack of dryer-sheet-circles.
- Dye each circle with the mists. To make it more interesting, use different colors on each circle.
- Let the circles dry completely.
- Stack them together again in an order that appeals to you and secure them with a button and embroidery floss. Alternative: Sew them together with embroidery floss threaded with small beads.
- Tie both ends of the embroidery floss in a double knot and cut off the excess.

Share
If you have any question, suggestion or remark – don’t hesitate to contact me – either leave a comment here, use the contact form or start a new thread on the Creativity Prompt Flickr Group!!!
I would also be very happy to see your own creations, so don’t be shy and share 🙂

This year you can really make your dream come true!
“Capture Your Dream” workshop is a self-paced, six weeks long workshop, that will walk you through a journey of capturing your biggest dream and making it come true.
In the process of making your dream happen – with lots of inspiration and guided self-exploration, you will also create a mixed media mini album from scratch and learn many tips and techniques – including some photography pointers that will add character to your photos and will help you take better pictures of your projects.
The workshop includes 30 printable PDF lessons with step-by-step pictures and instructions as well as several printable templates you may use in other projects too.
I am confident you will enjoy it and find it helpful so I also offer full money back guarantee while the workshop lasts.
 This week’s creativity prompt is more of an idea on how to reuse drier sheets after they have made your laundry smell fresher and become softer. You know how much I love