I am not sure about you but I have got a TON of patterned papers. When I say a ton I mean a few shelves full of it plus an overflowing scrap basket.
Only a small part of my paper stash has been purchased recently [and I am waiting for one more order with a couple 6 by 6 packs to arrive on Monday].
Most of my papers have been accumulated over time ever since I started scrapbooking a while back. That means I have some pretty old paper.
Why do I have so much paper? Well…
First, I love papers. I am drawn to their patterns, colors or the overhaul happiness they confer.
Second, I am afraid to use pretty paper. Yes, I admit. I’m silly like that. What good will the paper bring if I don’t use it, I don’t know. But I’m still afraid to take a beautiful piece of paper and cut it or stick stuff on it. To make things worse, a few years back I used to buy every pattern at least twice (occasionally in several colors). Beware, don’t think it made me use it more often. I just have double-trouble right now…
Lastly, when I was working as a lawyer back home I used to compensate the lack of free time with excessive supply shopping. Every time I had a few minutes to spare on my lunch time I would go online and look for cute scrapbooking supply – and between us crafters, what scrapbook supply isn’t cute and inviting?
To make a long story short, I have A LOT of papers. Most are old. Many are “out of fashion” [some have made a come back, though].
So what do I do now?
Simple.
Steering clear of my new stuff and start pulling the old stuff. Here’s what I made this weekend:
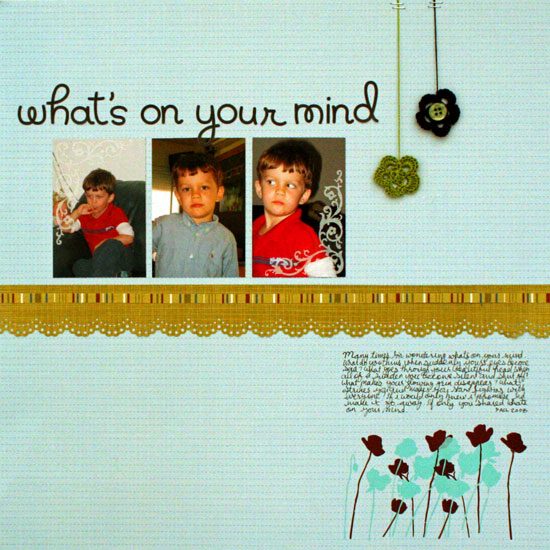
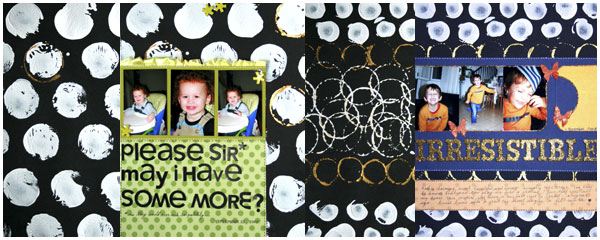
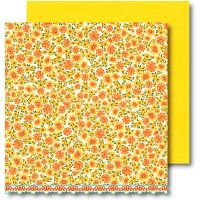
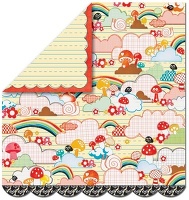
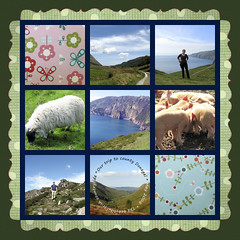
What’s On your mind Layout
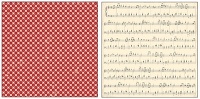
Patterned paper: Chatterbox
Letter stickers: Doodlebug Designs
Rub ons: American Crafts Remarks
Marker: American Crafts
Flowers: handmade
Button: Autumn Leaves
Tools: Tiny Attacher by Tim Holtz; Doily Lace punch by Martha Stewart.
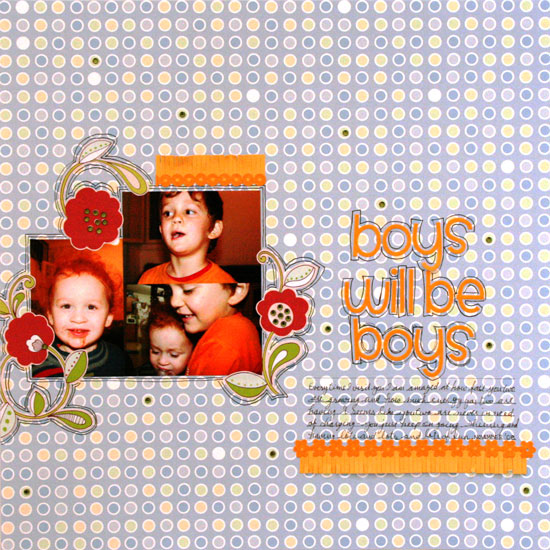
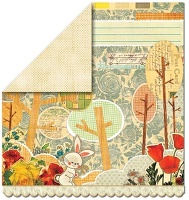
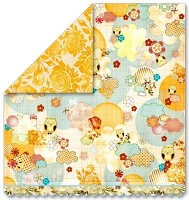
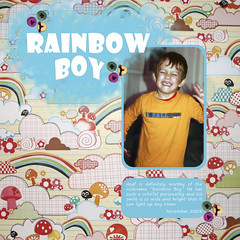
Boys Will Be Boys Layout
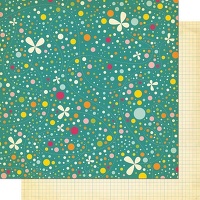
Patterned paper: Background – Pebbles Inc.; Cut flowers – Autumn Leaves.
Letter stickers: Doodlebug Designs
Paper Frills: Doodlebug Designs
Marker: American Crafts
Gems: Zva
Tools: Precision scissors

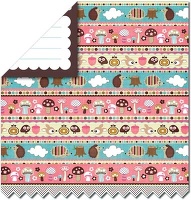
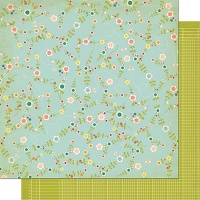
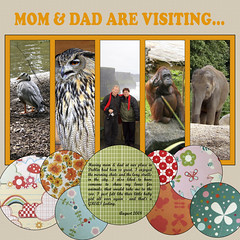
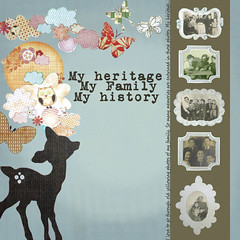
Sometimes Sad But Mostly Happy Layout
Cardstock: Bazzill
Patterned paper: Chatterbox
Letter stickers: American Crafts Remarks “JFK”
Marker: Uniball white gel pen
Button: Autumn Leaves
Tools: Corner Chomper by We R Memory Keepers; Heart punch by Martha Stewart.
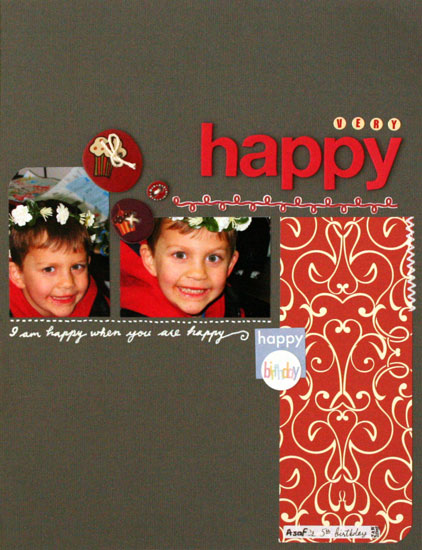
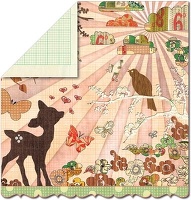
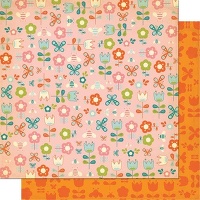
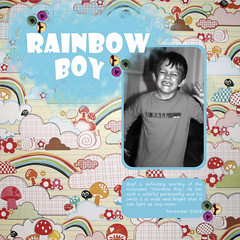
Very Happy Layout
Cardstock: Bazzill
Patterned paper: Chatterbox
Letter stickers: American Crafts, Jenni Bowlin
Marker: American Crafts, Uniball white gel pen
Chipboard button: Love Elsie by KI Memories
Stickers: KI Memories
Rub ons: DCWV
Tools: Corner Chomper by We R Memory Keepers, Precision scissors.
Share
Have you been piling up your stash too? What type of supply do you tend to accumulate most? Share by leaving a comment. I’d LOVE to hear I am not the only one.

Check out Creativity Prompt’s self paced workshop: “Capture Your Dream”. In this workshop you will capture, follow and make your dream come true as well as document your journey in a mixed media mini album.