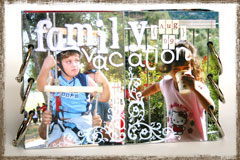
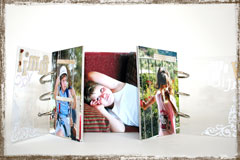
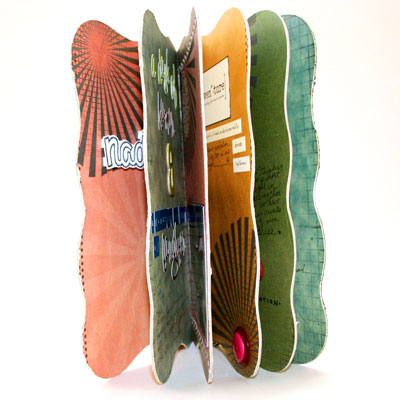
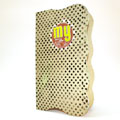
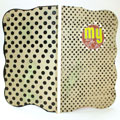
 This time I revisit an oldie, but a goodie – the altered board book.
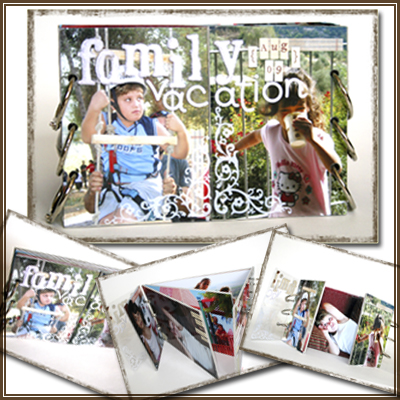
This week there is a twist – I am going hybrid.
That means that part of the book is designed digitally and part of it – traditionally. Together it’s a great mix of new & old.
Using digital elements, such as patterned papers, word art and other digital embellishments helps in keeping a theme and a color scheme for the book. If you want to make this book as a gift, in multiples, then starting on your computer also allows you to include all your journaling on the pages and then printing them either once or a million times, with no extra effort.
Cool, huh?
Tools & Supply
- Starburst Mini Kit by Shimelle Laine

- Starburst Solids Kit by Shimelle Laine
- 8½” by 11″ glossy photo paper
- Smooth cardstock for printing (I used a cream color)
- Board Book to alter – I got mine from the $1 bin at Target
- Craft Knife
- Cutting mat
- Ruler
- Bone folder
- Brayer
- Glue stick
- Scissors
- Glue dots
- Foam pop-dots
- Glue Arts Glue Glider Pro
- American Crafts Precision Pens – 0.1 + 0.5 tips
- Traditional embellishments: Polka Dot Stamps by Papertrey Ink; Versamark ink; Ranger’s Black embossing powder; Ranger’s Broken China Distress Ink; Autumn Leaves Buttons; Definition Stickers by Making Memories; Prima lace stamps and jewles; Fiskars border punch in Apron Lace; Fiskars circle squeeze punch (2″); Basic Grey ‘Granola’ mini paper pad; American Crafts chipboard Thickers; Making Memories glitter letter stickers; Making Memories Tiny Alpha; Doodlebug Designs letter stickers in “Candy Shoppe”; White gel pen.
How To
Step-by-Step Instructions
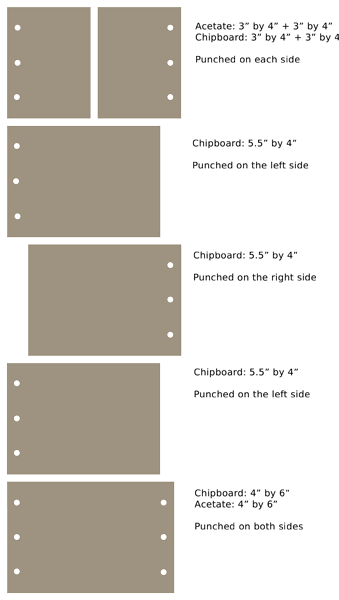
- Start this project on the computer. Open your photo editing software and either crop or resize the digital patterned papers to the same width and height of your board book.
Don’t forget to count the spine while making the pages for the cover, leave a gap the same width as your spine between them.
- Print your pages on cardstock. Plain paper won’t be opaque over the altered pages of the board book.
Use the borderless printing setting, otherwise the printer will scale down your images to allow a white border around them and it’ll distort your measurement.
- Start working on the cover – trim off the excess paper and score your spine’s fold lines to get crisp creases. You may also go over the folds again with the bone folder, for an even crisper look.
- Adhere the cover by applying a generous layer of glue stick on the board book cover and burnish with a brayer. Let dry.
- In the meantime, start cutting the pages and your photos and any other digital element you have printed (word art, embellishments, journaling tags, etc.)
- Once the glue has dried, turn your page around and cut off the excess with a very sharp craft knife. If you get uneven edges, you can file them down with sand paper.
- Repeat the same process with the rest of the pages: adhere, go over it with a brayer, let dry and trim off the excess.
Make sure you trim off the edges of a page before adhering the printed cardstock to the other side.
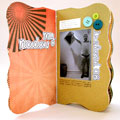
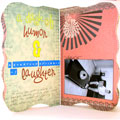
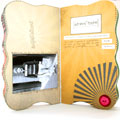
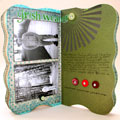
- Some ideas for embellishing your mini altered book:
- Adhere your titles with foam pop-dots to give some extra dimension.
- Stick to one type of embellishment (buttons in my case) to maintain cohesion.
- Use different sizes of pen tips to create interesting handmade word art.
- Outline your pictures, letter stickers and other elements with your journaling pen to anchor them to the page and add dimension.
- Using 3D embellishments can make dents in your photos, so make sure both pages have the same “elevation” so the elements won’t touch the pictures themselves.
- Have fun!!!

Share
If you have any question, suggestion or remark – don’t hesitate to contact me – either leave a comment here, use the contact form or start a new thread on the Creativity Prompt Flickr Group!!!
I would also be very happy to see your own creations, so don’t be shy and share 🙂

 How would you like to put together a beautiful mini album – from start to finish – in about an hour?