[Font: Adler; Digital Kits: Fly Boy, Frame Essentials and Digi Essentials by Karla Dudley as well as You Are amazing, Can’t Buy Me Love and Aged Labels by Shimelle Laine for Two Peas In A Bucket.]
The journaling on my layout describes my obsession quite clearly, here you go:
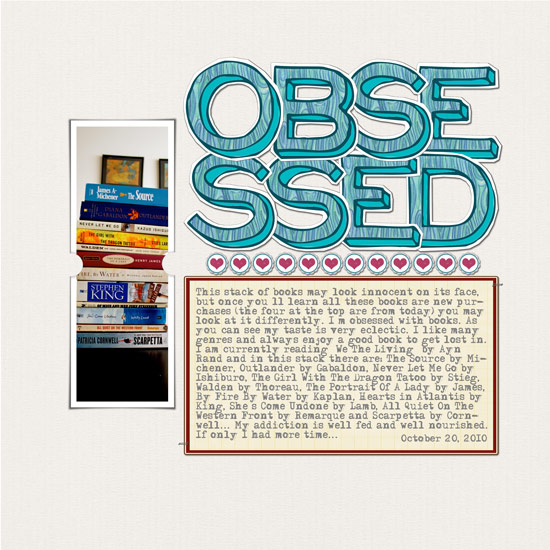
This stack of books may look innocent on its face, but once you’ll learn all these books are new purchases (the four at the top are from today) you may look at it differently.
I’m obsessed with books.
As you can see my taste is very eclectic. I like many genres and always enjoy a good book to get lost in.
I am currently reading “We The Living†by Ayn Rand and in this stack there are:
- The Source by Michener
- Outlander by Gabaldon
- Never Let Me Go by Ishiburo
- The Girl With The Dragon Tatoo by Stieg
- Walden by Thoreau
- The Portrait Of A Lady by James
- By Fire By Water by Kaplan
- Hearts in Atlantis by King
- She’s Come Undone by Lamb
- All Quiet On The Western Front by Remarque
- Scarpetta by Cornwell
My addiction is well fed and well nourished.
If only I had more time…
Share
Have you grabbed a good book lately? Please, do share!
[There’s a good chance I’ll get it if I don’t already have it…]
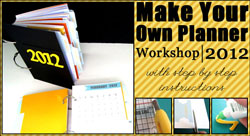
Check out Creativity Prompt’s new and unique self paced workshop: “Make Your Own Planner”.
This workshop will show you how to make a beautiful handmade planner for the year 2012. Not only are you going to get the entire meticulously designed planner kit for instant download, but you will also get a high resolution video tutorial as well as step-by-step instructions to guide you on each step of the way. Either treat yourself with a fresh and creative start for the coming new year, or get it to create wonderful gifts for your family and friends.
Join now

 One of my favorite ways to


 Last week I used the