The joy and magic of the holidays are already here. I love everything about the holidays. The familiarity. The festivities. The customs. The atmosphere around. Funnily, I don’t just love the holidays I traditionally celebrate, but all the holidays (except for ones based on hatred which I do not condone nor enjoy).
Nothing conveys the holiday’s spirit more than sending cards with holiday greetings from the bottom of the heart. We have this saying in Hebrew: “what comes from the heart is also received by one’s heart” and I do believe that giving the cards some extra attention by hand-making them makes all the difference. It becomes unique, original and most of all – drenched in love and attention.
Having said that, I do know you are all thinking I have gone mad. Handcrafting the 300 cards or so you need is the understatement of time consuming and who has free time on his hands these days? Fear not, as I’ve got the perfect holiday-cards-solution for you!
The Ultimate Guide For Handcrafted Cards
- Plan Ahead. Card making, as every other time consuming chore needs a game plan. You need to figure out the scope of the task and prepare accordingly by cutting the chore down to bite-size chunks. Starting a couple months in advance should be enough – so start now for Christmas/Hanukkah and if you’re celebrating Rosh-Ha’Shana (Jewish new-year) than either run a “card-a-thon” this weekend or aim for next year…
- Figuring out the scope -or- how many cards do you actually need. Make a list of all potential recipients. Use these groups as reference: family, friends, colleagues, business partners, neighbors etc.
- Time slotting. Now, that you have a definite number of cards you need to prepare (1517), divide this number by the number of days you’ve got until the “d-day” (when considering your “d-day” allow enough time for mailing the cards) and that is the number of cards you’ll have to make each day. Feel free to play with the numbers,allowing more card making time over the weekends or vice versa – whatever works well for you.
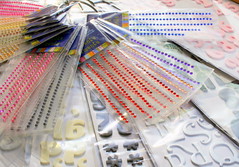
- Gathering materials. Make sure you have everything you need for the cards, otherwise the production line would be cut off and you’ll use its momentum. Don’t forget the basics like: adhesive, cards and envelopes. Make a “card station” with all the materials you’ll need for the card.
- Think: “Mass Production”. The only way you can conquer this behemoth of a chore is by tagging along the momentum a production line. You need to get to the point where your actions are technically automatic. OR you can prune your list down to the very close loved ones and prepare a killer one-of-a-kind card for each (but this is not really the point, isn’t it?!?).
For creating your own little card-production-line, just follow these principles:
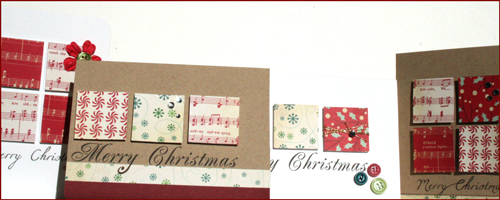
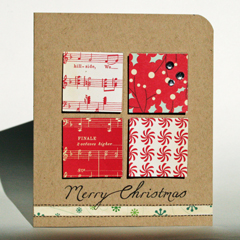
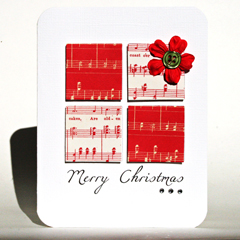
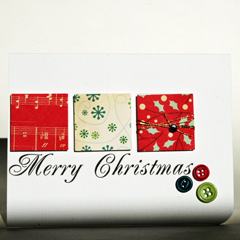
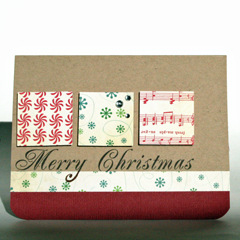
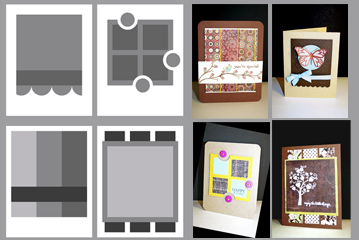
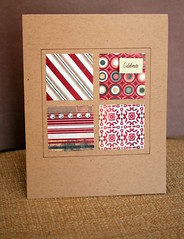
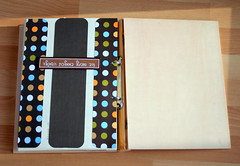
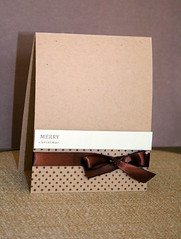
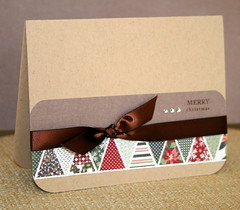
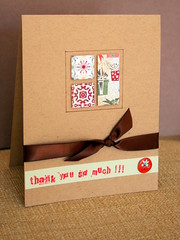
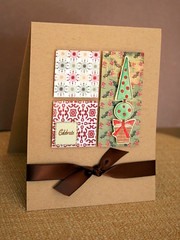
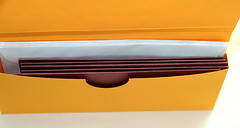
- Go For A SIMPLE Design. This is really not the time for intricate and artistic cards, detailed cut outs and seventeen-steps stamping. Leave those fun interactive -secret tags-double pop-ups-magic- cards out for now. GO SIMPLE. Use nestable punches or die cuts and go for linear design with no more than a few pieces of patterned paper, a piece of ribbon and one additional embellishment you can just stick down and call it a day. Don’t get me wrong, I am not saying you should go for ugly, just make it quick and easy – so reproducing it 1517 times would be feasible…
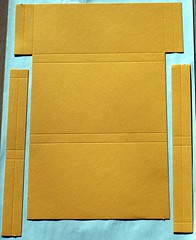
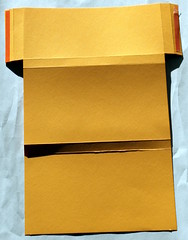
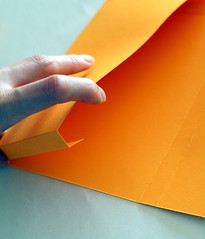
- Use pre-cut and pre-scored cards. Save your time for important stuff. Cutting and scoring aren’t. Feel free to use other pre-made stuff as well like paper flowers and threaded buttons. Relax, it isn’t cheating just being sane. If you insist on making your own cards – make it in advance. First cut all of them and then score all of them (remember: production line thinking).
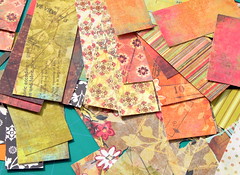
- Use Scraps. Another way of saving precious time is using scraps. We all have them and using them saves time on cropping and coordinating. As an additional advantage you are stretching your hard-earned buck and being more tolerant to your environment.
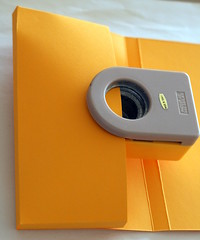
- Use Tools. The right tools can save you time and money. You do not need to go overboard, just get a paper trimmer, a bone folder, a craft knife, scissors, a ruler and cutting mat, a few nestable punches and a crop-a-dile (for good measure).

- Personalize. Don’t throw away all the hard work of making your own cards by forgetting the final personal-touch. Hand write the recipient’s name and add some personal hand-written words – even if it’s just: “Luv,(your name goes here)“
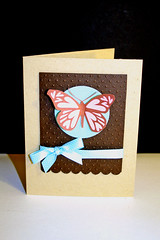
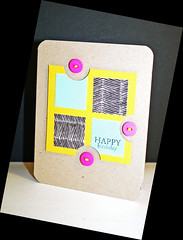
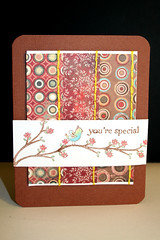
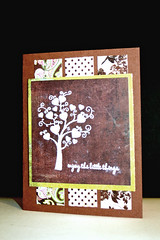
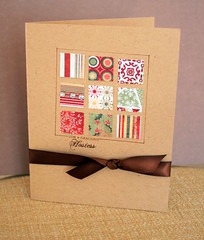
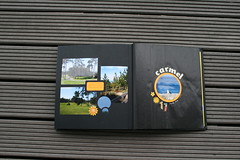
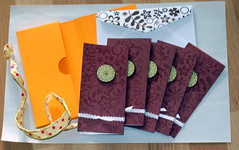
Here are some example for easy-peasy cards I have made – feel free to “lift” the design (click on the link to get to the original Flickr photo-page and then choose “all sizes” for watching it in high resolution):

Share –
Now it’s your time to throw in some good advice on handling the massive holiday-cards-making task and to share your own holiday card-creation.
Leave a comment on this post with an advice or a link to your creation.
You can also join the Creativity Prompt Flickr Group and add your card-creation to the pool.

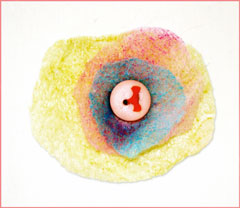 This week’s creativity prompt is more of an idea on how to reuse drier sheets after they have made your laundry smell fresher and become softer. You know how much I love
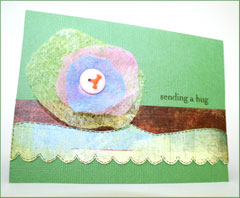

 Whenever I feel uninspired I try to change the way I go about my work. Lately I have been feeling I am getting into a creative rut and just haven’t been feeling “in the zone”. That’s why I have decided to get out of my comfort zone (which is designing “as I go”) and try something I do not usually do – plan the project in advance…


![Reblog this post [with Zemanta]](http://img.zemanta.com/reblog_b.png?x-id=ba015f8c-b31f-458d-950b-fbb8ff87fa4c)


