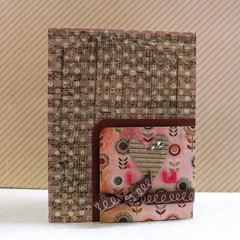
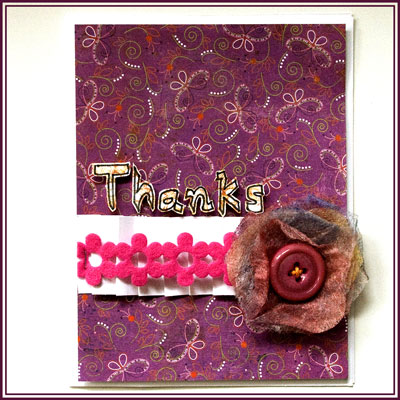
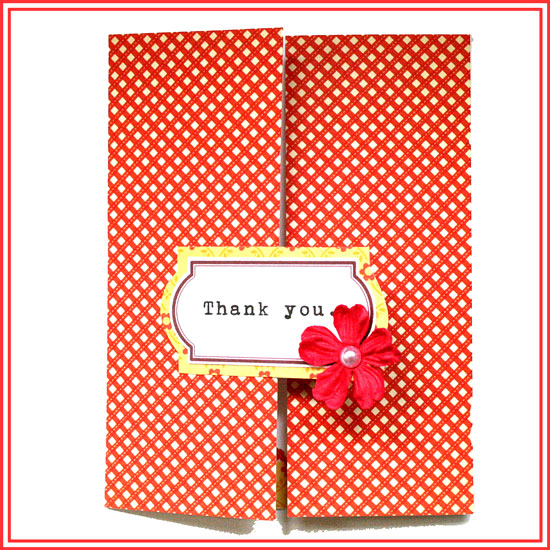
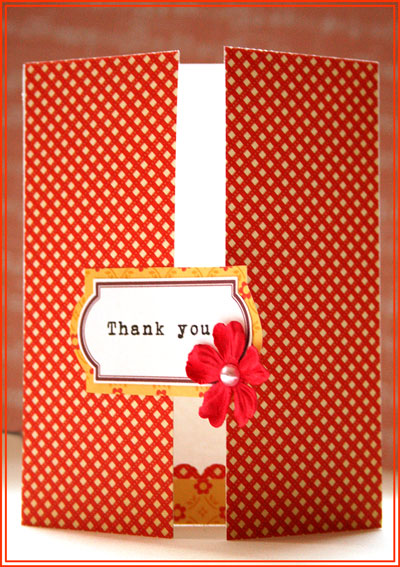
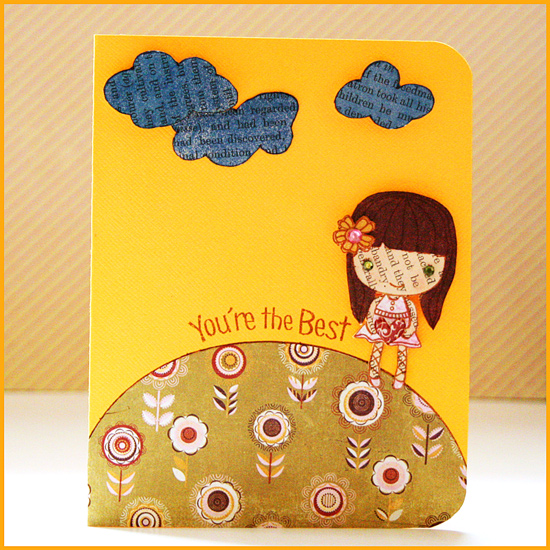
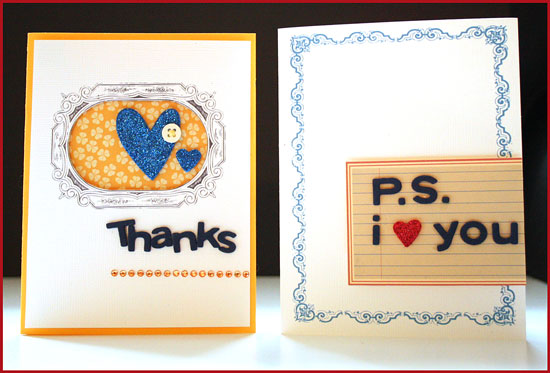
Cards, for me, are the perfect outlet for an urging need to make something with my hands. They are like little canvases or small scale picture-less layouts.
I get to think about the design, cut, adhere, use gems and flowers and cute buttons and sprinkle some glittery goodness and all in no more than a few minutes per card.
Yesterday I “suffered” from this urging need to create, to cut, to play with punches, to adhere… so I went ahead and made some cards for a few upcoming events.
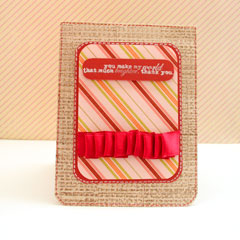
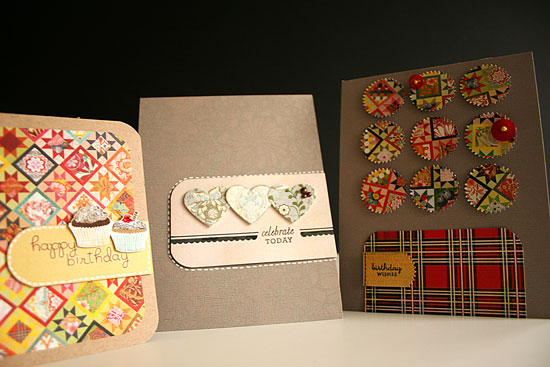
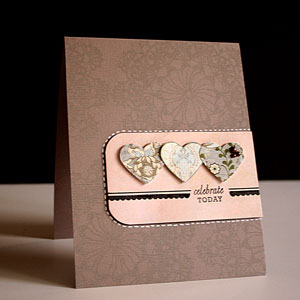
Celebrate today card
Supply:
- Cardstock – Bazzil
- Stamps – Hero Arts (circle doily cling stamp), Papertrey Ink (Mixed Messages), American Crafts (Sentiments – scalloped border).
- Ink – Colorbox Fluid Chalk Ink
- Patterned paper – Cappella by Basic Grey
- Punch – Martha stewart heart
- White gel pen – Uni-ball Signo
Tips:
- For a subtle background stamp a nice big pattern with ink the same color as your cardstock, or with Versa Mark ink.
- To stamp the border through the greeting, first stamp the greeting and then mask it with a small piece of paper and stamp the border stamp over it.
- To position the punched shapes evenly, I used a centering ruler and started with the middle piece, then I put the next piece in the center point between the middle piece and the edge of the paper.
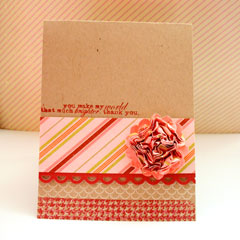
Birthday wishes card
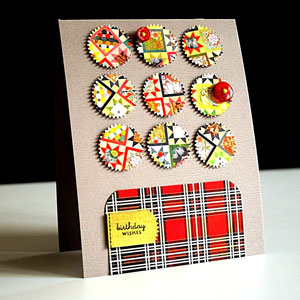
Supply
- Cardstock – Bazzil
- Stamps – Papertrey Ink (Mixed Messages).
- Ink – Colorbox Fluid Chalk Ink
- Patterned paper – June Bug by Basic Grey.
- Punch – Martha stewart Starburst
- buttons – Papertrey Ink (Poppy Red)
Tips
- I really loved the colorful patterns in the June Bug collection but felt I must tone them down, which I did by using a neutral colored cardstock base and by punching small shapes rather than covering the entire card base with a large piece of patterned paper.
- To create a greeting banner that compliments the punched shapes, I fed only the edge of the paper through the inside of the punch.
- I wanted to tie all the elements together, so I added a solid piece of paper and rounded its edges with the Corner Chomper to “point” towards the punched pieces mosaic. In addition, I added a couple buttons to the top portion to bring the red upwards.
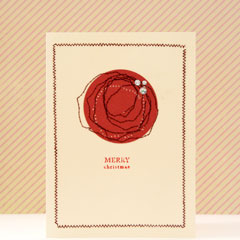
Happy birthday card
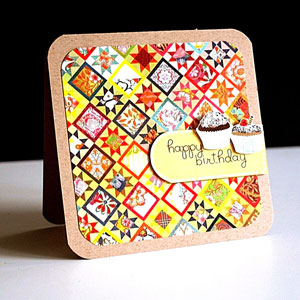
Supply
- Cardstock – Bazzil Kraft
- Ink – Colorbox Fluid Chalk Ink
- Patterned paper – June Bug and Nook and Pantry (cupcakes) by Basic Grey.
- Rub on letters (for the greeting) – Simply Sweet mini alphabet rub ons by Doodlebug Design.
- White gel pen – Uni-ball Signo
Tips
- Here I made a small card (4¼” by 4¼”) so I could use a solid piece of the colorful, busy paper (3¾” by 3¾”), but to break it off I added a 1″ piece and rounded both its edges with the Corner Chomper to create a rounded edge.
- For the cupcakes embellishment I just cut off a couple cupcakes from the patterned paper with my favorits precision scissors and attached them with foam adhesive.
- As cupcakes without frosting are no good, I added glittery frosting with my Stickles glitter glue.
Share
Have you made any cards lately? What do you do when you feel like creating something but are short in time? Please share by leaving a comment. I ALWAYS love reading your comments.

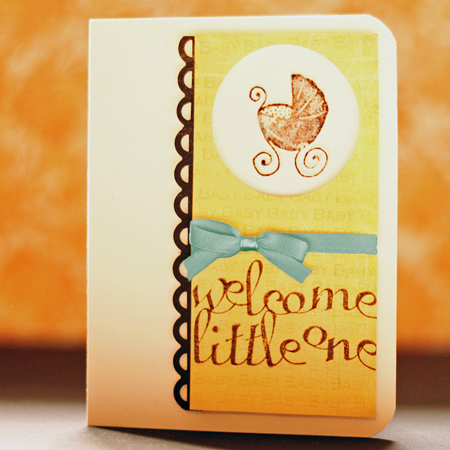
Check out Creativity Prompt’s new and unique self paced workshop: “Welcome Little One”. This workshop will provide you with everything you need, and then some, to make a fabulous handmade mini album to record the first moments of a new born baby.


 It may sound counterintuitive but when you feel blocked one of the best ways to break out of the creative rut is to confine yourself to a limited set of colors or to a certain sketch.
 Cast of Characters –
  Cast of Characters –
  Cast of Characters –
  Cast of Characters –
  Cast of Characters –
 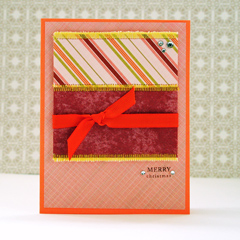 Cast of Characters –
 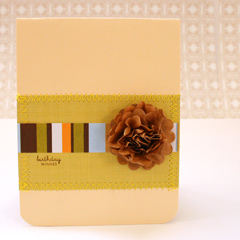 Cast of Characters –