Let me go with you through the process of making that tiny stitched notebook.
It happened before I purchased the huge scrapbook.com order…
My husband was away for work and I was bored.
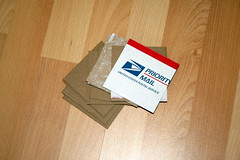
I pulled up my scraps basket, which contains scraps of patterned papers and cardstock as well as old envelopes, pieces of boxes and other junque.
I pulled out my sewing machine and blew away a cloud of dust that covered it [hmm…], threaded it and hooked it up.
I played my favorite iTunes playlist on repeat.
And I started playing.
At first I just sewed [or tried to sew] scraps of papers together along with other stuff and created random stitched collages “to be used later on”. I have no idea when, where or what for, but I kept them all.
Then I pulled out an old watercolor paper I stamped on years ago and started stitching around the stamped and colored images and cut them off.
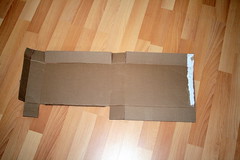
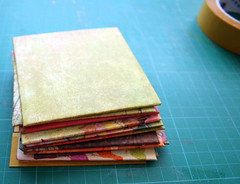
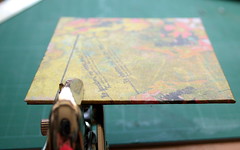
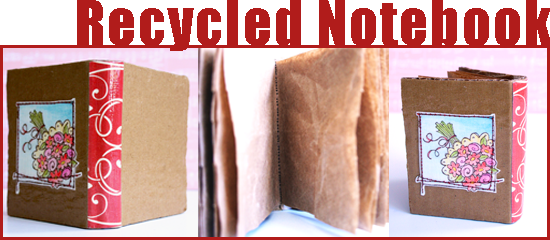
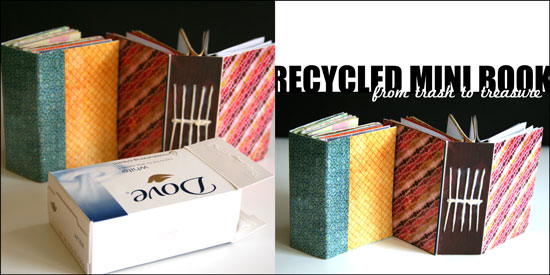
Then [and here is when that notebook started to emerge] I took an old cardboard cut out and a bunch of padding paper and sewed them together. You can see the sewn spine in the photo collage above, on the middle image.
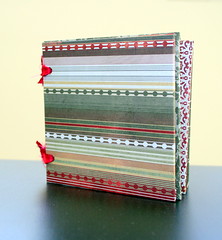
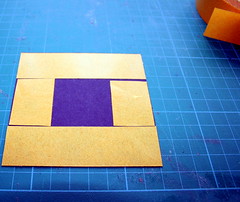
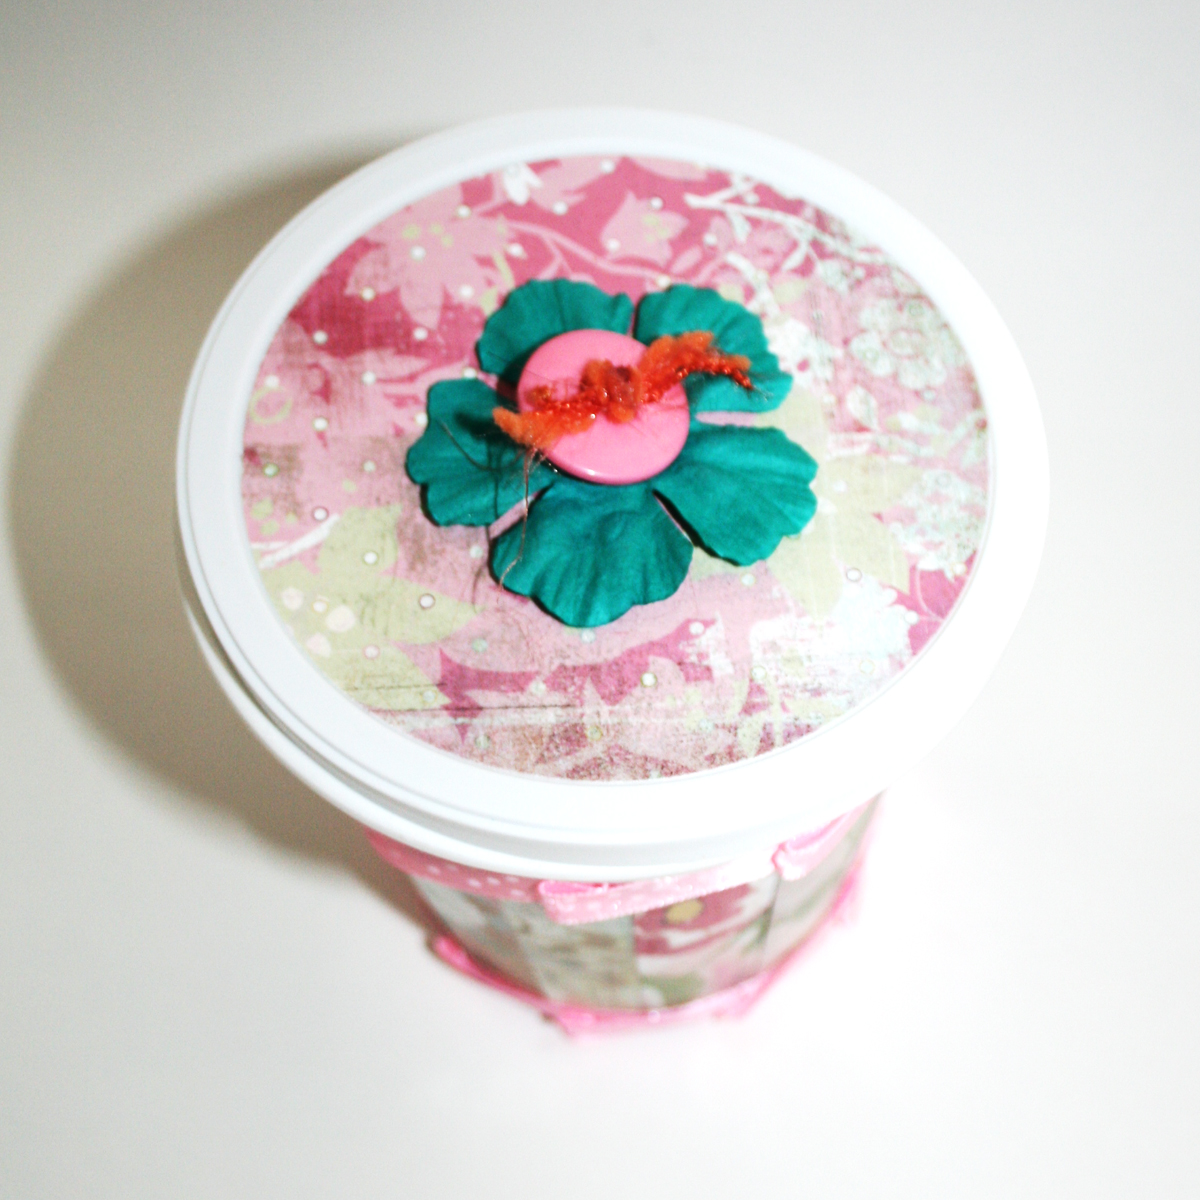
Then I wanted to conceal the outer stitches [which were far from neat] and adhered a scrap of patterned paper I had left from an old Christmas collection pad.
After doing that I felt that something is missing and decided to adhere one of the stamped and sewn images I made before.
To hold everything together I added 2 layers of glossy Mod Podge.
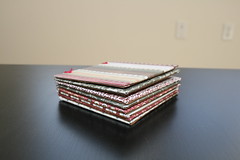
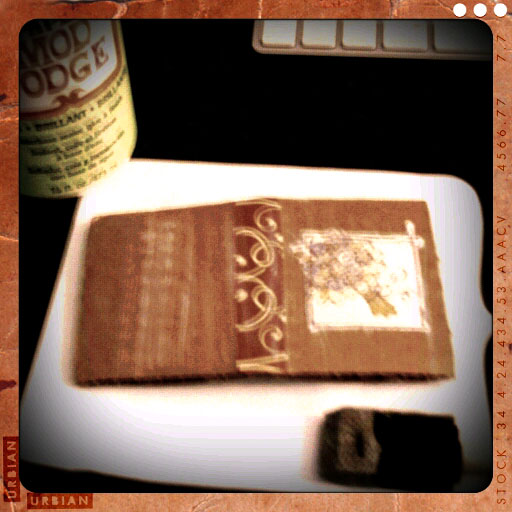
Here is a glimpse of the notebook “in progress” [taken by my ancient phone cam…]:
That is all.

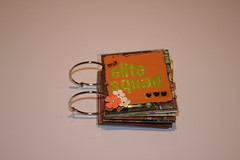
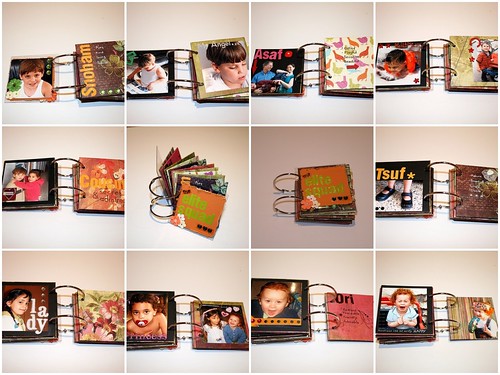
Check out Creativity Prompt’s new and unique self paced workshop: “Welcome Little One”. This workshop will provide you with everything you need, and then some, to make a fabulous handmade mini album to record the first moments of a new born baby.


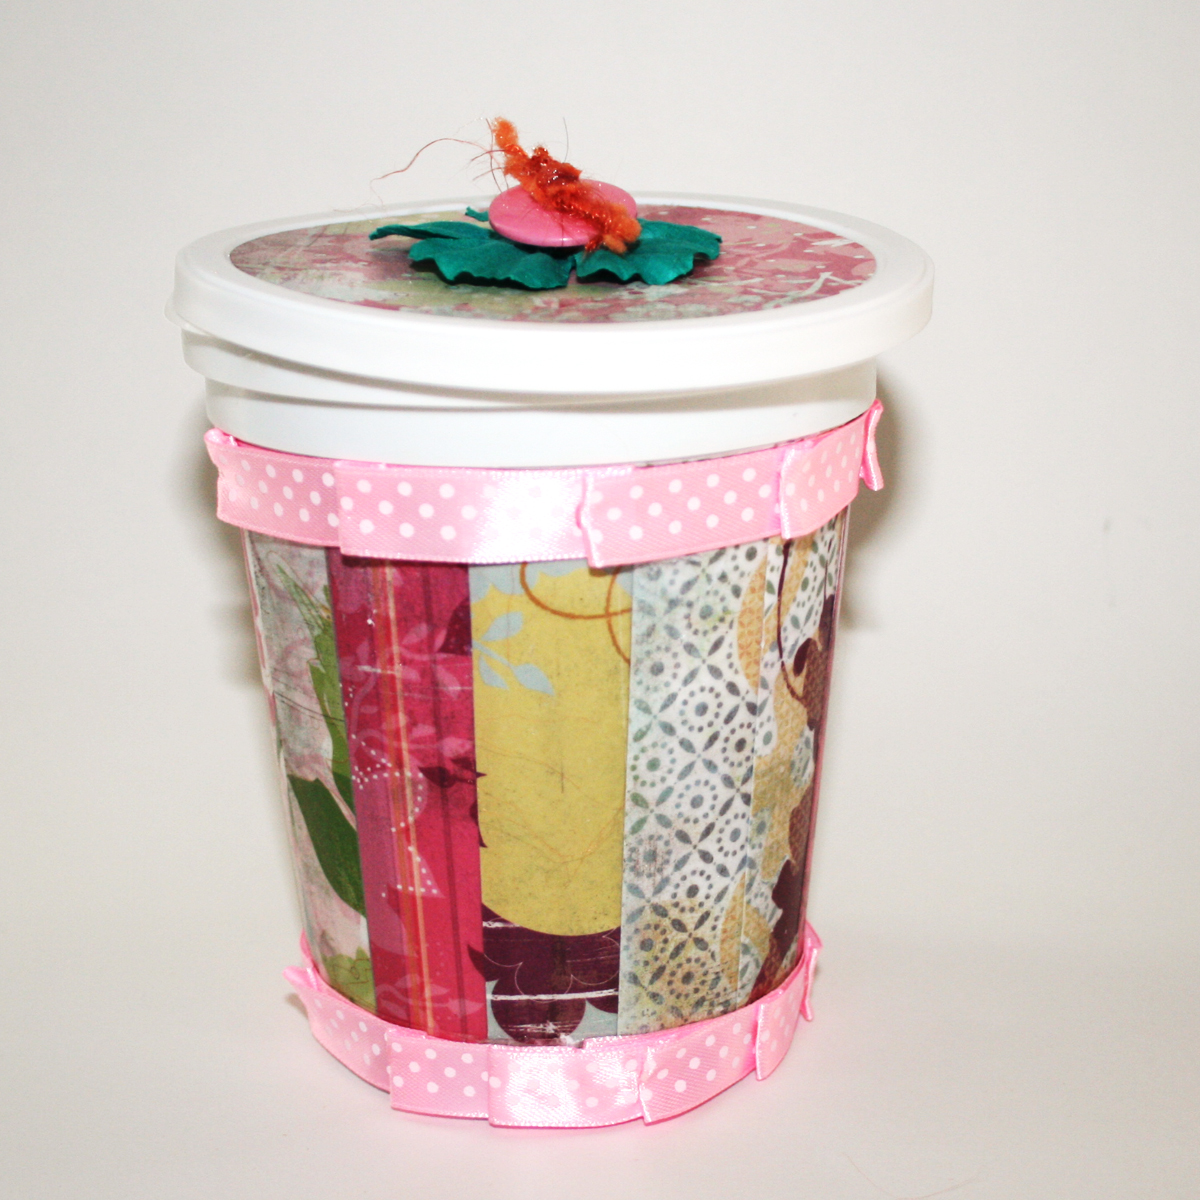
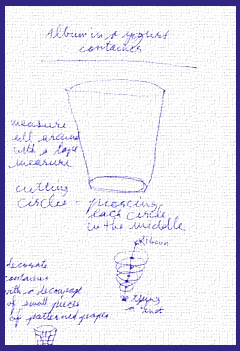
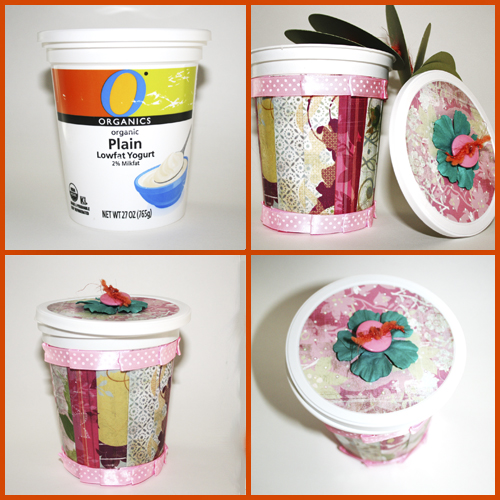 Being environmentally friendly is important to me. It is actually very selfish of me, as I want my posterity to enjoy mother earth as long as possible. Therefore on one of my very first creativity prompts I have shown you how to
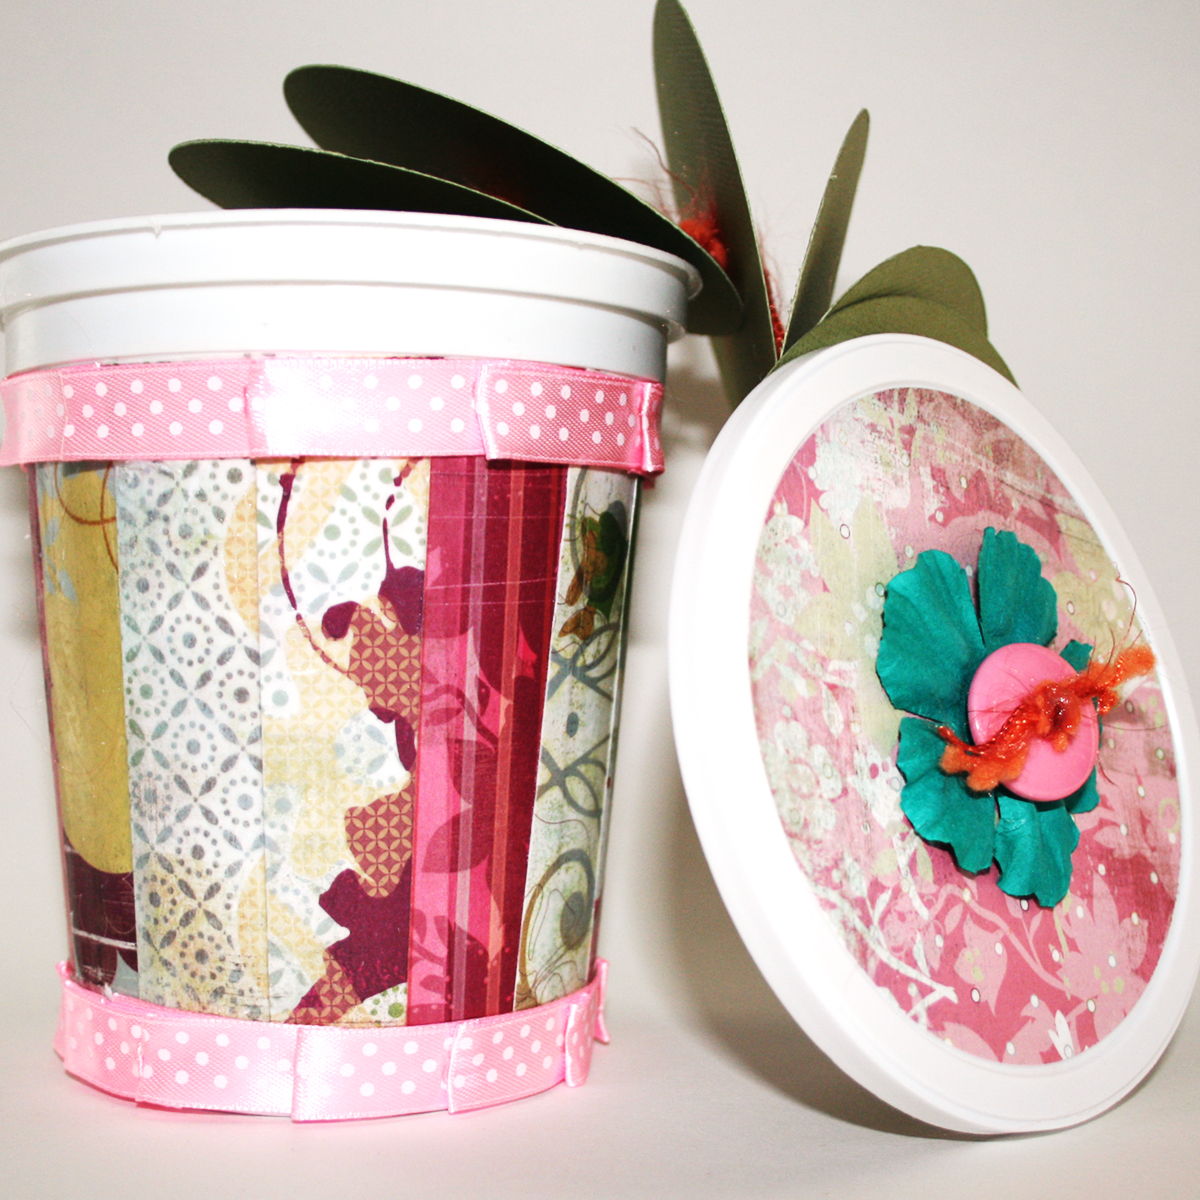
 Subscribe in a reader
 Subscribe by Email