Thinking outside the box is one of the best creativity exercises. In scrapbooking it is manifested by getting out of the traditional 12″ by 12″ page protectors and experimenting with other mediums and sizes.
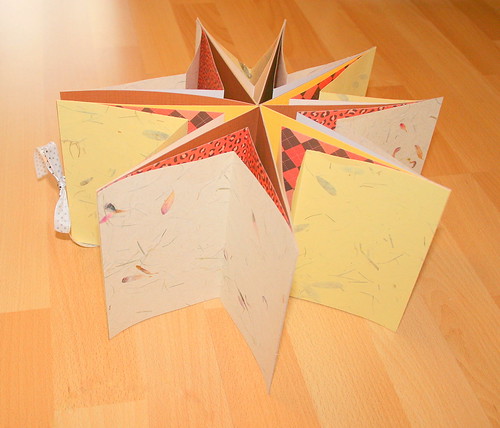
For this week’s creativity prompt I am taking scrapbooking out of the post-bound album and onto our wall, with “scrapcanvasing“, which means scrapbooking on canvas.
My experience with scrapcanvasing has been great. Getting out of the boundaries of my cardstock stash had made me pull out my art supply that had been waiting untouched, patiently, for a loooooong time. Playing on a canvas means playing with my acrylic paints, my water colors and other mixed-media art goodies – the sky is the limit…
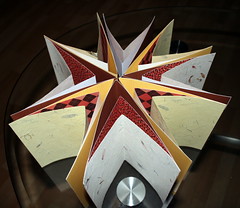
This week’s video isn’t a tutorial – PER SE – but rather me playing around with my canvas. I truly love the results. (You can click on the picture above, for a closer look at the finished project).
So if you want to watch me playin’, stay tuned:
(and if you feel much inclined, please rate and comment on You Tube, where you can also watch the video in higher resolution)
The great music on the video is by non other than Josh Woodward – his music is available (for free) here.
Tools & Supply –
- Acrylic paint
- Water color
- Paint brush
- gems and pearls
- paper flowers
- Vinyl letter stickers
- Fine brown pen
- Cardstock
- Glue dots
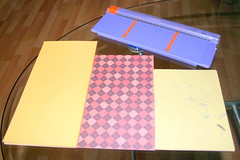
- Design ruler
- Craft knife
Share –
Are you feeling like creating your own scrapcanvas? Share your thoughts with me!!!
If you have any question, suggestion or remark – don’t hesitate to contact me – either leave a comment, use the contact form or start a new thread on the Creativity Prompt Flickr Group!!!
Please let me see your scrapcanvasing creations, by dropping a link at the comments section on this post 🙂


![Reblog this post [with Zemanta]](http://img.zemanta.com/reblog_b.png?x-id=7bb7c0c2-91d3-4322-a395-829a6968bda7)