 For this week’s project you don’t even need cardstock. It’s as simple and easy as it gets…
All you need is a batch of 4″ by 6″ photos, a 5″ by 6″ piece of chipboard and a fabric scrap.
Is that all? Yes. That. Is. All.
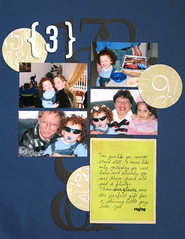
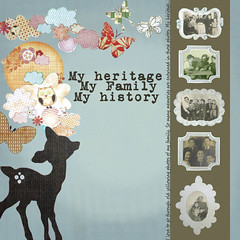
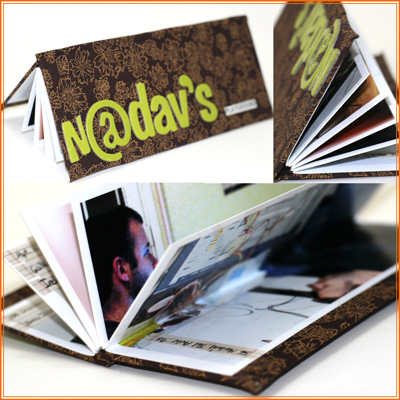
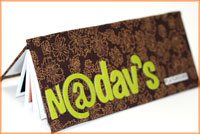
In my album I gathered pictures from 5 different apartments my husband has lived at (in 5 different continents). There is one common denominator in each photo – my husband is completely absorbed in his computer. I named the mini album: “Nadav’s Playground”…
If you have a few photos that tell a story and you wish to compile them in this cute album you can carry around or gift to a dear one, than read on.
Tools & Supply
- Craft knife
- Cutting mat
- Chipboard
- Glue Stick
- Bone folder
- Brayer
- Fabric scrap.
- 6″ by 4″ photos.
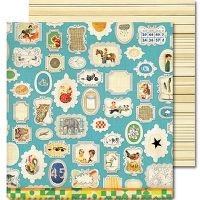
- Embellishments – American Crafts Thickers (adhered with Tombow Mono liquid glue, to ensure a strong adhesion), 7Gypsies journaling stickers, Making Memories wordfetti stickers
How To
Watch on You Tube [Music is by Josh Woodward with permission]
Step By Step Instructions
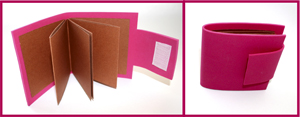
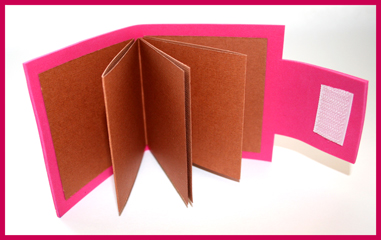
- Cut 2 pieces of chipboard at 2½” by 6″ each.
- Fold each photo in half lengthwise (into 2″ by 6″).
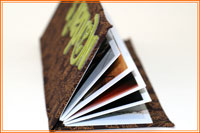
- Adhere half of each photo to the next with glue stick – back to back – to create a photo booklet. Go over it with a brayer to eliminate air bubbles or glue bumps.
- Lay your chipboard pieces over the left side of the fabric scrap. Leave a gap between the 2 chipboard pieces. The gap should be as thick as the booklet’s spine.
- Adhere the chipboard to the fabric with glue stick as laid before.
- Trim off the excess fabric. Leave a 2″ edge all around the chipboard pieces.
- Cut the corners of the fabric, but leave a small gap for a neat fold later.
- Adhere the fabric flaps to the chipboard with glue stick. Use a brayer to ensure the adhesion.
- Adhere the booklet to the cover with glue stick.
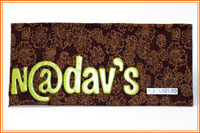
- Embellish! (Although the American Crafts letter stickers are self adhered, I added a dab of strong liquid glue to make sure they stay put. TIP – I ran out of some of the letters so I switched on my creative half. The ‘N’ is actually a trimmed ‘M’ and one of the ‘A’s is an ‘at’ sign – which goes well with the computers theme.)
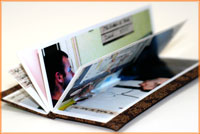
I want to share with you one of my favorite pictures from this mini album. It was taken here at our apartment in California. Note the pasta on his lap and the computer on the dinner table…

Isn’t that a memory to cherish?
Share
If you have any question, suggestion or remark – don’t hesitate to contact me – either leave a comment here, use the contact form or start a new thread on the Creativity Prompt Flickr Group!!!
I would also be very happy to see your own creations, so don’t be shy and share 🙂
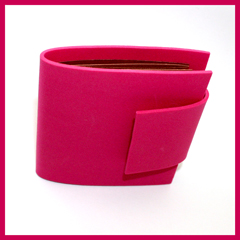
 For this week I have a 5-minute-project for you. An adorable little brag book with a fun foam cover that makes it extra “snugglable”.
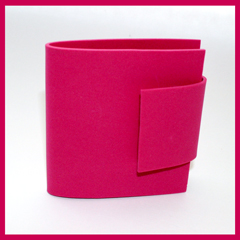

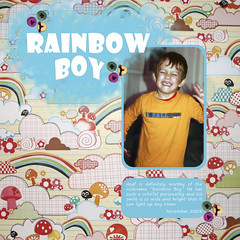
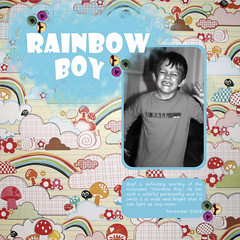
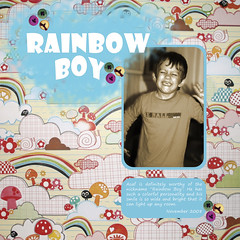
 Every once in a while when I feel the muse is playing hide-and-seek I like to take a step backward, get rid of all the fluff and go back to the basics. The same applies to scrapbooking.