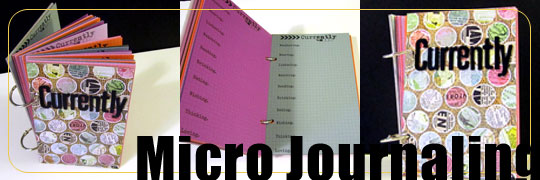
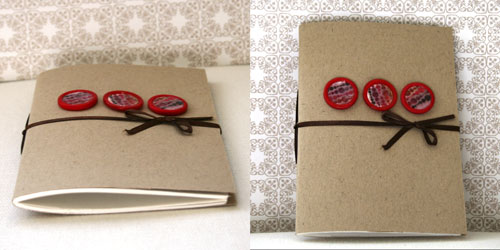
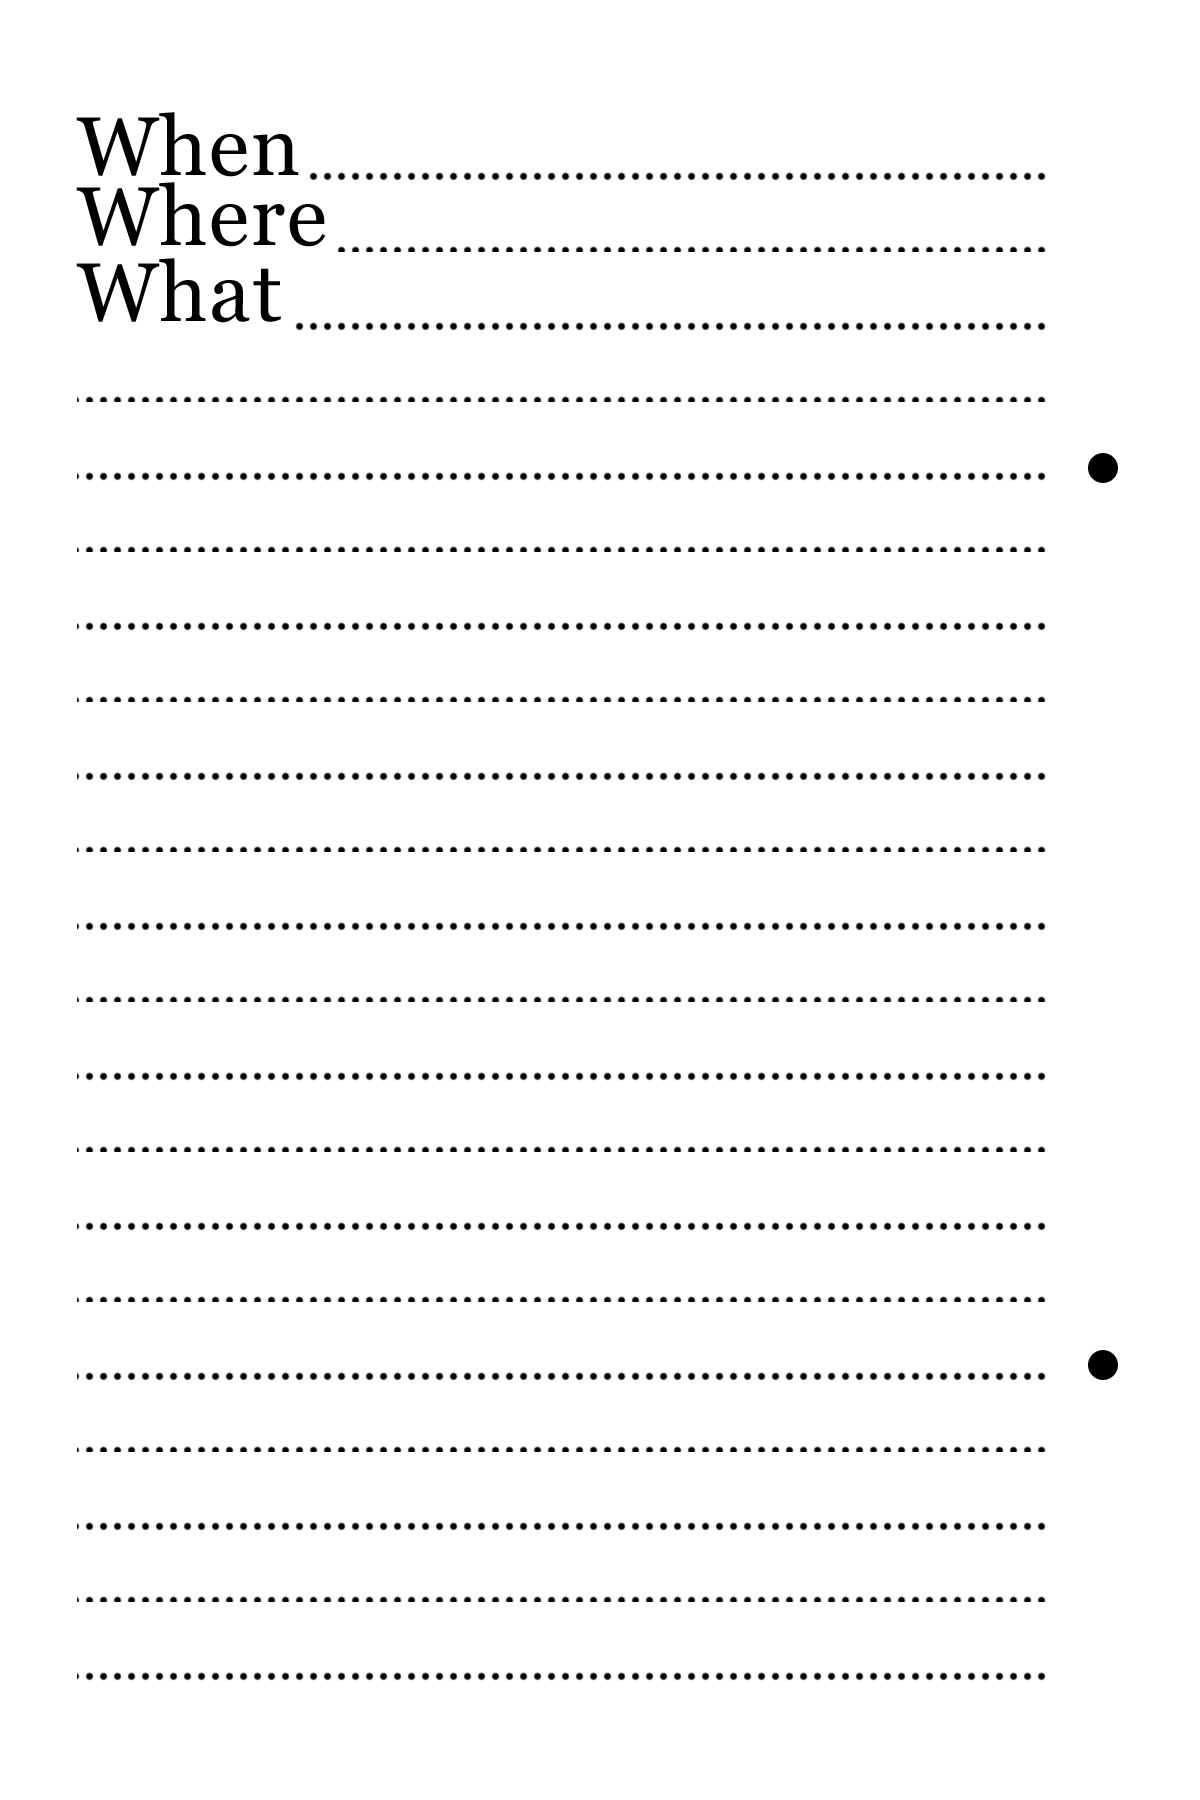
I am revisiting the idea of micro journaling, not because I didn’t keep up – but because I filled up every single page of my last journal.
Micro journaling is so easy. Nothing profound needs to be written (although some great revelations have occurred). The prompts are provided and are repetitive so you don’t have to think much before documenting a day in your life. Thanks to the ease of keeping up, I now have a treasury of micro memories to leaf through.
Here’s how you can make one for yourself:
Supply
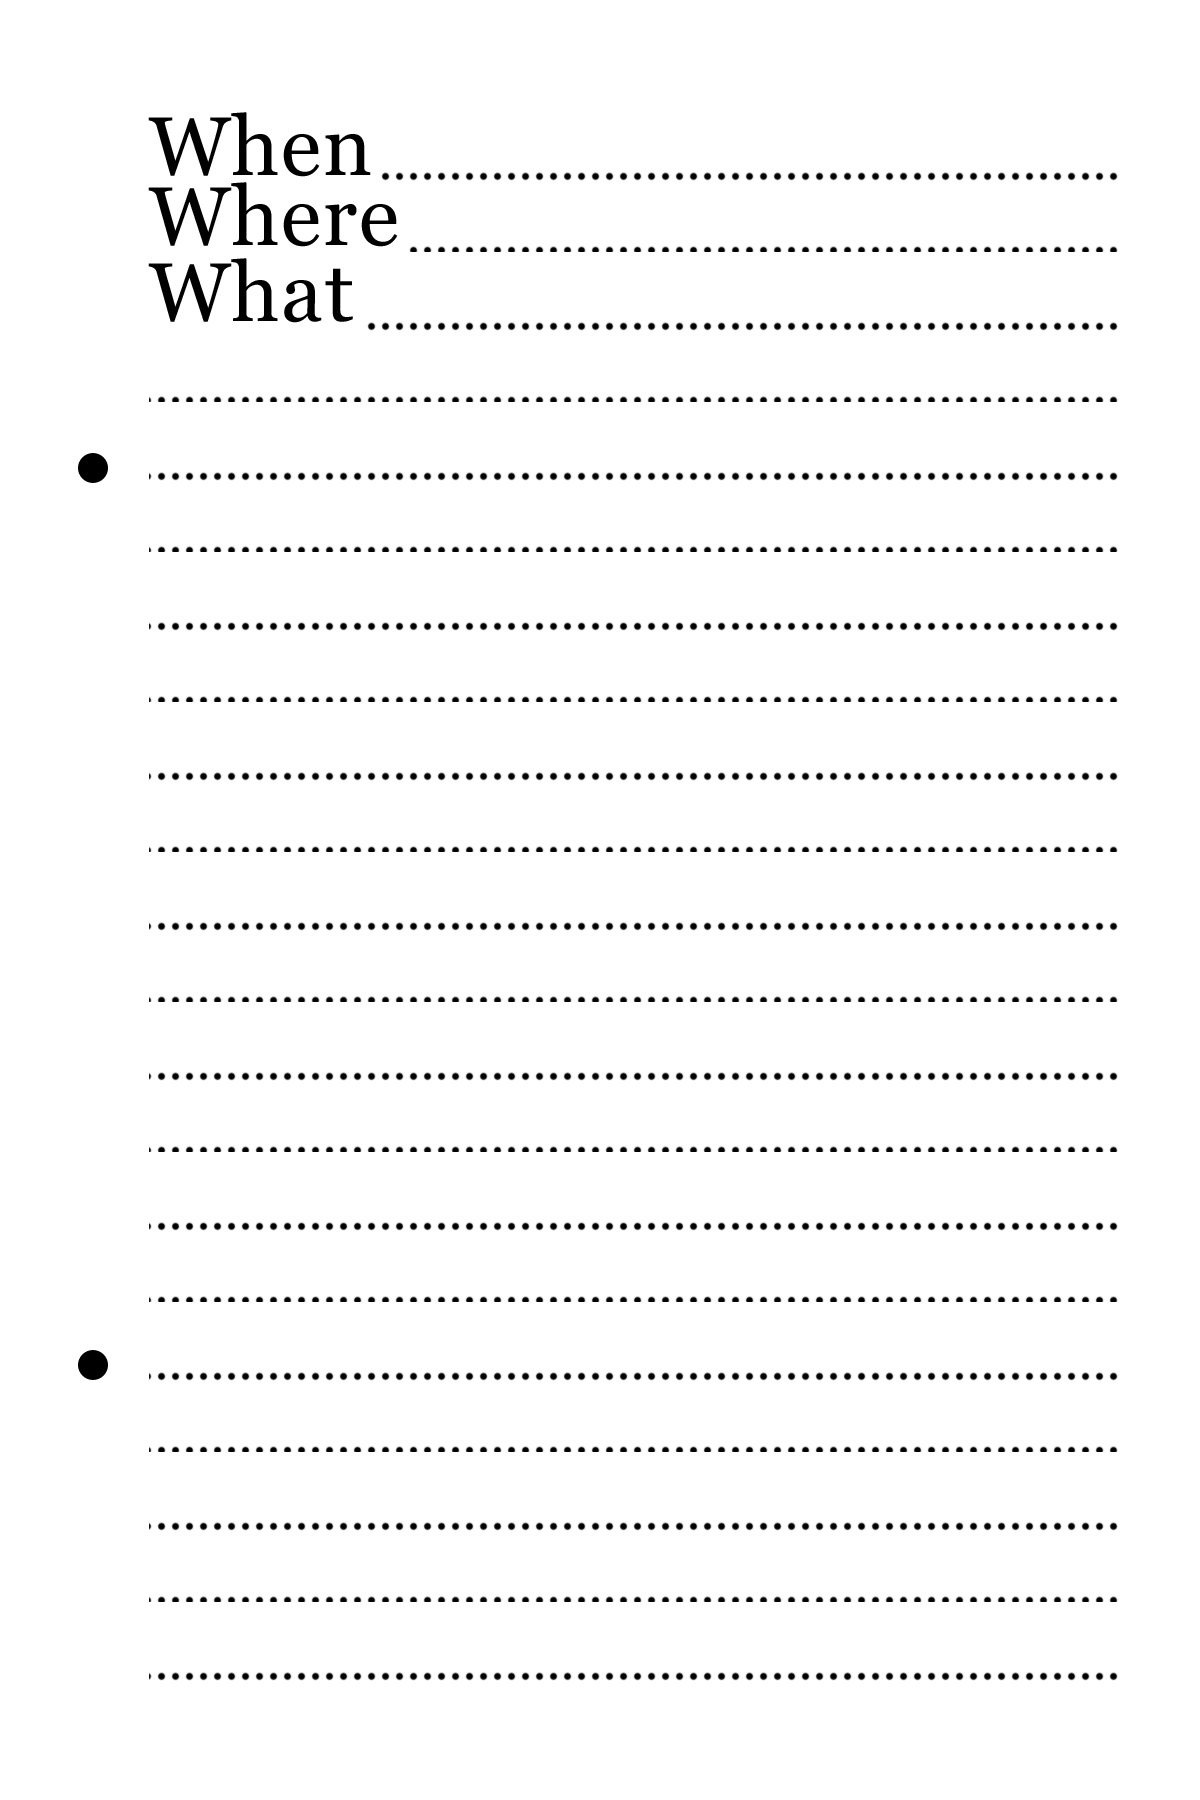
- Free printable: Front | Back [right-click on the link and opt for “save target as”]
- Cardstock – I cut each 12″ by 12″ piece into 6 photo-sized pieces. Use as many as you wish – the thicker, the better.
- Chipboard – you need 2 pieces measured: 4″ by 6″ each.
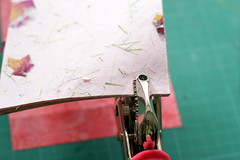
- Hole punch – to punch through the chipboard I use the crop-a-dile.
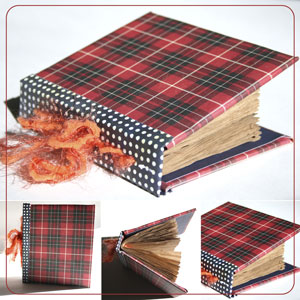
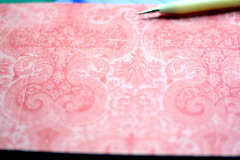
- Patterned paper – to cover the chipboard. I used Basic Grey’s Out Of Print paper.
- Letter stickers – for the cover. I used American Crafts’ fabric Thickers.
- Adhesive – I used tape adhesive to adhere the paper and liquid adhesive to secure the letter stickers.
- Book binding rings – to bind the journal. You can also use thread or ribbon, but leafing through will go less smoothly.
how-To
- Cut the cardstock to size. First cut the cardstock in half, to 6″ by 12″ then cut each strip at 8″ and 4″, to make 6 pieces, measured 4″ by 6″ each.
- Feed the stack of cut cardstock through your printer, the same way you would put photo paper to print photos at home. I found that using the software that came with the printer is better then using the default printer driver. Start by printing the front page on all pages, then flip the pages (back-side-front) but keep the same orientation they had when you printed the fronts (up-side-up). You might want to try it on a demo page before printing on all your pre-cut cardstock.
In case you cannot use 4″ by 6″ paper with your printer, or if you simply don’t want the hassle, you can just send the 4″ by 6″ files you downloaded to your favorite printing-service.
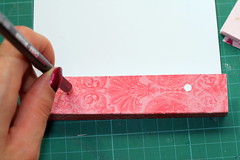
- Punch the holes, as marked on the printable. I use the bigger setting in my Crop-a-Dile and align the bottom of the punch with the bottom of the marked circle, to stay farther from the edge.
- Cut the chipboard to size. The best tool for it is a plain box-cutter… But any sharp knife will do.
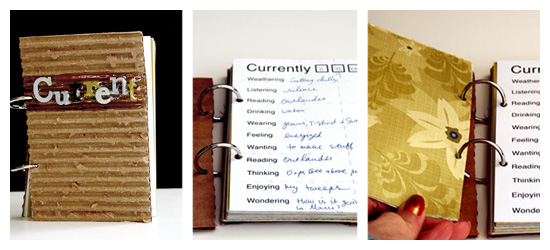
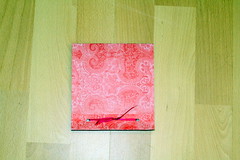
- Cut the patterned paper to size and adhere to the exposed chipboard.
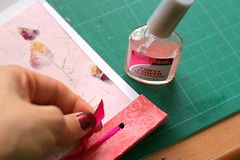
- Adhere the letter stickers to the cover. I put a dab of liquid glue on each letter, despite using self-adhesive letter stickers, to secure it in place. After all, it is a journal that is meant to be used – often.
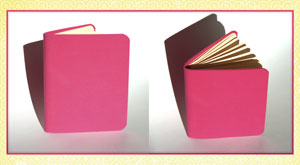
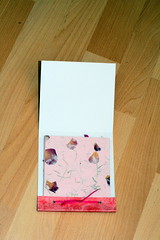
- Bind all the pages together with the book binding rings and start recording.
Share
What are you currently doing?
Check out Creativity Prompt’s self paced workshop: “Capture Your Dream”. In this workshop you will capture, follow and make your dream come true as well as document your journey in a fabulous mixed media mini album.

 Subscribe in a reader
 Subscribe by Email
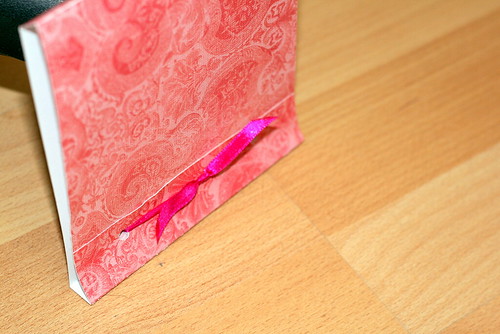


![Reblog this post [with Zemanta]](http://img.zemanta.com/reblog_b.png?x-id=7ba11501-8ec4-428b-8ed2-40e1f7fc885a)


