It didn’t take me long to come up with another carfty recycling project. After all, making mini books and albums is much more fun then carrying all the empty boxes that arrive each week from Amazon to the recycling bin, isn’t it? (I refuse to admit I have an ACOD – ‘Amazon Compulsive Ordering Disorder’… Plus one of them boxes must be my husband’s me thinks.)
Anyway…
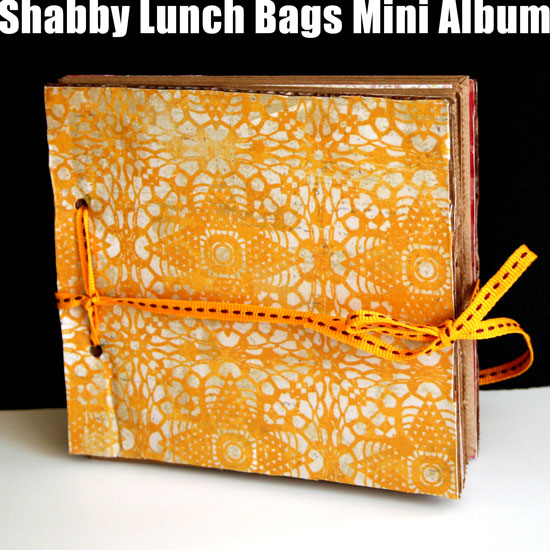
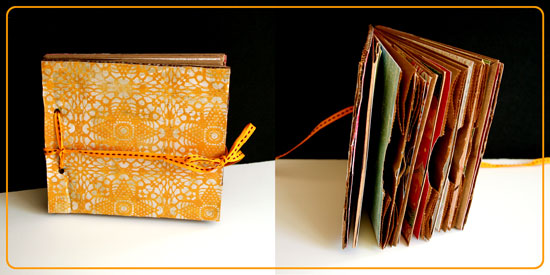
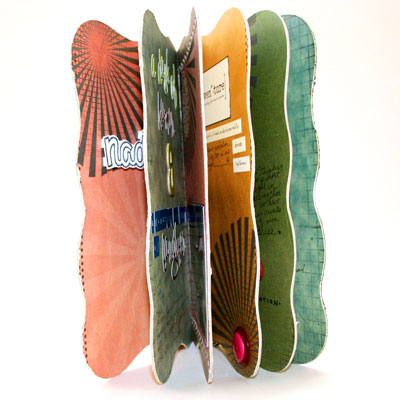
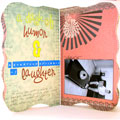
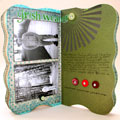
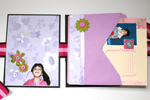
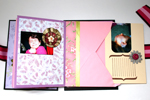
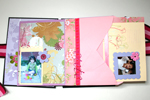
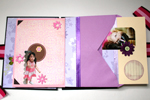
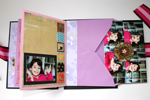
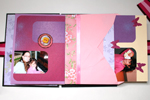
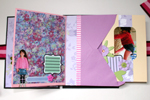
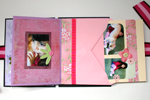
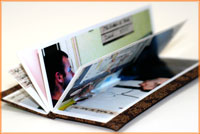
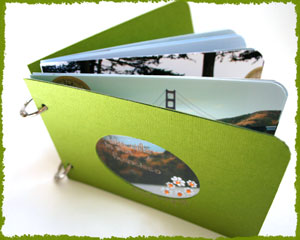
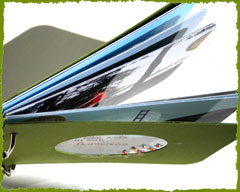
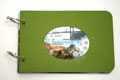
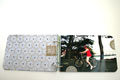
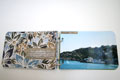
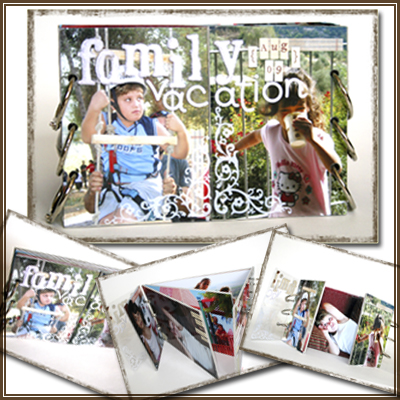
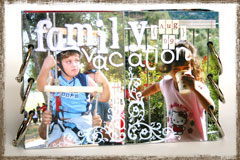
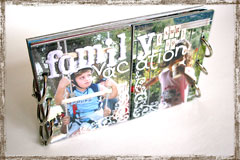
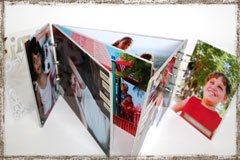
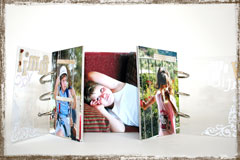
Here is another recycling project I share with you, in which I transform 5 small lunch bags and a small box into a super cute shabby mini album with room for memorabilia, ephemera, photos, hidden journaling and what not.
Supply
- box
- 5 lunch bags (or as many as you want…)
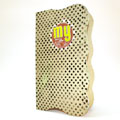
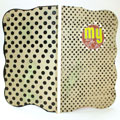
- Patterned papers – I used Crate Paper ‘Restoration” paper as well as vintage Basic Grey.
- Mod Podge
- Foam brush
- Craft knife
- Centering ruler
- Crop-a-dile
- Ribbon
- Adhesive
How-To
[Go here to watch on YouTube and while there, please rate, comment and subscribe.]
Step-By-Step Instructions
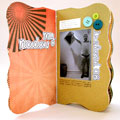
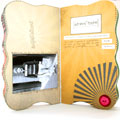
- Adhere the flap of the lunch bag, inwards, by applying adhesive just to the edges of the flap, so you create a small pocket. Fold in half and repeat with all the bags.
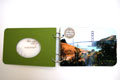
- Measure the height and width of the folded bag and cut the cover pieces to the same size out of the box, using a sharp craft knife. Don’t apply pressure on the knife, just use shallow back and forth movements with the knife until the cardboard is separated.
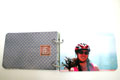
- Cover the cover pieces with patterned paper – start by applying a thin but thorough layer of Mod Podge with a foam brush. Adhere the paper onto the cardboard. Flip the piece and cut off the excess paper by using the edges of the cardboard as a straight edge for your craft knife. Lastly, apply a thick layer of Mod Podge to seal it off. Repeat on both sides of both cover pieces.
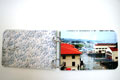
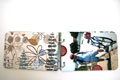
- Cover the inside pages of the lunch bag signatures with patterned paper, make sure you keep the flap pockets opened.
- Measure 1 inch above and below the center point of the edge of the cover and mark it. Punch holes through these tick marks and repeat on all pages and the back cover.
Share
If you have any question, suggestion or remark – don’t hesitate to contact me – either leave a comment here, use the contact form or start a new thread on the Creativity Prompt Flickr Group!!!
I would also be very happy to see your own creations, so don’t be shy and share 🙂
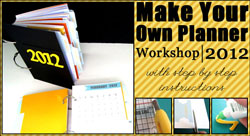
Check out Creativity Prompt’s new and unique self paced workshop: “Make Your Own Planner”.
This workshop will show you how to make a beautiful handmade planner for the year 2012. Not only are you going to get the entire meticulously designed planner kit for instant download, but you will also get a high resolution video tutorial as well as step-by-step instructions to guide you on each step of the way. Either treat yourself with a fresh and creative start for the coming new year, or get it to create wonderful gifts for your family and friends.
Join now
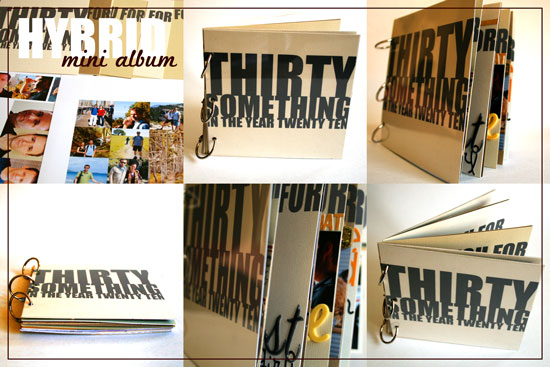
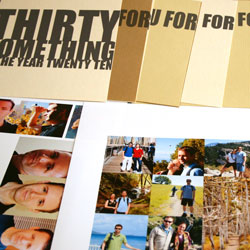


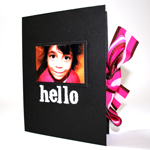
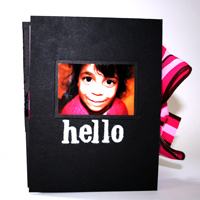
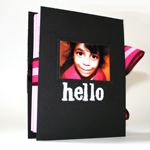
 This time I revisit an oldie, but a goodie –


 For this week’s project you don’t even need cardstock. It’s as simple and easy as it gets…
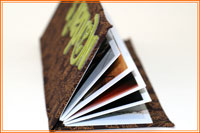
 I am always trying to come up with the quickest and easiest projects for Creativity Prompt, but this time I have really outdone myself…
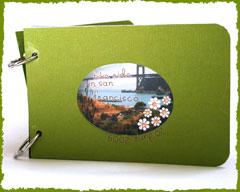


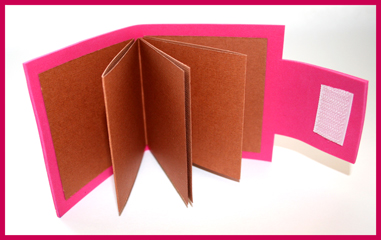
 How would you like to put together a beautiful mini album – from start to finish – in about an hour?
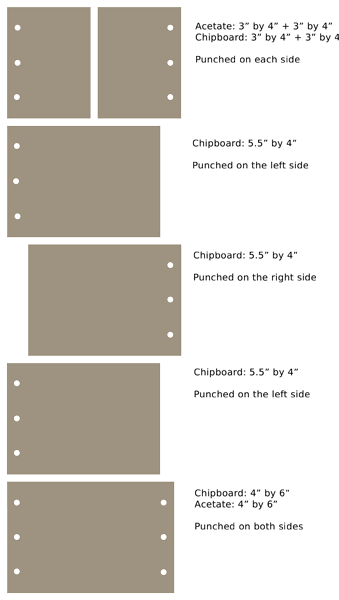
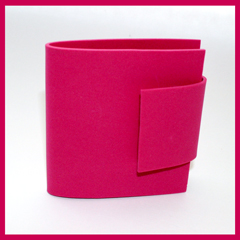
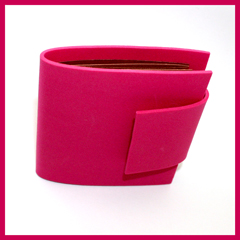
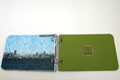
 For this week I have a 5-minute-project for you. An adorable little brag book with a fun foam cover that makes it extra “snugglable”.