
I am very susceptible to visual stimuli. That means that the recent wave of insanely cute patterned papers has driven me mad. I had to have it all (or at least everything that wasn’t already sold out). The problem starts when I get those papers and feel stumped. All of these busy patterns, as adorable as they are, are making it hard to use the patterned papers on my layouts.
Saying that, there are a couple tricks under my sleeve. Just a few pointers that can help you make use of these patterned papers rather than just hoarding them. If you are interested then keep on reading.
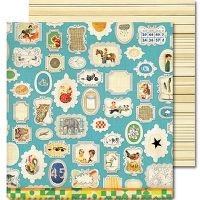
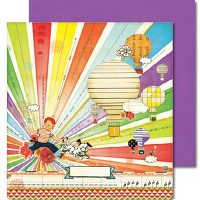
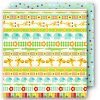
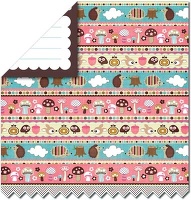
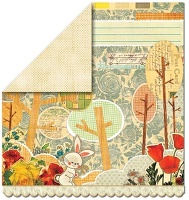
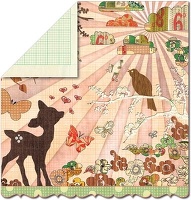
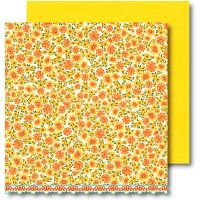
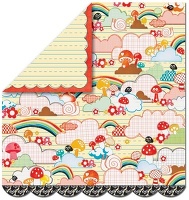
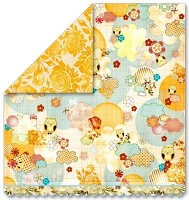
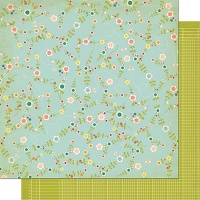
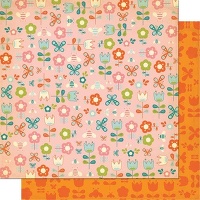
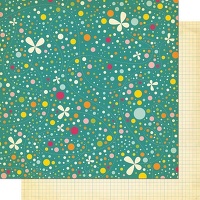
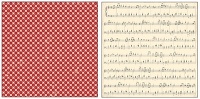
The Patterned Paper I used on my layouts
[Click on the photos if you want to purchase these papers at Two Peas In A Bucket]

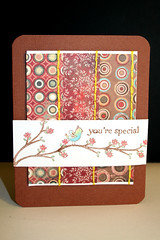
TIP 1 – Use strips of the patterned paper
 Rather than using the paper in its entirety and being overwhelmed with the busy pattern, just cut a 2″ by 12″ strip and use with a solid cardstock, accentuating the colors in this strip.
Many manufacturers offer patterned papers that already have strips of different patterns on them. That gives you a great bang for your hard earned buck.
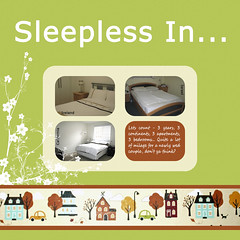
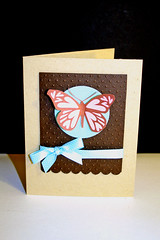
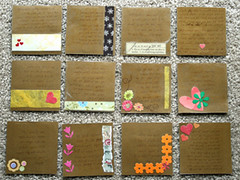
Tip 2 – Punch or die-cut your patterned papers
 This technique also helps by scaling down the busy pattern. Using just a punched portion of the paper adds color and cheerfulness but doesn’t overwhelm the eye.
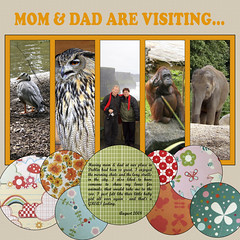
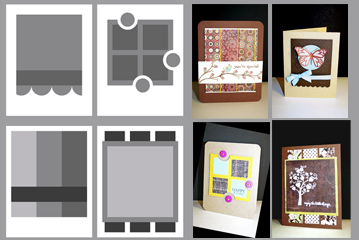
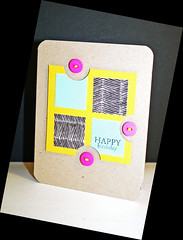
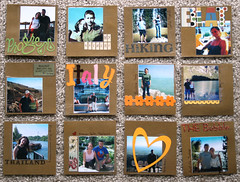
Tip 3 – Use portions of the patterned paper in a grid
 This technique is quite similar to the latter, designed to scale down the business of the pattern by using a small portion of it.
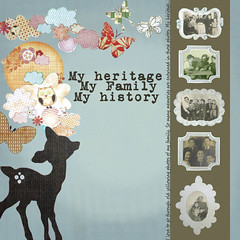
However, this technique also adds another advatage which is the grid itself. The grid (whether it’s a grid of squares, circles, ovals, rectangles, etc.) helps to “organize” the layout and give a home to all the elements, as well as maintaining an even proximity between the different elements. These traits make the layout look cleaner, thus more forgiving to busy patterns.
In this layout I also used the special edges that come with the Sassafras Lass’s papers as a border to my grid.
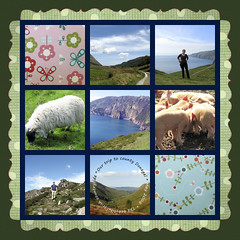
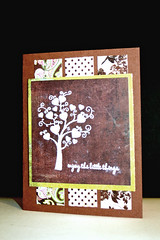
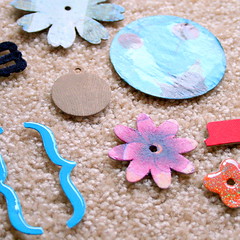
Tip 4 – Cutting out elements from the paper’s pattern
 Working with the busy pattern may be difficult, but you can think of the patterned paper of a sheet of die-cuts (only you have to cut the elements yourself…).
Cut out the elements, without confining yourself to a certain shape or size (like you do when using punches or die cut machines). The possibilities are truly limitless.
Pair those die-cut shapes with a solid cardstock and a natural color palette and you’ve got yourself a personalized pattern, seen only on your layout.
Tip 5 – Restrict the color in your photos and other elements
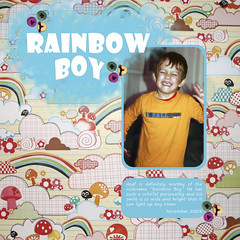
When you want to convey a whimsical message with your layout, you might want to use the entire patterned paper. However you would like to tone down the color of the rest of the elements on your layout.
Use solid colors for your title and photo mats, either neutral or taken from the same color palette of the patterned paper.
You can also apply a light wash of acrylic paint on top of the patterned paper to tone it down a bit.
Don’t add too many embellishments. If you want to add more interest just cut down some of the elements and pop them up with foam dots.
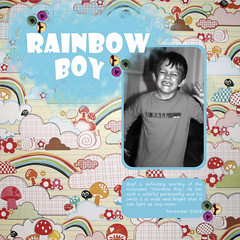
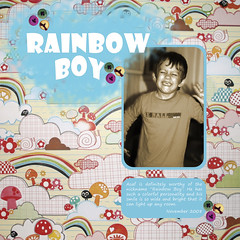
Choose photos that has only one dominant color or change them to black and white or to a sepia tone. Below you can find an example of all three photo options (Altered in Adobe Photoshop Elements).
You may also like this post:
Use Those Paper Scraps
Share
I hope this post has been helpful to you. I hope you will give those cute patterned papers a second chance.
If you have any question, suggestion or remark – don’t hesitate to contact me – either leave a comment here, use the contact form or start a new thread on the Creativity Prompt Flickr Group!!!
If you have more pointers on using busy patterns, I would love to hear them. Just leave a comment on this post.
I would also be very happy to see your own creations, so don’t be shy and share 🙂
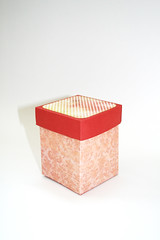
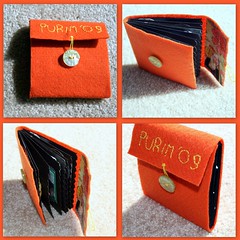
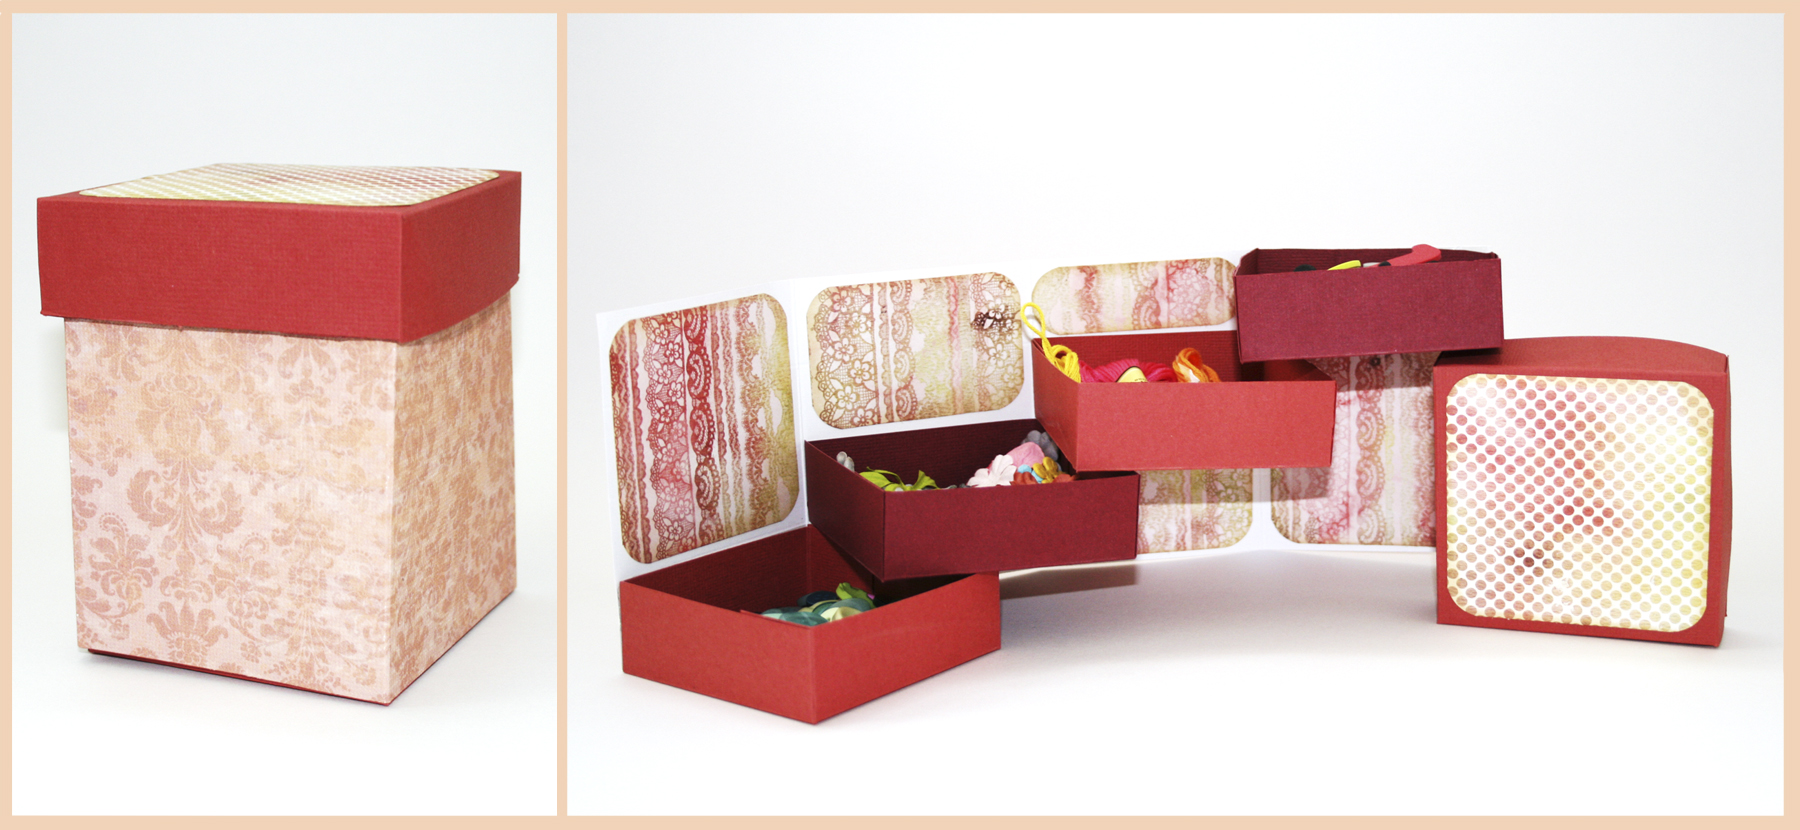 OK. I’ll admit it. I am addicted. Addicted to boxes… Luckily I have been moving a lot in the past years, so I got to buy boxes and treys over and over again. I just LOVE that everything has its place. Be it the tiniest of places, but a dedicated one.
 Whenever I feel uninspired I try to change the way I go about my work. Lately I have been feeling I am getting into a creative rut and just haven’t been feeling “in the zone”. That’s why I have decided to get out of my comfort zone (which is designing “as I go”) and try something I do not usually do – plan the project in advance…


 One of the hardest things in living far away from your family is being absent from family gatherings during the holidays.


